Dust, fingerprints, and kitchen grease can quickly dull the look of your window shutters, especially in busy rooms. If you’ve been wondering how to clean window shutters without damaging the finish or wasting an entire Saturday, the good news is that most of the work comes down to simple weekly habits. This guide walks you through material-specific methods, the tools that actually make a difference, and the mistakes that can ruin even high-quality shutters.
Below, you’ll learn how to tackle interior and exterior shutters, remove stubborn stains like mildew, and build a maintenance schedule that keeps your shutters looking new for decades.
Start Every Cleaning Session from the Top Down

Why Top-to-Bottom Order Matters
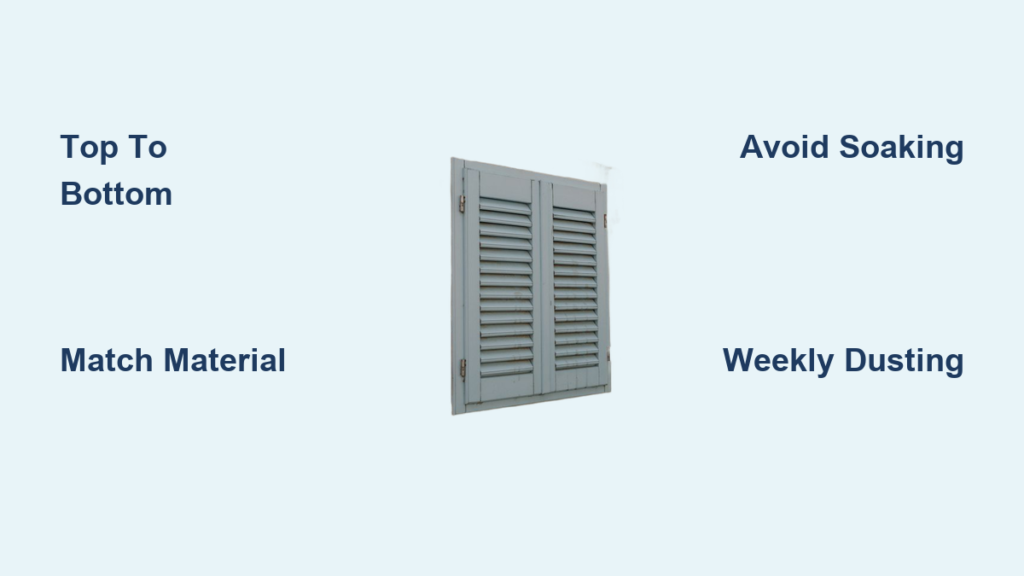
Gravity pulls dust from upper louvers down onto the ones below, so cleaning in reverse order simply recontaminates your work. Always begin at the topmost slat and move steadily downward. Once the louvers are done, wipe the windowsill last since it collects everything that falls during cleaning.
Close and Rotate Louvers for Full Coverage
Shut the shutters fully so you can access one side of every slat at a consistent angle. Wipe each louver from hinge to tip, then rotate them to the opposite angle and repeat. This two-pass method is especially important for wide plantation shutters, where missing a side can leave noticeable grime in the gaps.
Gather the Right Cleaning Tools First
Tools That Protect Your Shutters
Using the wrong supplies is the fastest way to scratch finishes or soak wood. Before you start, make sure you have:
- Microfiber cloths for dusting and damp wiping
- Feather duster or blind duster for quick weekly passes
- Soft-bristled brush or old toothbrush for hinges and corners
- Vacuum with brush attachment on a low setting
- Dryer sheets for an anti-static finishing touch
- Extendable microfiber duster for high or hard-to-reach shutters
Tools and Products to Avoid
Skip steel wool, abrasive pads, and all-purpose sprays, which scratch and cloud finishes. Steam cleaners can warp wood, while silicone-based sprays leave a film that attracts even more dust over time. Compressed air also does more harm than good since it simply redistributes dust into the air.
Match Your Cleaning Solution to the Shutter Material
Real Wood Shutters: Keep Moisture to a Minimum
Wood is the most sensitive material you’ll encounter. For routine care, dust weekly and condition monthly with a soft cloth lightly dampened with furniture polish or lemon oil. For deeper cleaning, use a barely damp cloth with mild dish soap and lukewarm water, then dry immediately with a clean cotton cloth. Never soak, pressure wash, or bleach real wood.
Faux Wood and Vinyl Shutters: Safe with a Damp Cloth
These materials handle moisture well. Mix 50% white vinegar with 50% water and add a few drops of dish soap. Wring your microfiber cloth until it’s almost dry, wipe each louver, then follow up with a water-only cloth and dry everything right away. An old toothbrush works perfectly for hinge buildup.
Aluminum and Composite Exterior Shutters: Tougher Cleaning Allowed
Exterior shutters can handle stronger solutions. Mix 1.5 cups of Simple Green Oxy Solve House and Siding Cleaner per 2 gallons of water, or use a mild soapy mix. Apply with a soft brush, let it sit for 5 to 10 minutes, then rinse thoroughly. Never let the solution dry on the surface.
Clean Interior Shutters Step by Step

Follow the Dry-First, Damp-Second Rule
Moisture sticks better to dust-free surfaces, so always remove loose debris before introducing any liquid. Here’s the most effective sequence:
- Close the shutters and dust top to bottom with a microfiber cloth.
- Rotate the louvers and repeat on the opposite side.
- Vacuum corners and textured areas with a brush attachment.
- Damp wipe using a barely moist cloth and your chosen solution.
- Scrub crevices with a soft toothbrush or cotton swab.
- Dry immediately with a clean microfiber cloth.
- Finish with a dryer sheet to reduce static and repel future dust.
Pay Extra Attention to Kitchens and Bathrooms
Grease and humidity build up fast in these rooms. Plan to deep clean quarterly instead of once or twice a year. Use a mild dish soap solution to cut through oily film, and give tilt rods and hinges extra attention so they don’t become sticky.
Clean Exterior Shutters Safely
Manual Method for One-Story or Delicate Shutters
Exterior shutters take a beating from weather, pollen, and bird droppings. Aim to deep clean at least once a year, or more often in coastal or rainy areas.
- Rinse loose debris with a garden hose.
- Apply your cleaning solution with a soft brush.
- Let it dwell for 5 to 10 minutes without drying.
- Scrub stained areas gently.
- Rinse thoroughly side to side and top to bottom.
- Dry with a microfiber mop to prevent water spots.
Pressure Washer Method for Durable Materials Only
A pressure washer is safe on vinyl, aluminum, and composite shutters, but never on untreated wood. Rinse first, apply cleaner through the siphon or detergent tank, keep the nozzle at least 2 feet from the surface, let it dwell for 5 to 10 minutes, then rinse completely.
Tackle Mildew, Bird Droppings, and Stiff Louvers

Remove Organic Stains Safely
Soap alone often fails on mildew and droppings. Mix 1 part bleach with 5 parts water, test it on a hidden area first, then apply, wait 5 to 10 minutes, scrub gently, and rinse thoroughly. Bleach can discolor finishes, so never use it on untreated wood.
Fix Squeaky or Stiff Louvers
Cleaning time is the perfect moment to catch small mechanical issues. Wipe hinge mortises with a cotton swab dipped in plain water, and avoid oil-based lubricants since they attract dust. If stiffness persists, contact the manufacturer, as warranty service may cover the repair.
Avoid the Most Common Cleaning Mistakes
Never Soak or Spray Directly
Liquids pooling in joints cause warping and swelling. Always apply your cleaner to the cloth or brush, never straight onto the shutter.
Don’t Forget the Windowsill
Residue and dust settle on the sill during cleaning. Leaving it dirty means recontaminating your shutters the next time you open the window.
Skip Silicone Sprays
Silicone leaves a sticky film that attracts dust faster than before. Use a non-silicone anti-static spray or finish with a dryer sheet instead.
Always Clean Top to Bottom
This single habit prevents the most common redo. Dust falls downward, so work with gravity, not against it.
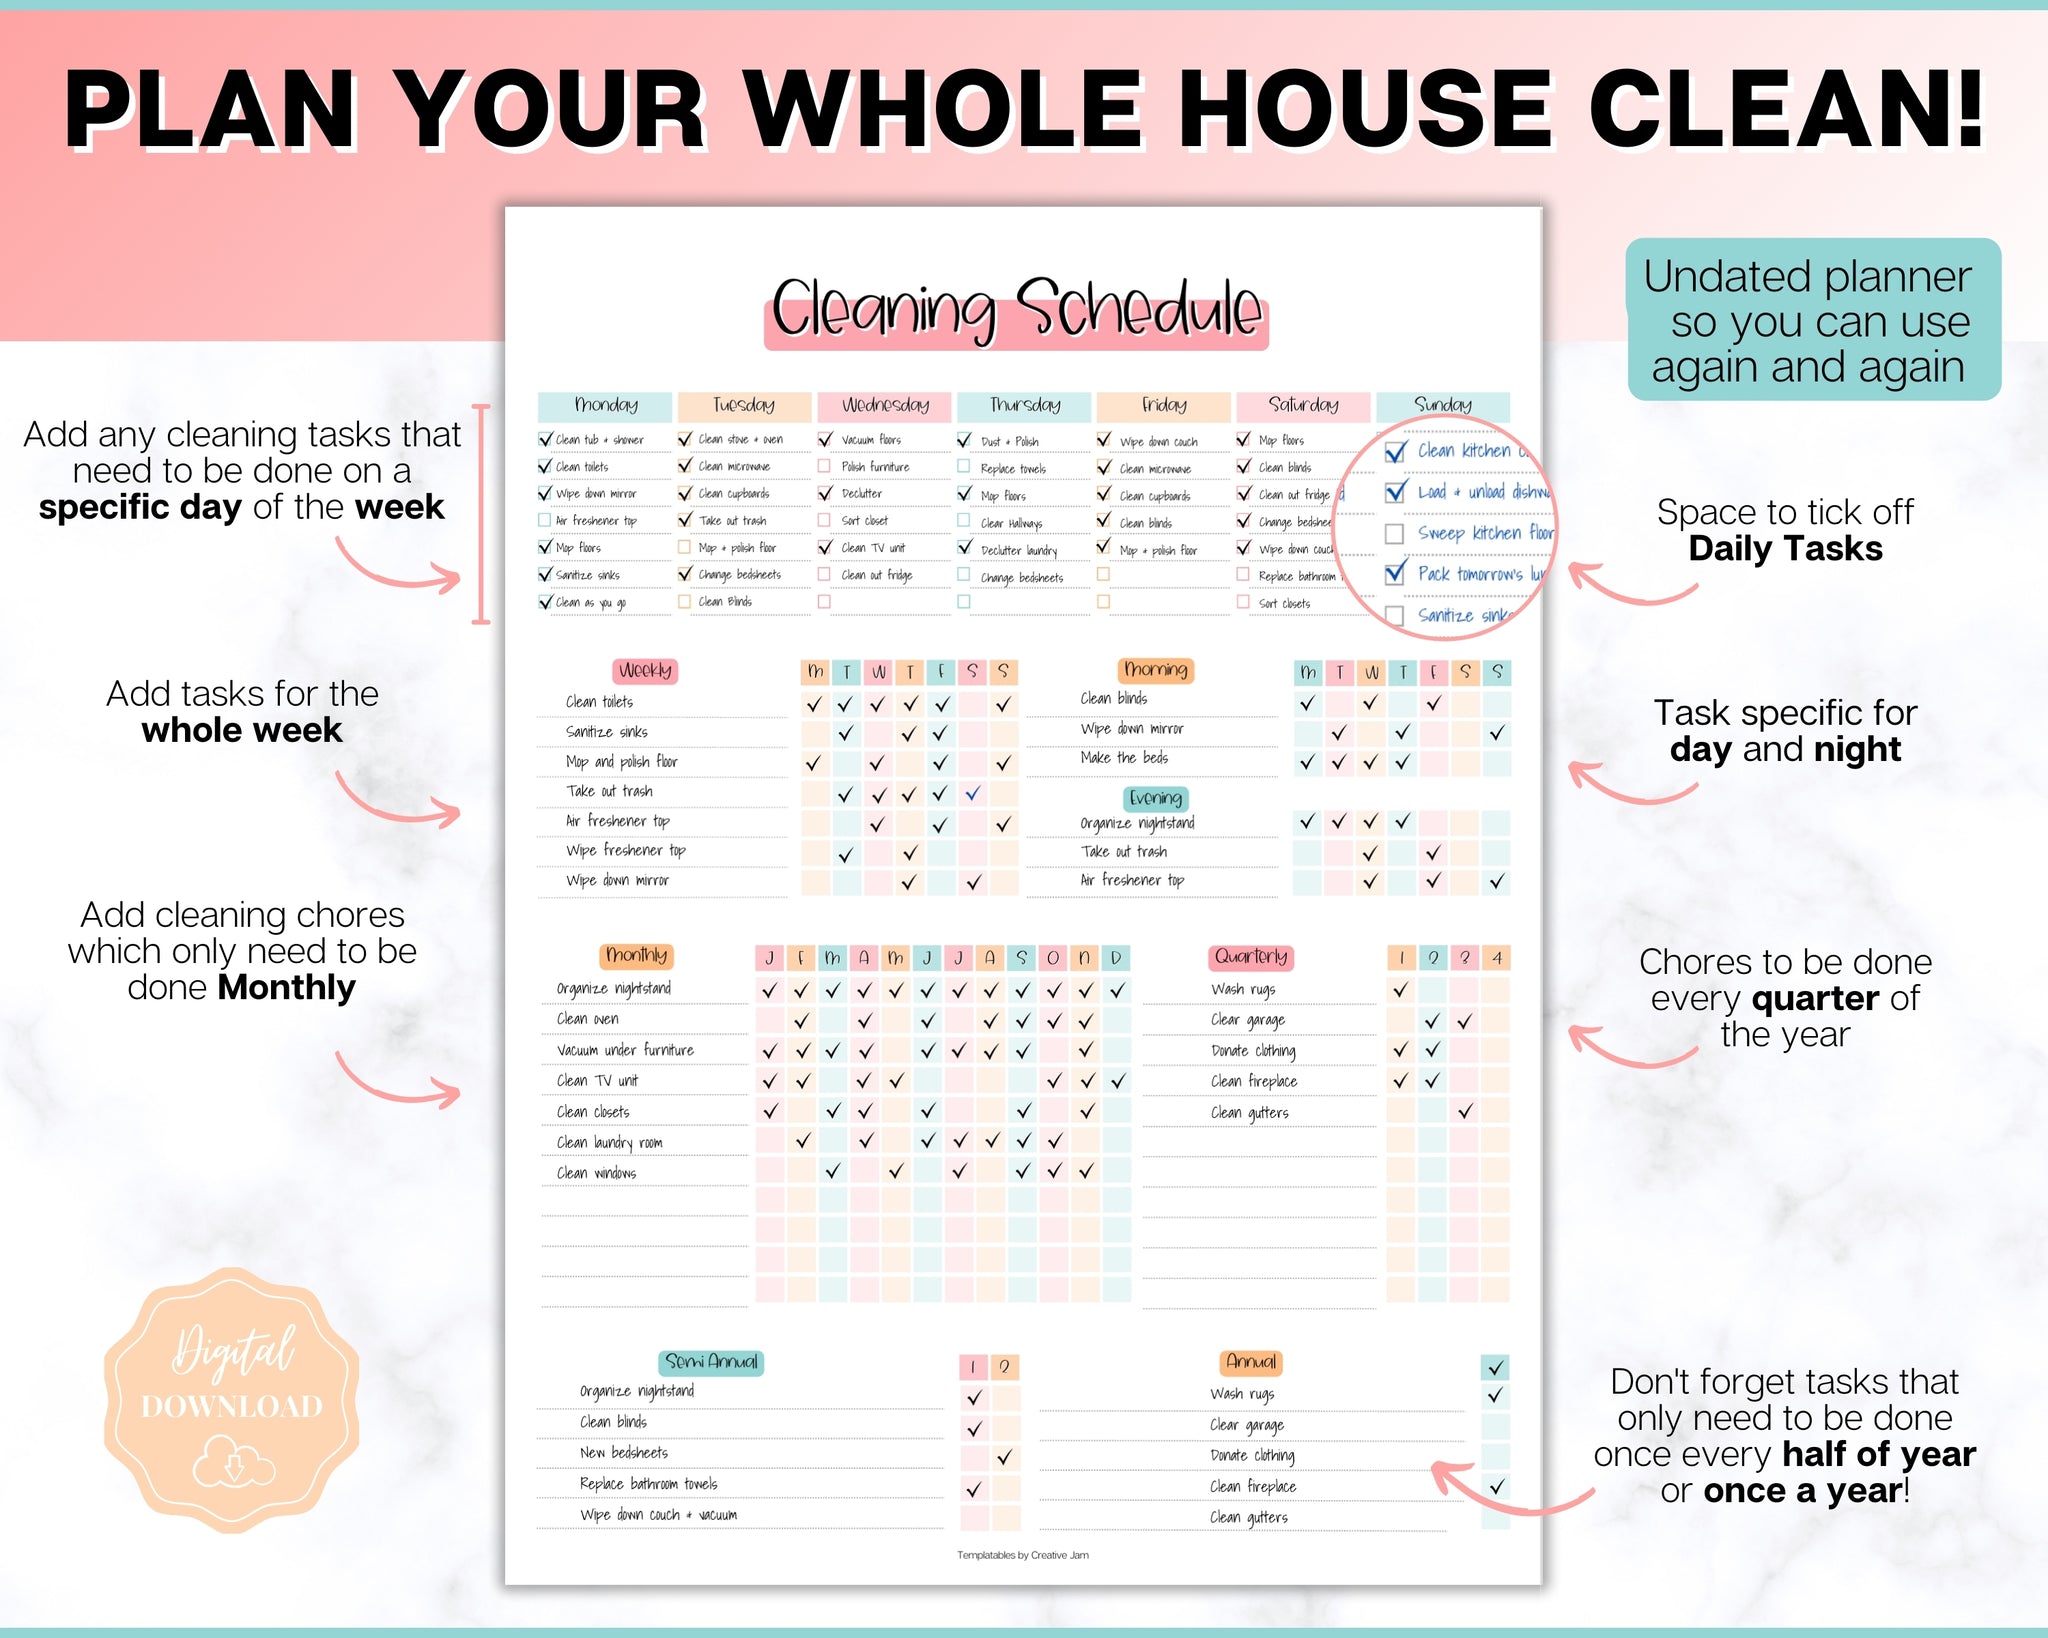
Build a Year-Round Maintenance Schedule
Set a Routine That Fits Your Home
Consistency matters more than intensity. A simple plan looks like this:
- Interior shutters: Dust weekly, deep clean 1 to 2 times per year
- Exterior shutters: Wipe monthly, deep clean annually
- Kitchens and bathrooms: Deep clean quarterly
Inspect While You Clean
Each session is a chance to spot early warning signs. Look for warping from moisture, clouding from the wrong cleaner, discoloration from bleach or UV exposure, and debris packed into hinges. Catching these early prevents costly replacements down the road.
Extend the Life of Your Shutters
Properly maintained shutters can last 20 years or more. High-quality hardwood with a UV coating holds its value and appearance when cared for regularly. A few minutes each week saves you from premature replacement and protects your home’s curb appeal.
When to Call a Professional
Know When DIY Isn’t Worth It
Professional shutter cleaning runs about $4 per shutter with a typical $100 minimum. If you have many shutters or a multi-story home, hiring a pro saves time and reduces ladder risks. They bring commercial-grade tools and can spot damage you might miss.
Use Warranty Coverage When Possible
If cleaning reveals a broken tilt mechanism or persistent squeak, contact the manufacturer before paying for repairs. Many custom shutter brands back their products with long-term warranties, and early detection during routine cleaning can lead to free or low-cost fixes.
Frequently Asked Questions About Cleaning Window Shutters
How often should I dust my interior shutters?
Dust interior shutters weekly with a microfiber cloth or feather duster. This prevents buildup that leads to tougher cleaning later. Kitchens and bathrooms need more frequent attention due to grease and humidity.
Can I use vinegar on real wood shutters?
Use vinegar only on faux wood or vinyl shutters. Real wood is sensitive to moisture, so stick to dry dusting and occasional furniture polish or lemon oil for conditioning.
Is it safe to pressure wash window shutters?
Pressure washing is safe only on vinyl, aluminum, or composite shutters. Never use a pressure washer on untreated wood, since the force and moisture can cause warping and finish damage.
What’s the best way to remove mildew from exterior shutters?
Mix 1 part bleach with 5 parts water, test on a hidden spot first, apply to the mildew, wait 5 to 10 minutes, scrub gently, and rinse thoroughly. Avoid this method on untreated wood.
How do I clean shutters in hard-to-reach places?
Use an extendable microfiber duster to avoid ladders. For tight corners where louvers meet the frame, a soft-bristled paintbrush or clean makeup brush removes dust without damaging the joint.
Should I hire a professional to clean my shutters?
Professional cleaning costs about $4 per shutter with a $100 minimum. It’s worth considering for multi-story homes, large shutter counts, or situations where warranty service is needed for mechanical issues.
Key Takeaways for Keeping Your Window Shutters Spotless
Learning how to clean window shutters comes down to three core habits: clean top to bottom, match your solution to the material, and stay consistent with weekly dusting. Use microfiber cloths, avoid soaking wood, and never spray cleaner directly onto the surface. Build a simple schedule, inspect for damage during each cleaning, and reach out to the manufacturer when mechanical issues appear. With the right routine, your shutters will stay beautiful and functional for decades.