
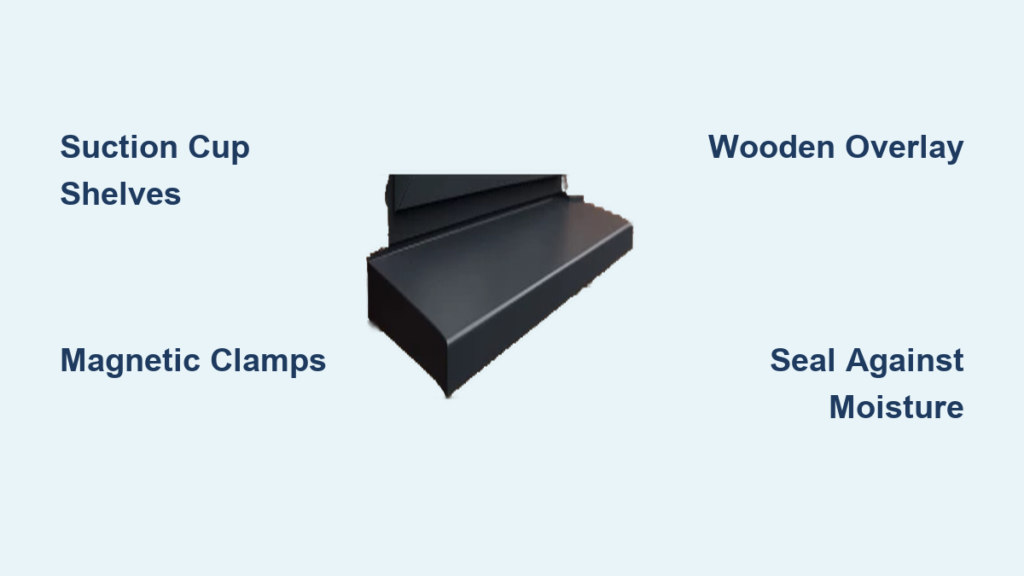
Is your window sill too narrow to hold plants, books, or a cozy cat perch? You’re not alone. Many homes, especially older ones, come with shallow sills that limit both function and style. The good news is that extending a window sill does not require a full renovation. Whether you rent, own, or simply love a good weekend project, there are practical, affordable ways to add 6 to 12 inches of usable space.
From no-drill suction shelves to permanent wooden overlays and structural replacements, this guide breaks down every method using real product specs, load ratings, and proven techniques. You will learn how to choose the right solution for your needs while avoiding common pitfalls like sagging, moisture damage, and wall damage.
Choose Your Extension Type
Before picking up tools, decide what kind of extension suits your situation. Three main paths exist: temporary (no damage), semi-permanent (DIY overlay), and permanent (structural). Each has trade-offs in cost, effort, durability, and aesthetics.
Your choice depends on whether you rent, how much weight you need to support, and how long you plan to stay in the space.
Temporary vs Permanent: Key Differences
| Factor | Temporary (Renter-Friendly) | Permanent (Homeowner) |
|---|---|---|
| Installation Damage | None | Drilling required |
| Load Capacity | Up to 15 lbs (light decor) | 30+ lbs (plants, pets, laptops) |
| Cost | $17–$45 | $30–$100+ |
| Time Required | Under 30 minutes | 2–6 hours |
| Best For | Succulents, small decor, renters | Heavy use, pets, workspaces |
Renter? Start With No-Drill Options
If you cannot drill holes or modify the frame, focus on adhesives, suction cups, clamps, or magnetic systems. These are removable, affordable, and surprisingly sturdy when installed correctly on the right surface.
Use Suction Cup Shelves for Glass Windows

Suction cup shelves are ideal for smooth, non-porous surfaces like glass or tile. They are invisible, easy to install, and perfect for herbs or small planters.
Pick the Right Suction Shelf
Look for these features when shopping:
- Thick acrylic (0.16 inches or more)
- Locking suction mechanism
- Support legs or brackets
- Adjustable width models up to 23.6 inches
Popular options include Lifewit and NiHome, both made with recycled materials and rated for light-to-medium loads. Prices range from $22 to $25 for a two-pack.
Pro Tip: Clean the surface with rubbing alcohol before attaching. A perfect seal equals long-term hold.
Install Step-by-Step
- Wipe the window with alcohol and let it dry.
- Press the suction cup firmly onto the glass.
- Twist the locking ring until tight.
- Attach the support arm and shelf plate.
- Wait 24 hours before loading anything.
Warning: Avoid textured, painted, or porous surfaces. Suction fails on rough finishes.
Some users report shelves falling after weeks. To prevent this:
- Check seals monthly
- Re-engage suction rings if needed
- Avoid placing near drafts or heat sources
Try Magnetic or Clamp-On Extenders
For metal frames or tracks, magnetic and clamp-on shelves offer strong, adjustable support without screws.
Magnetic Base Boards
Made from rust-resistant carbon steel, these attach to metal window frames or radiators. Brands like NiHome offer extenders up to 23.6 inches long, holding up to 30 lbs.
They double as countertop extenders in kitchens or bathrooms, ideal for soap dishes or toothbrush holders.
Best Use Case: Metal-framed windows in humid areas like bathrooms and laundry rooms.
Adjustable Clamp Shelves
These use C-clamp mechanisms to grip the sill edge or window track. Look for:
- Rubber-lined jaws to prevent scratching
- Height and width adjustability
- Rust-proof coating
Models like CLAWGUARD or generic steel clamps expand from 13.7 to 23.6 inches and support planters or bird feeders.
Common Issue: Clamps may loosen over time. Tighten monthly and avoid overloading.
Hang Rope or Floating Shelves
When the sill itself is unusable, go vertical. Hang a custom shelf from the top of the frame or ceiling using rope or brackets.
Build a Rope Shelf
Materials needed:
- Solid wood board (1×6 or 1×8)
- Braided cotton or nylon rope (¼ inch thick)
- Drill, scissors, measuring tape
Steps:
- Cut the board to your desired length.
- Drill two holes at each end, 1 inch from the edge.
- Thread rope through the holes and tie secure knots underneath.
- Hang from the top of the window frame or ceiling hooks.
Ideal For: Plant lovers with zero sill depth. Adds boho charm.
Use a level to ensure an even hang. Load only with lightweight items like air plants or small pots.
Build a DIY Wooden Overlay

Want a seamless, custom look? A wooden overlay sits directly on top of your existing sill and can be secured temporarily or semi-permanently. This method works for renters (with tape) or homeowners (with screws), offering both style and strength.
Choose the Right Wood
- Pine: Affordable, easy to cut and paint. Best for indoor use.
- Exterior-grade plywood: Resists moisture when edges are sealed.
- Avoid MDF or drywall: These swell with humidity.
Cut the board to match your sill width plus extension depth. For example, if your sill is 24 inches wide, cut a board 24 inches by 8 inches.
Sand edges smooth with 120 then 220 grit paper. Round corners slightly for safety.
Finish to Match Your Trim
Paint or stain the board to blend with your window casing. Use:
- Water-based polyurethane for durability
- Oil-based stain for rich color
- White enamel paint for modern looks
Let it dry fully for 24 hours before installation. Add a ¼ inch lip along the front edge using trim molding for a built-in look and to prevent items from sliding off.
Install With Adhesive or Screws
Option 1: No-Drill Adhesive (Renter-Safe)
Use heavy-duty double-sided tape (like 3M VHB), construction adhesive (such as Liquid Nails), or epoxy for maximum hold.
Apply tape in strips across the bottom of the board. Press firmly onto the sill and hold for 30 seconds.
Warning: Test on a small area first. Some adhesives leave residue.
Option 2: Semi-Permanent Screws
Drill pilot holes through the board into the sill. Use 1 inch finish screws driven at an angle to avoid splitting. Countersink holes and fill with wood putty. Paint over for invisibility.
Load Capacity: Up to 30 lbs with proper fastening.
Upgrade to Permanent Structural Extension

For heavy-duty use like supporting a cat, laptop, or deep plant collection, a permanent extension is best. This mimics professional carpentry and integrates into the window frame.
Replace or Overlay the Sill
Two approaches work here:
- Remove the old sill and install a deeper one
- Add a new layer on top of the existing sill
Most DIYers choose the overlay method because it is faster and less invasive.
Secure With Horizontal Screws
Never drive screws straight down, as they can split the sill. Instead:
- Drill horizontally into the window jamb
- Use 2 inch exterior-grade screws
- Place metal washers under heads to distribute weight
This anchors the extension to the solid frame behind, not just the thin sill.
Pro Move: Pre-drill holes with a countersink bit. This prevents wood cracking and allows flush filling later.
Fill the Gap for a Seamless Look
A common issue is a visible gap between the old rounded edge and the new flat extension. Fix it with two-part wood filler like Bondo:
- Mix filler and apply along the seam.
- Let it partially cure until firm like Jell-O.
- Scrape flush with a flexible putty knife.
- Sand smooth when fully dry.
- Prime and paint.
Result: A single, continuous sill that looks factory-installed.
Seal Against Moisture
Condensation can trap water between layers, leading to rot. Prevent this by:
- Caulking the joint with paintable silicone caulk
- Using exterior-grade wood
- Adding aluminum trim coil on exposed edges, especially outdoors
Important: Skip MDF or drywall because they absorb moisture and swell.
Match the Extension to Your Use Case

Not all extensions serve the same purpose. Choose based on what you will place on it.
Grow Plants and Herbs
Need space for succulents, microgreens, or seed trays?
Best options:
- Suction cup shelves for glass windows
- Sealed wooden overlays for kitchens
- Double-layer extenders for vertical gardening
Ensure a waterproof surface (acrylic, sealed wood, or steel), trays under pots to catch drips, and at least 6 inches of depth for root growth.
Top Pick: Lifewit recycled acrylic shelf, which is clear, strong, and easy to clean.
Create a Cat Perch
Cats love sunbathing, but only if the shelf is stable and safe. Avoid flimsy suction cups. Instead, use:
- Zakkart Cat Perch (hardwood plus metal frame, rated 4.7 stars)
- DIY wooden shelf with bolsters
- Clamp-on tray with cushion
Key features to look for:
- Minimum 12 inches depth for lying down
- Raised edges of 2 to 3 inches to prevent falls
- Weight rating above 20 lbs
Add a hammock for comfort. Orthopedic models support older cats.
Also consider a plexiglass protector like CLAWGUARD to stop scratching on the window frame.
Organize Kitchen or Bath
Turn a narrow sill into extra counter space.
Use:
- Magnetic steel boards on metal frames
- Suction trays on tiles or glass
- Wooden overlays painted to match cabinets
Hold:
- Soap dispensers
- Toothbrushes
- Spices
- Drying dishes
Tip: Choose rust-resistant materials in bathrooms. Carbon steel or acrylic wins over untreated wood.
Build a Reading Nook or Workspace
Want to read or work by the window? You will need depth and strength.
Minimum requirements:
- 12 inches depth
- Support for 20+ lbs (laptop, books)
- Stable, wobble-free base
Solutions:
- Permanent wooden extension screwed into the jamb
- Freestanding table in front of the window
- Bench-style build-out for bay windows
Avoid suction or adhesive shelves, as they cannot handle dynamic loads.
Pair with a cushioned seat or floor pillow for comfort.
Prevent Common Problems
Even well-built extensions fail if key details are ignored.
Stop Suction Shelves From Falling
Failures happen due to dusty or greasy surfaces, uneven textures, and thermal expansion or contraction.
Fix:
- Clean with isopropyl alcohol
- Re-press weekly
- Choose models with locking levers
Best Surface: Smooth glass or tile. Worst: Painted wood or stucco.
Eliminate the “Stacked” Look
Adding wood on top of an old sill often creates a step.
Solution:
- Use wood filler to bridge the gap
- Sand and paint the entire surface as one unit
- Add a thin trim strip along the front
Pro Finish: Feather paint edges for a seamless transition.
Avoid Sagging Under Load
Weak supports lead to wobbling or collapse.
Prevent by:
- Using horizontal screws into the jamb
- Adding metal washers under screw heads
- Choosing exterior-grade lumber
Never rely on adhesive alone for heavy items.
Tools You Will Need
Gather these before starting:
| Task | Tools Required |
|---|---|
| Measuring | Tape measure, pencil, level |
| Cutting Wood | Hand saw, circular saw, or jigsaw |
| Sanding | 120 and 220 grit sandpaper |
| Fastening | Drill, screwdriver bit, 2 inch exterior screws |
| Filling Gaps | Putty knife, two-part wood filler, caulk gun |
| Surface Prep | Rubbing alcohol, clean cloth |
For temporary installs, you only need tape, cleaner, and scissors.
Frequently Asked Questions About Extending a Window Sill
What is the cheapest way to extend a window sill?
Suction cup shelves are the most affordable option, starting around $17 for a basic acrylic model. They require no tools and no wall damage, making them ideal for renters on a tight budget.
How much weight can a suction cup window shelf hold?
Most suction cup shelves handle light loads like succulents and small decor (under 15 lbs). Heavy-duty models claim higher capacities, but actual performance depends on surface smoothness and proper installation.
Can I extend a window sill without drilling?
Yes. No-drill options include suction cups, magnetic bases, clamp-on trays, and strong double-sided adhesives. These work best on smooth surfaces like glass, tile, or metal frames.
What wood should I use for a window sill extension?
Pine is affordable and easy to work with for indoor projects. For moisture-prone areas, choose exterior-grade plywood or solid wood. Avoid MDF and drywall, which swell when exposed to humidity.
How do I fix the gap between the old sill and a new extension?
Use two-part wood filler like Bondo. Apply it along the seam, let it cure until firm like Jell-O, then scrape flush with a flexible putty knife. Sand smooth and paint for a seamless look.
Will extending my window sill damage the wall?
Temporary methods like suction cups and adhesives leave no damage. Semi-permanent methods using screws may require filling holes with wood putty when removed. Permanent structural extensions involve drilling into the jamb, which is repairable but not invisible.
Key Takeaways for a Successful Window Sill Extension
Start by identifying your use case. Plants need waterproof surfaces, cats need sturdy frames with raised edges, and workspaces need depth and load capacity. Match your method to your living situation: renters should choose suction, magnetic, or adhesive options, while homeowners can invest in permanent wooden overlays.
Always seal against moisture, especially in kitchens and bathrooms. Use exterior-grade materials and caulk joints to prevent rot. Measure twice, cut once, and check for level before securing anything.
Your next step: measure your current sill width and depth, decide on your ideal extension length, and choose the method that fits your budget and rental status. With the right approach, you can transform a narrow, unusable sill into a functional feature within a single afternoon.



