
A door that won’t lock is more than just an inconvenience. It compromises your privacy, disrupts your daily routine, and can feel like a security risk, especially on exterior doors. You might find yourself jiggling the handle, slamming the door, or wondering if you need to call a locksmith. The good news is that most locking failures stem from simple alignment issues rather than a broken mechanism. In fact, the latch and strike plate misalignment accounts for the majority of door lock problems.
This guide walks you through diagnosing and fixing a door lock that won’t lock, from simple adjustments you can make in minutes to complete hardware replacements. You’ll learn exactly what causes these issues, how to identify the problem, and the specific steps to repair it without unnecessary expenses.
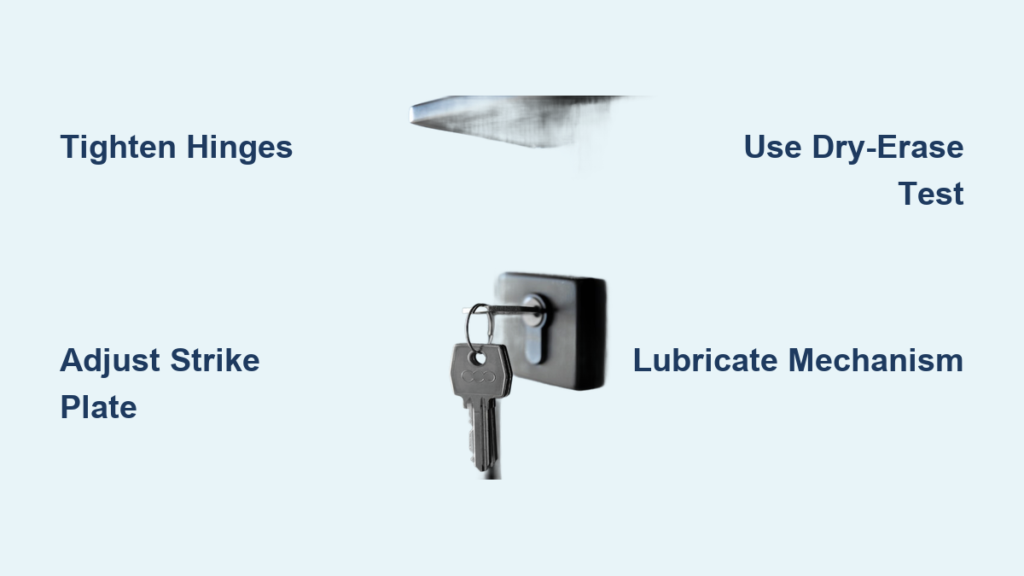
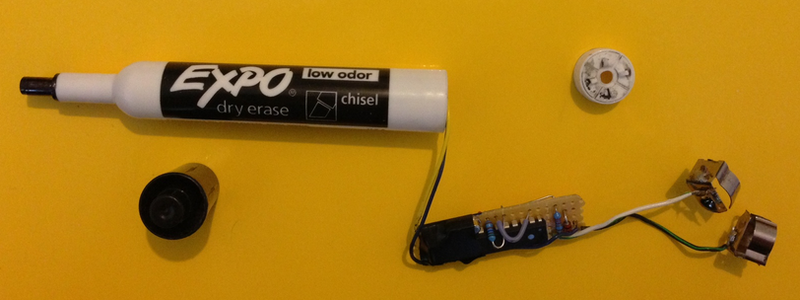
Diagnose Door Lock Problems with the Dry-Erase Marker Test
Before removing any hardware or buying new parts, you need to identify where the problem actually lies. Most lock failures occur because the latch and strike plate are misaligned, not because the lock mechanism itself is broken.
How the Dry-Erase Marker Test Works
This simple diagnostic reveals exactly how your door is out of alignment.
- Apply dry-erase marker, lipstick, or chalk to the latch bolt (the metal tongue that extends from the door edge)
- Close the door gently and allow the latch to contact the strike plate
- Open the door and examine where the mark transferred
The results tell you exactly what needs adjustment.
Mark appears below the strike hole: The door has sagged, and the latch sits too low.
Mark appears above the strike hole: The strike plate sits too high or the door has lifted.
Mark appears to the left or right: The strike plate is laterally misaligned.
This test prevents you from replacing parts that don’t need replacing.
Tighten Loose Hinges to Stop Door Sagging
Sagging doors are the leading cause of lock misalignment. Over time, hinge screws loosen under the weight of the door, especially on heavy exterior doors or frequently used interior doors.
Check and Tighten All Hinge Screws
- Open the door and examine screws on both the door side and frame side of each hinge
- Use a Phillips screwdriver to tighten every screw firmly
- If a screw spins freely without catching, the wood hole is stripped
Upgrade to 3-Inch Screws for a Permanent Fix
Standard hinge screws are only about 1 inch long. Replacing them with 3-inch deck screws provides a lasting solution.
For a sagging door (latch hits below the strike): Install long screws in the top hinge to lift the door upward.
For a raised door (latch hits above the strike): Use long screws in the bottom hinge to pull the door down.
These longer screws anchor into the wall studs, providing solid support that prevents future sagging.
Adjust or Replace the Strike Plate
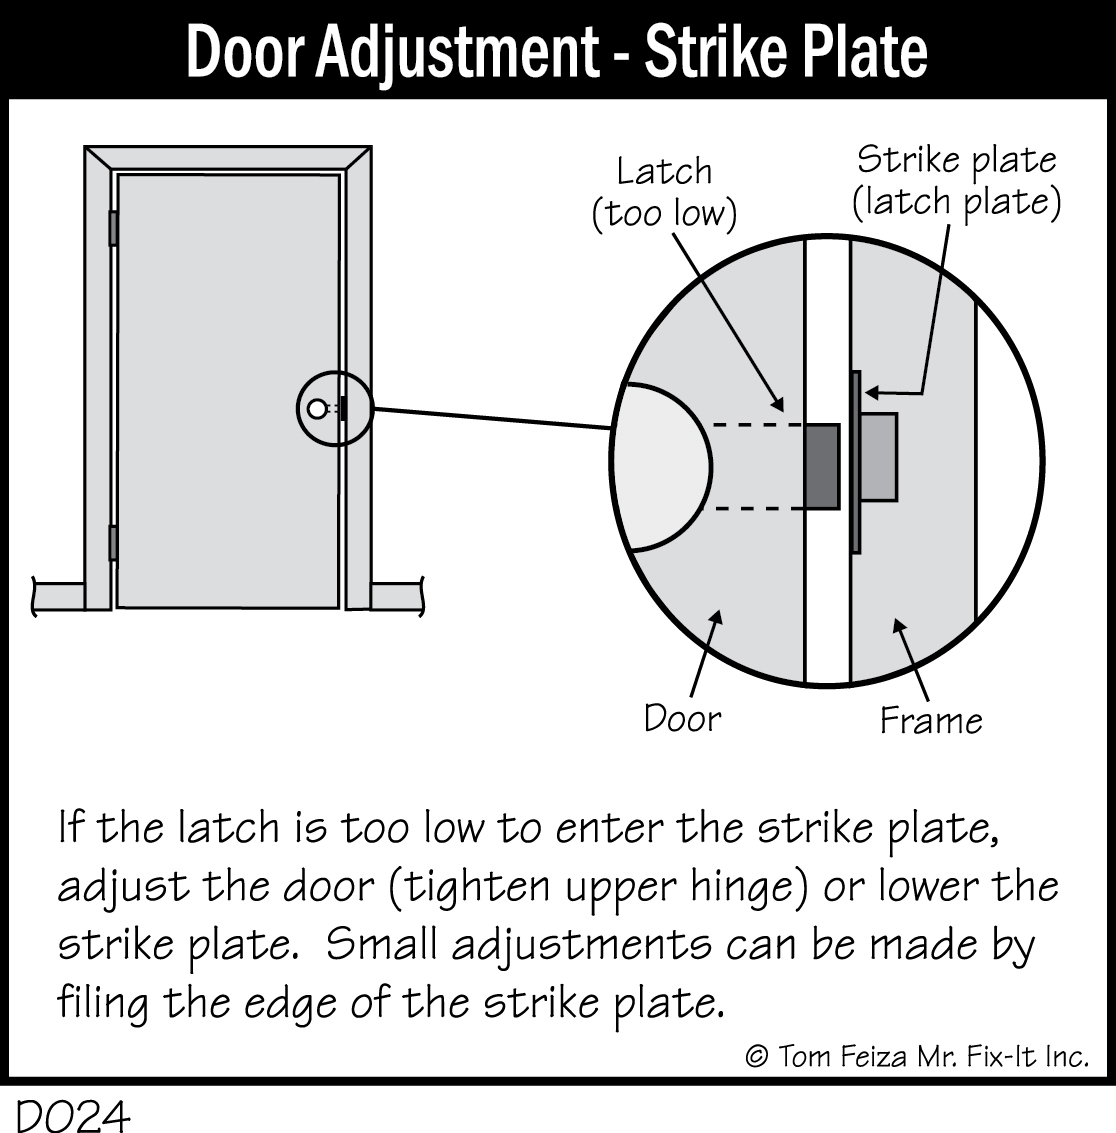
Even a slightly loose or shifted strike plate can prevent the latch from catching properly. This component takes the most wear and is often the culprit behind a door that won’t lock.
Tighten Strike Plate Screws
- Close the door and observe if the latch wobbles near the plate
- Remove the screws and check for stripped holes
- Tighten securely, or fill stripped holes with wood toothpicks and glue before re-screwing
Enlarge the Strike Plate Hole for Minor Misalignment
If the dry-erase test shows misalignment within 1/8 inch, widening the strike plate hole often solves the problem.
- Remove the strike plate from the door jamb
- Use a half-round file to gently widen the hole in the direction needed (up, down, left, or right)
- Reinstall and test the door
Go slowly. Stop filing as soon as the latch slides in smoothly without resistance.
Reposition the Strike Plate for Major Misalignment
When misalignment exceeds 1/8 inch, you’ll need to move the entire strike plate.
- Remove the strike plate
- Mark the new position based on your dry-erase test results
- Use a chisel and hammer to carve a new mortise (recess) in the door jamb
- Drill pilot holes for screws
- Secure the plate and test
Ensure the new position allows full latch engagement without interfering with the door stop.
Shim Hinges for Perfect Alignment
Sometimes tightening isn’t enough. Hinges may need shims to correct vertical or lateral misalignment caused by settling or poor installation.
Add Shims to Fix Door Alignment
- Remove the hinge from the door jamb
- Cut cardboard or plastic shims to fit the hinge mortise
- Place the shim strategically:
– Under the top hinge to lift a sagging door
– Under the bottom hinge to lower a raised door
– Behind the hinge to shift the door forward for better latch reach - Reinstall the hinge and test
Shims are a low-cost solution that corrects alignment issues without replacing hardware.
Adjust the Door Stop If It Blocks Closure
The door stop is the thin molding around the door frame that prevents the door from swinging past the jamb. If it’s positioned too close, it can prevent full closure, stopping the latch from reaching the strike plate.
Reposition the Door Stop
- Use a flathead screwdriver and hammer to carefully pry off the stop on the strike side
- Remove nails with diagonal pliers
- Reinstall the stop approximately 1/4 inch farther from the jamb edge
- Reattach the side and top stops
- Test the door
This small adjustment gives the door enough room to close completely and engage the latch.
Fix or Replace the Lock Mechanism
If alignment is perfect but the latch still won’t extend, the problem lies within the lockset itself. Internal failures are common in older doors, especially those with plastic doorknob components.
Signs of Internal Lock Failure
The latch sticks or retracts on its own.
The lock turns but doesn’t engage the latch.
The knob feels loose or wobbly.
You see cracked plastic parts inside the knob.
There is resistance when turning the handle.
These symptoms indicate it’s time to inspect or replace the lockset.
Disassemble and Lubricate the Lock
Before replacing, try cleaning and lubricating the mechanism.
- Locate the small release hole on the interior knob
- Insert a paperclip or pin to depress the locking tab
- Pull the knob off and remove the rose (faceplate)
- Inspect for broken gears, bent rods, or cracked housing
- Spray graphite lubricant into the latch and keyway
- Work the lock back and forth to distribute the lubricant
- Reassemble and test
Graphite lubricant works better than oil, which attracts dust and creates buildup.
Replace the Lockset When Necessary
Some problems cannot be fixed with adjustments alone. Hardware replacement becomes necessary when internal components are damaged beyond repair.
When to Replace the Lock
The latch housing is cracked or broken.
The knob remains wobbly after tightening.
The privacy lock won’t stay engaged.
Lubrication doesn’t resolve sticking.
The hardware is outdated or worn.
Replacement is often faster and more reliable than repeated repairs on aging hardware.
Choose the Right Replacement Lock
Measure these specifications before purchasing:
Backset: Distance from door edge to center of knob (typically 2-3/8″ or 2-3/4″)
Door thickness: Standard ranges from 1-3/8″ to 1-3/4″
Handedness: Determine if your door is left or right-handed (though most modern knobs are reversible)
Select a lock type matching your needs: privacy locks for bedrooms and bathrooms, entry locks for exterior doors, or deadbolts for added security.
Renters: Get Permission Before Making Changes
If you rent your home, don’t assume you can modify door hardware freely. Many leases prohibit changes without landlord approval.
Rental Property Guidelines
Check your lease agreement for restrictions on hardware modifications.
Even privacy knobs may require permission, especially on exterior doors.
Deadbolt additions typically need written consent.
Return original hardware when you move out if required.
When in doubt, ask your landlord or property manager before making changes.
Prevent Future Door Lock Problems
Regular maintenance keeps doors secure and operating smoothly.
Annual Maintenance Checklist
Tighten hinge and strike plate screws every 6 to 12 months.
Lubricate the latch with graphite powder once a year.
Inspect for door warping, especially after humid or dry seasons.
Check alignment after moving furniture or home renovations.
Never force a door to close, which can bend the strike plate or damage hinges.
Wood doors expand and contract with humidity changes, so seasonal checks help catch issues early.
Tools You Need to Fix a Door Lock
Having the right tools makes any repair faster and easier.
| Tool | Purpose |
|---|---|
| Phillips screwdriver | Tighten hinge and strike plate screws |
| Flathead screwdriver | Pry off door stop, adjust parts |
| Half-round file | Enlarge strike plate hole |
| Chisel and hammer | Reposition mortise or remove stop |
| 3-inch screws | Reinforce hinge-to-stud connection |
| Graphite lubricant | Lubricate internal lock mechanism |
| Dry-erase marker | Diagnose misalignment |
| Measuring tape | Confirm backset and alignment |
| Cardboard or wood shims | Adjust hinge position |
| Diagonal pliers | Remove nails from door stop |
Keep these items in your basic toolkit for quick door repairs.
Frequently Asked Questions About Fixing a Door Lock That Won’t Lock
Why won’t my door lock even though the latch seems to touch the strike plate?
The latch may be touching the plate without fully engaging. Use the dry-erase marker test to see exactly where contact occurs. The issue could be minor misalignment that prevents the latch from sliding into the hole, or the strike plate hole may be too small for the latch to enter.
Can I fix a door lock without replacing it?
Yes. Most locking issues resolve with hinge tightening, strike plate adjustment, or lubrication. Only replace the lockset if internal components are cracked, broken, or won’t operate smoothly after cleaning and lubricating.
How do I know if my door is sagging?
Close the door and look at the gap around the edges. An uneven gap, especially one that’s wider at the top than the bottom, indicates sagging. The dry-erase marker test confirms this when the latch mark appears below the strike hole.
What type of lubricant should I use on door locks?
Use graphite lubricant or powdered graphite. Avoid oil-based lubricants, which attract dust and debris, causing buildup that makes the lock stick over time.
How much does it cost to fix a door lock that won’t lock?
Most fixes cost nothing if you already own basic tools. Strike plate adjustments and hinge tightening are free. Replacement locksets range from $15 for basic privacy knobs to $100 or more for smart locks or high-security deadbolts.
Key Takeaways for Fixing a Door Lock That Won’t Lock
A door that won’t lock doesn’t always mean you need a new lock. Most problems stem from misalignment between the latch and strike plate, which you can diagnose with the dry-erase marker test. Tightening loose hinges and adjusting the strike plate resolves approximately 80% of locking issues without any hardware replacement.
Start with the simplest fixes first. Tighten all hinge and strike plate screws, then use the dry-erase test to guide your adjustments. Only move to shims, strike plate repositioning, or lockset replacement if these initial steps don’t resolve the problem.
For renters, always obtain landlord approval before modifying door hardware. Keep up with annual maintenance to prevent future issues, and your doors will stay secure and operational for years to come.


