Black, green, or fuzzy spots creeping along your window seals are more than just an eyesore. They signal mold growth, a common problem in bathrooms, kitchens, and basements where humidity runs high. Beyond looking unpleasant, mold can trigger allergies, worsen asthma, and compromise your indoor air quality. Learning how to get rid of mold on window seals protects both your home and your family’s health.
This guide covers safe cleaning methods, proven removal techniques, and long-term prevention strategies. You’ll discover which household products work best, how to protect yourself during cleanup, and when professional help makes sense. Whether you’re dealing with minor discoloration or stubborn buildup, these solutions will restore your windows and keep mold from coming back.
Essential Safety Precautions Before You Start Cleaning
Mold spores become airborne during cleaning, so protecting your health comes first. Skipping safety gear can lead to respiratory irritation or skin reactions.
Gear You Need to Wear
Always put on the following before handling mold:
- Nitrile gloves to shield your skin
- Safety goggles to protect your eyes
- An N95 mask or respirator to filter spores
Open other windows or run a fan blowing air outward to ventilate the room and reduce spore circulation.
When to Contain the Work Area
For small mold spots on window seals, containment isn’t usually necessary. However, if mold covers more than 10 square feet or keeps returning, seal off the space with plastic sheeting. Never skip the mask and gloves, regardless of size.
Identify What’s Growing on Your Window Seals
Not every dark stain is mold, but most fuzzy growth on damp seals is. Identifying the type helps you choose the right removal method.
Black Mold vs. Mildew or Dirt
Toxic black mold (Stachybotrys chartarum) rarely grows on window seals. It prefers continuously wet, cellulose-rich materials like drywall. The black spots on rubber or silicone seals are usually Cladosporium or Penicillium, common molds that thrive on moisture and organic debris.
A quick test: drop household bleach on the spot. If it lightens within 1 to 2 minutes, it’s likely mold. No change means it’s probably dirt or permanent discoloration.
Natural Cleaning Solutions That Actually Work
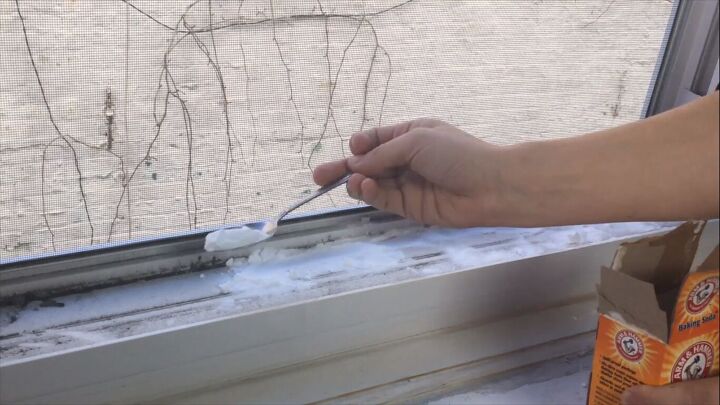
For light mold growth, natural remedies are effective, affordable, and eco-friendly.
White Vinegar Method
White vinegar kills about 82% of mold species and prevents regrowth thanks to its natural acidity.
Follow these steps:
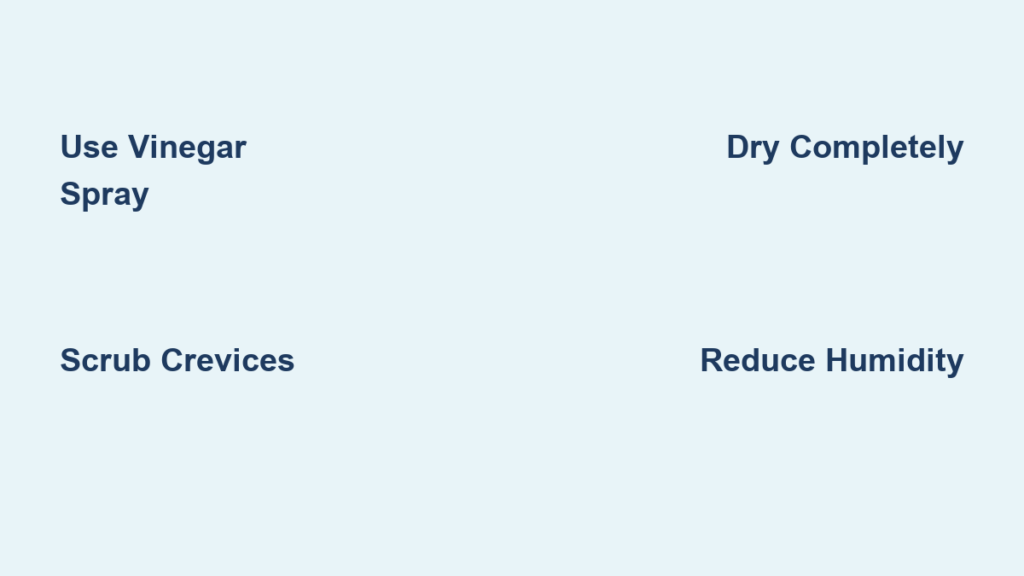
- Pour undiluted white vinegar into a spray bottle.
- Spray directly onto the moldy seal.
- Let it sit for one full hour.
- Scrub gently with an old toothbrush.
- Wipe clean with a damp cloth.
Pro Tip: The strong vinegar smell fades within a few hours. No rinsing needed. Leaving vinegar on the surface boosts its preventive power.
Hydrogen Peroxide Method
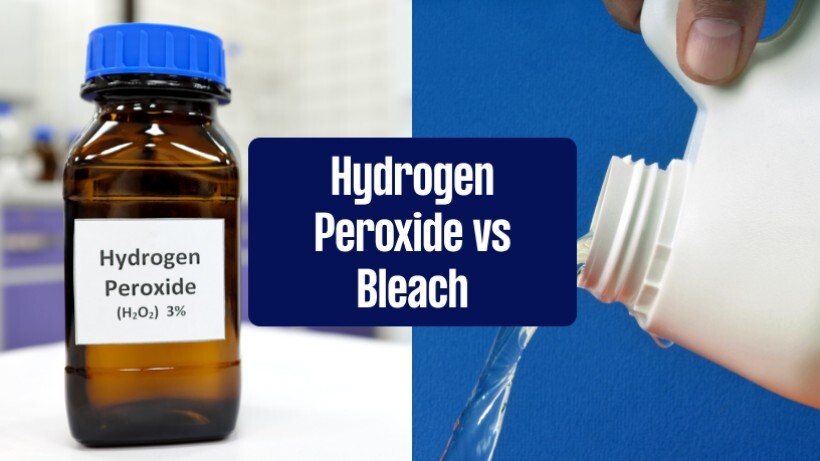
Hydrogen peroxide at 3% strength works as both antifungal and antibacterial agent.
Follow these steps:
- Pour 3% hydrogen peroxide into a spray bottle.
- Spray on the affected seal.
- Wait 10 minutes.
- Scrub with a soft brush.
- Wipe dry with a clean cloth.
Caution: Test on a hidden area first. Peroxide can bleach certain materials.
Commercial Mold Removers for Stubborn Cases
When natural solutions fall short, commercial products deliver stronger results.
Choosing the Right Product
Look for mold removers specifically labeled for bathroom or window use. Effective active ingredients include:
- Sodium hypochlorite (bleach-based formulas)
- Quaternary ammonium compounds
- Concrobium Mold Control
Avoid aerosol sprays when possible, since they can disperse spores into the air.
Bleach-Based Cleaners
Bleach kills surface mold but doesn’t penetrate porous materials well. It can also degrade rubber over time.
If using bleach, follow these steps:
- Mix 1 part bleach with 3 parts water.
- Apply with a cloth or sponge. Do not spray.
- Let sit for 5 to 10 minutes.
- Scrub gently and rinse with water.
- Dry the area thoroughly.
Warning: Never mix bleach with vinegar or ammonia. Toxic fumes result.
Step-by-Step Mold Removal Process
Follow this sequence for complete mold elimination on window seals.
Clear the Area First
Remove curtains, blinds, or any obstructions around the window. Lay a towel beneath the work area to catch drips and runoff.
Pre-Clean Loose Debris
Use a dry cloth or soft brush to wipe away loose dust and surface mold spores from the seal and frame. This prevents spreading spores during wet cleaning.
Apply Your Chosen Cleaner
Saturate the moldy areas completely with vinegar, hydrogen peroxide, or a commercial remover. Make sure the solution reaches into crevices.
Scrub Into Crevices
Use an old toothbrush or cotton swab to agitate the seal. Focus on corners and edges where moisture traps and mold hides.
Wipe and Dry Completely
Wipe away residue with a clean, damp cloth. Then dry the area thoroughly using a microfiber towel. Moisture left behind invites regrowth.
Apply a Mold Inhibitor
Once dry, apply a mold inhibitor or leave a light vinegar residue to discourage future growth.
Prevent Mold from Returning to Window Seals
Killing mold is only half the battle. Controlling moisture is the key to long-term success.
Reduce Indoor Humidity Levels
Keep indoor humidity below 60%, ideally between 30% and 50%.
Effective ways to lower humidity include:
- Running an exhaust fan in bathrooms and kitchens
- Using a dehumidifier in damp rooms
- Opening windows when weather permits
- Avoiding air-drying clothes indoors
Fix Leaks and Condensation Issues
Condensation on windows feeds mold growth. Common causes include poor insulation, single-pane glass, and gaps in window frames.
Practical solutions include:
- Installing double-glazed windows
- Applying weatherstripping to seal gaps
- Using insulated curtains at night
Build a Regular Maintenance Routine
Clean window seals every 1 to 2 months as part of your home upkeep.
A quick monthly checklist:
- Wipe seals with a vinegar solution
- Check for condensation buildup
- Ensure drainage channels stay clear, especially on sliding windows
When Window Seal Replacement Becomes Necessary

Sometimes cleaning isn’t enough. Damaged or degraded seals need full replacement.
Warning Signs You Need New Seals
Watch for these indicators:
- Rubber is cracked, brittle, or shrinking
- Mold returns within weeks of cleaning
- Window feels drafty or hard to close
- Visible gaps appear between glass and frame
DIY Seal Replacement Steps
For removable seals common in uPVC or aluminum windows:
- Pull out the old rubber gasket carefully.
- Clean the channel with rubbing alcohol.
- Press in a new U-shaped replacement seal matched to your window model.
- Trim excess material with scissors.
Note: For fixed or double-pane units, consult a window technician. Improper handling can break the seal and cause fogging between glass layers.
Mold-Resistant Products Worth Upgrading To
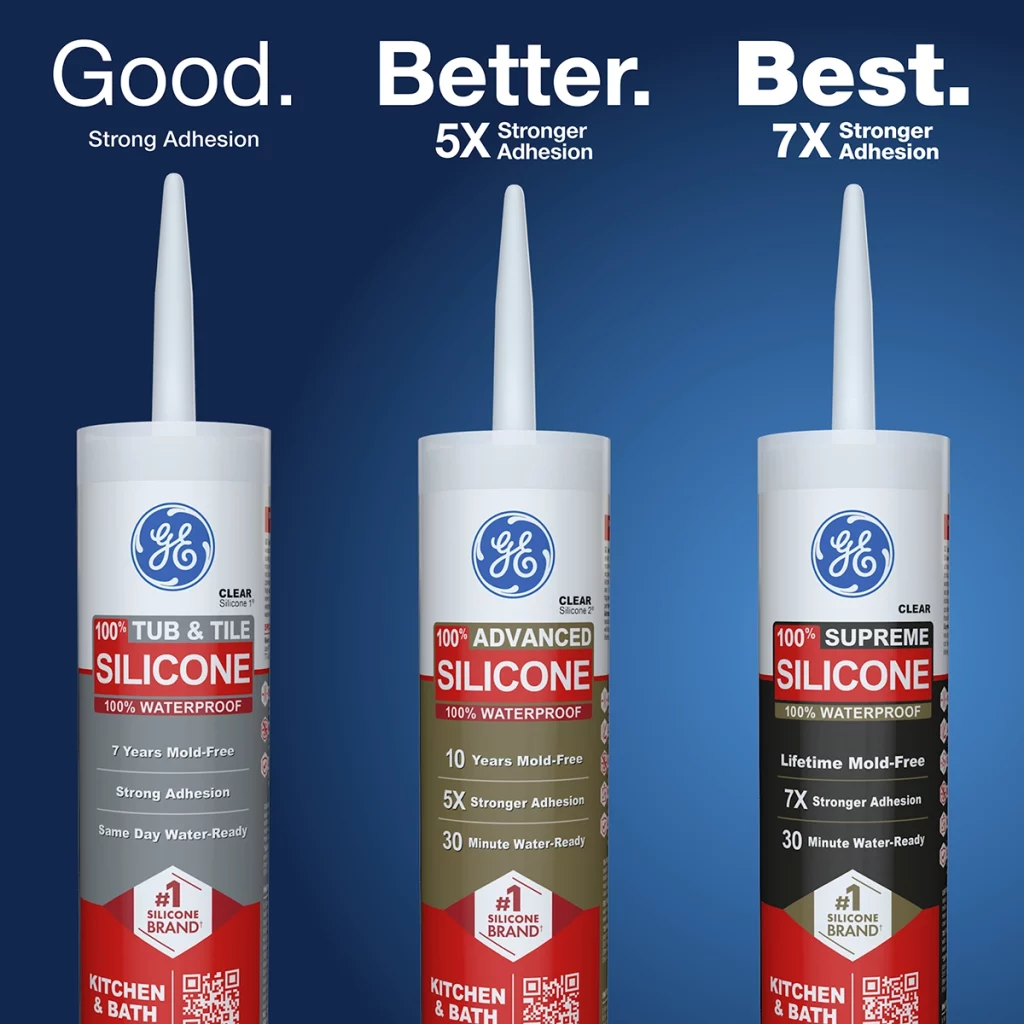
Switching to mold-resistant materials adds long-term protection.
Anti-Mold Silicone Sealants
After cleaning or replacing seals, apply mold-resistant silicone caulk around the edges.
Top recommended options include:
- GE Advanced Silicone 2+ for Kitchen and Bath
- DAP Kwik Seal Ultra
Both contain mildewcides that inhibit growth for months. Apply in a thin, even bead and smooth with a damp finger. Allow 24 hours to cure fully.
Anti-Fog Window Films
These films reduce condensation and create a less hospitable environment for mold. Easy to cut and apply, they’re ideal for rental properties or temporary fixes.
Common Mistakes That Reduce Cleaning Success
Even with the right tools, errors can undermine your efforts.
Using Too Much Water
Excess moisture during cleaning seeps into frames and worsens mold problems. Always wring out cloths well and dry the area immediately afterward.
Skipping Ventilation
Cleaning mold in a closed room spreads spores throughout your home. Always ventilate during and after the process.
Ignoring Root Causes
If you clean mold but don’t address humidity or leaks, it will return. Focus on prevention, not just removal.
When to Call a Professional Mold Remediation Service
Most window seal mold can be handled at home, but some cases require expert help.
Seek Professional Help If:
- Mold spreads beyond the seal into walls or frames
- You suspect structural water damage
- Mold keeps returning despite repeated efforts
- Someone in your home has serious respiratory conditions
Certified mold remediators use industrial-grade equipment and containment strategies to eliminate contamination safely.
Frequently Asked Questions About Mold on Window Seals
Can I just paint over mold on window seals?
No. Painting over mold traps moisture and allows growth to continue underneath. Always clean and treat the mold first, then apply a mold-resistant sealant if needed.
How long does it take for mold to come back after cleaning?
Without addressing the moisture source, mold can return within weeks. With proper humidity control and prevention, cleaned seals typically stay mold-free for months.
Is the black stuff on my window seal definitely mold?
Not always. A bleach test helps confirm. If the spot lightens within 1 to 2 minutes, it’s likely mold. If it stays the same color, it’s probably dirt or permanent discoloration.
Can I use bleach straight from the bottle on window seals?
Straight bleach is too harsh for rubber and silicone seals. Always dilute it (1 part bleach to 3 parts water) and limit contact time to prevent material damage.
Are mold removal wipes effective on window seals?
Mold removal wipes work for light surface mold but struggle to reach into seal crevices. Spray applications or direct scrubbing with a toothbrush deliver better results.
Will vinegar damage my window seals?
White vinegar is safe for most rubber, silicone, and uPVC seals. However, avoid using vinegar on natural stone or unsealed wood, where the acidity can cause etching.
Key Takeaways for Keeping Window Seals Mold-Free
Getting rid of mold on window seals is straightforward when you catch it early. Use white vinegar or hydrogen peroxide for light cases, scrub gently into crevices, and dry the area completely. Control indoor humidity below 50% and address condensation sources to stop regrowth before it starts.
Your next step is simple: inspect your window seals today, run the bleach test on any suspicious spots, and start a monthly cleaning routine. With consistent prevention and the right products, your windows will stay clear, your air will stay healthier, and your home will look its best for years to come.