
Installing an air conditioner in a crank window feels impossible at first glance. These windows swing outward instead of sliding, leaving no vertical tracks for standard brackets. Many homeowners assume cooling their space means buying an expensive mini-split system. The good news is that you can learn how to install AC in crank window openings using two proven methods that work with both portable and traditional window units.
This guide breaks down each method into clear, actionable steps. You will discover which approach fits your rental situation, window frame material, and cooling demands. By the end, you will have the confidence to tackle this project yourself and enjoy a cool room all summer.
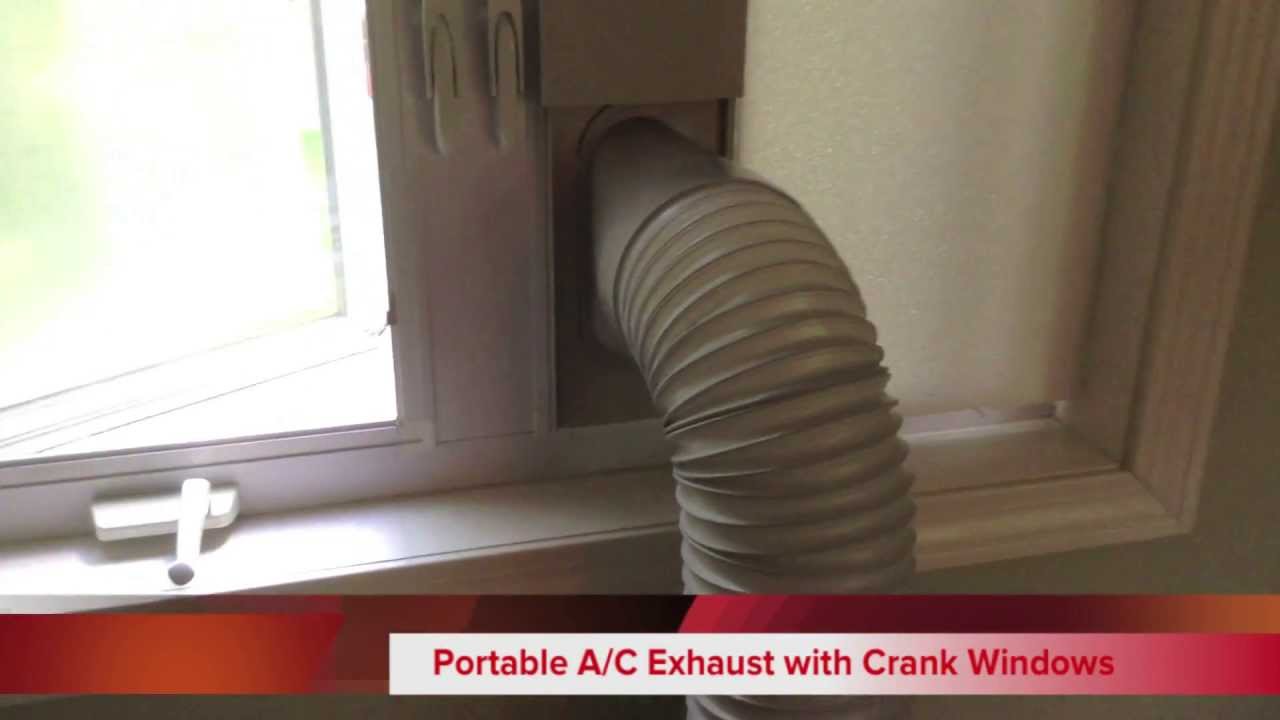
Portable AC Venting with Custom Plexiglass Insert
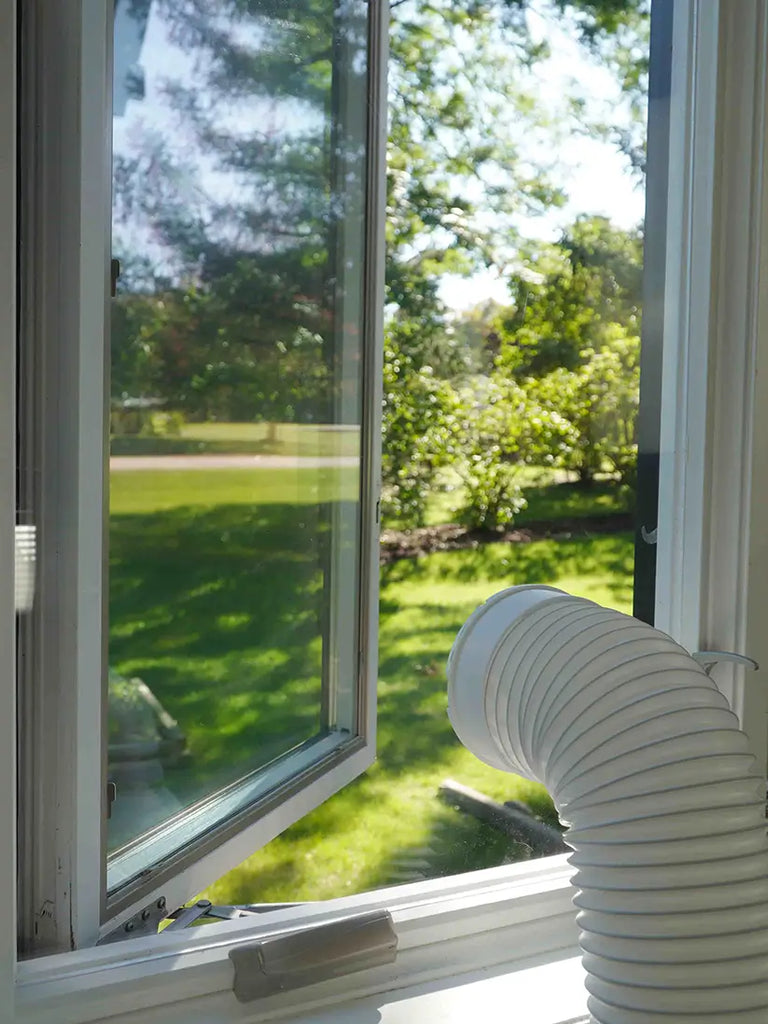
This first method replaces your window screen with a rigid acrylic panel. The panel holds the portable AC exhaust hose securely while sealing out drafts, insects, and rain.
Measure Screen Opening Accurately
Precision matters more than speed here. An error of even 1/8 inch creates gaps that let hot air leak indoors.
Follow these measurement rules based on your window design:
• Screen present: Measure the inner dimensions of the screen frame where the mesh sits.
• No screen: Measure the window frame opening directly.
• Ledge exists: Measure to the edge of the ledge only. Do not include the outer flange.
• No ledge: Include the full flange width so the insert rests flush against the front face.
Use a digital caliper or precision tape measure for accuracy. Record every dimension to the nearest 1/8 inch before ordering materials.
Cut 1/4-Inch Acrylic Panel
Quarter-inch acrylic offers the perfect balance of rigidity and workability. Thinner sheets warp under sun exposure, while thicker ones become difficult to cut cleanly.
Take your measurements to a hardware store or glass shop for professional cutting. Ask them to smooth all edges with fine-grit sandpaper. This prevents cracking during installation and protects your hands from sharp corners.
The finished panel replaces your insect screen and serves as the mounting platform for your exhaust hose adapter.
Install Hose Adapter with Locking Tabs
Most portable AC units use a 5-inch or 6-inch exhaust hose. Confirm your hose size by removing the plastic nozzle and measuring edge-to-edge with a tape measure.
Choose an adapter that includes these critical features:
• Integrated mesh screen to block insects and debris
• Three locking tabs that twist into place without tools
• Compatibility with flexible dryer ducts or rigid metal hoses
Drill holes in your plexiglass panel to match the adapter tab positions. Push the tabs through and twist clockwise to lock them. The adapter should sit flush against the panel with no wobbling.
Mount Insert by Frame Type
Your mounting strategy depends on the window frame material and ledge depth. Each combination requires a slightly different approach.
Wood Frame: Screws or Heavy-Duty Tape
Wood frames offer the most mounting flexibility. For permanent installations, drive screws through window screen clips directly into the frame. For seasonal use, apply heavy-duty double-sided tape along the ledge. Avoid removing the insert frequently to prevent adhesive buildup.
Metal Frame: Press-Fit Clips or Adhesive
Metal frames work well with press-fit screen clips when the groove accepts them. If using adhesive, clean the surface thoroughly with isopropyl alcohol first. Any dust or grease prevents proper bonding.
Vinyl or Plastic Frame: Clips or Velcro
Vinyl frames need gentle mounting methods. Velcro strips work perfectly when the ledge measures at least 1/4 inch thick. For thinner ledges, use screen clips secured with tension rather than screws.
Thin Ledge Under 1/8 Inch: Pin Clips Directly
When the ledge is too narrow for tape or Velcro, pin standard screen clips directly into the frame using small nails or screws. This creates a secure anchor point where surface adhesion fails completely.
Install Window AC with Custom Frame
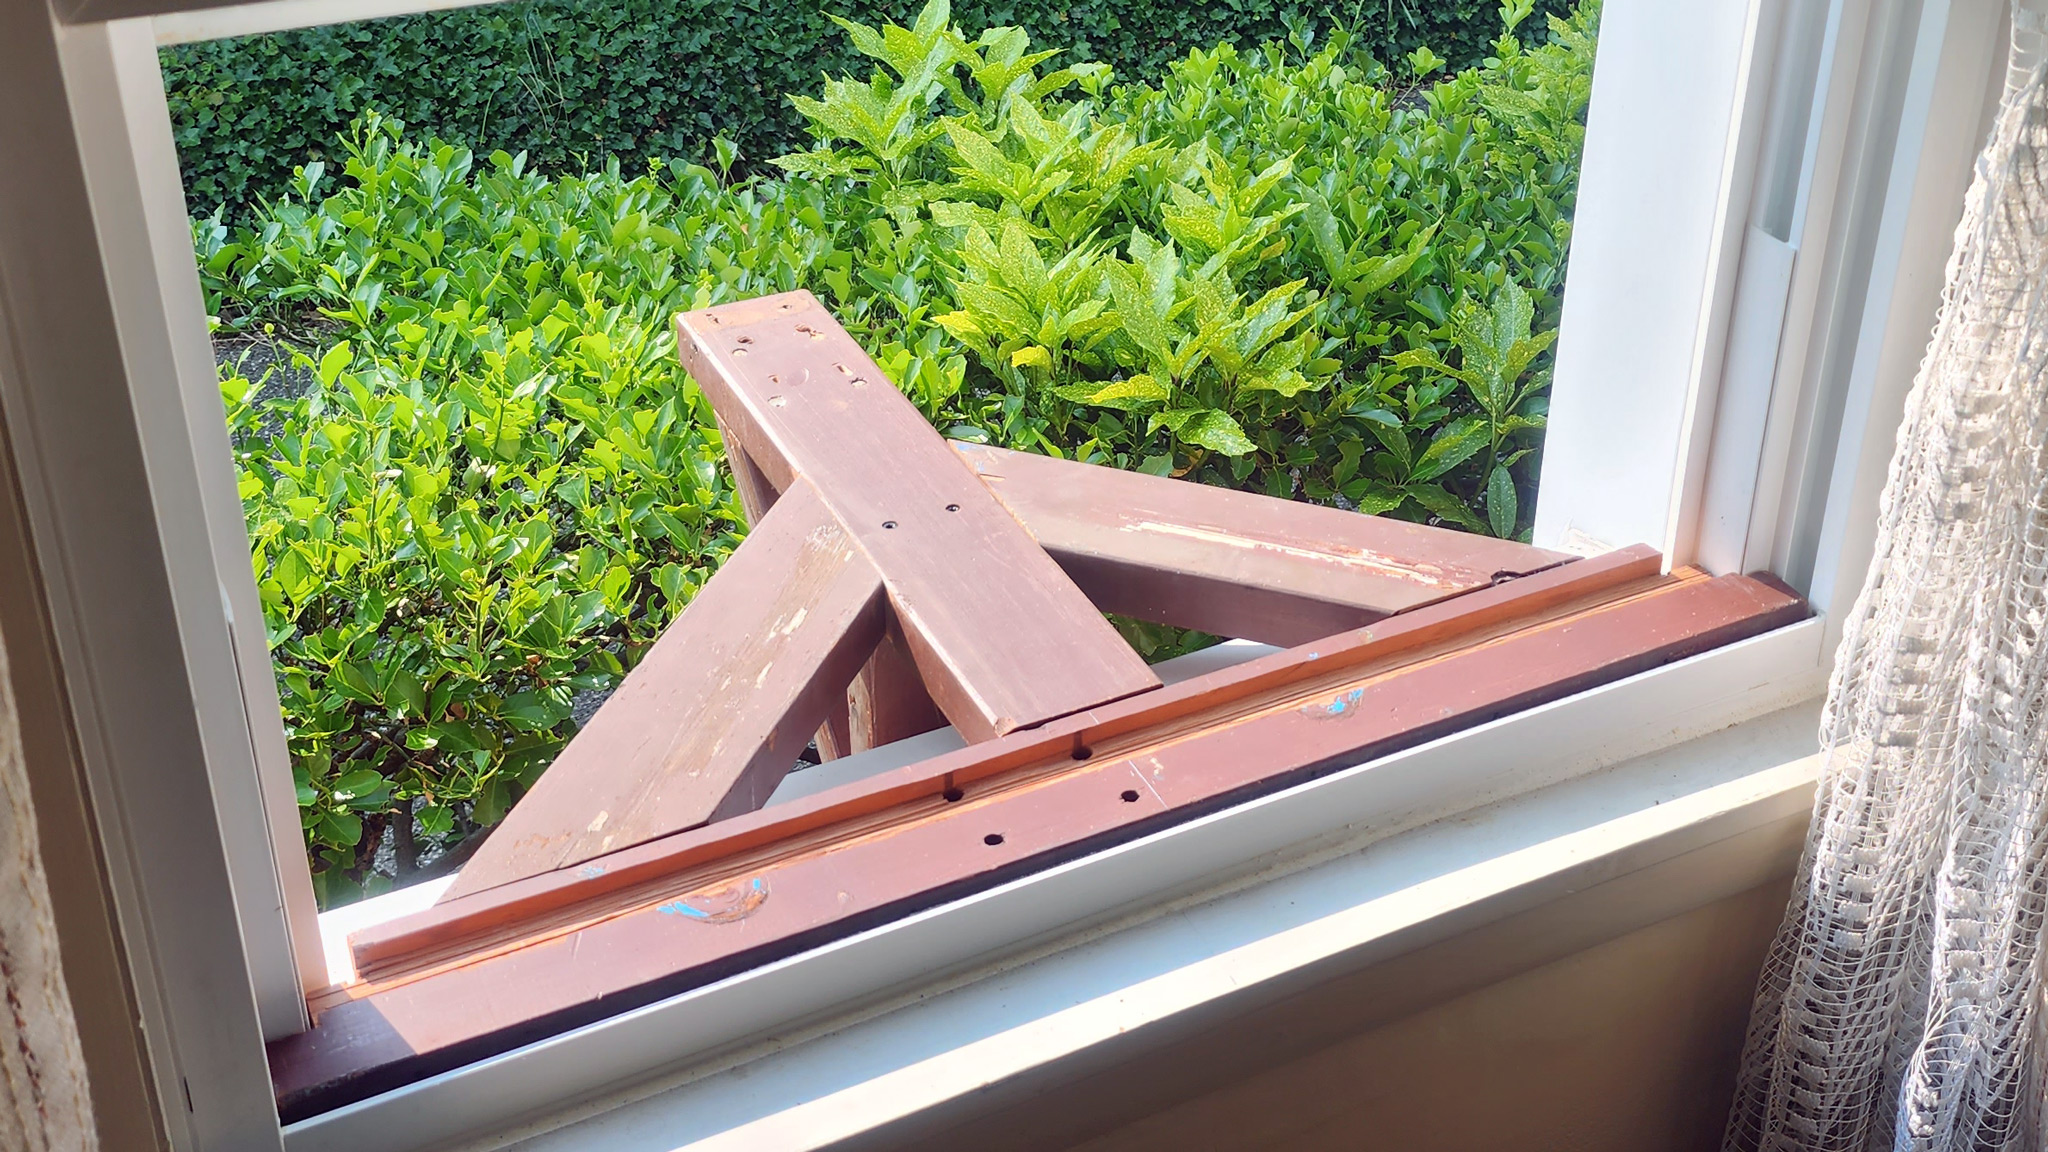
The second method handles traditional window units that deliver stronger cooling. This approach requires structural modifications but supports units up to 14,000 BTU.
Remove Casement Window Frame
Crank windows pivot outward rather than sliding. You must remove part of the frame to create a flat opening for the AC unit.
Follow these steps in order:
- Slide the crank handle back and pivot it downward on both sides to unlock the sash.
- Loosen the screws holding the window frame without removing them completely.
- Locate and remove the stop screw on one side that blocks the black frame component.
- Lift the frame section straight out to expose the full opening.
The space is now ready for AC installation with proper support framing.
Build 2×4 Support Structure
Window AC units weigh between 50 and 80 pounds. Without proper support, the unit sags over time and risks falling.
Insert a standard 2×4 wooden beam into the center channel of the window frame. Position it so it rests under the window sash when closed. This transfers the unit weight directly into the structural frame rather than the window itself.
Add a top support block above the 2×4 if vertical space remains. Use a window extender kit to connect the support structure to the main frame for vibration resistance.
Seal Gaps with Backer Rod
Air leaks waste energy and invite pests into your home. Seal every gap larger than 1/4 inch before installing panels.
Backer rod is a foam rope that compresses into spaces between the unit and frame. Press it firmly into each gap using a utility knife or putty knife. This creates an airtight seal that blocks drafts, moisture, and insects throughout the cooling season.
Install Custom Plywood Panel
After placing the AC unit, fill the remaining opening with a custom-cut plywood panel. Measure the leftover space precisely and cut the panel for a snug fit with no visible gaps.
Secure the panel with two screws driven directly into the window frame. The top section stays in place through pressure alone when the fit is exact. Finish with paint or stain to match your interior décor.
Compare Both Installation Methods
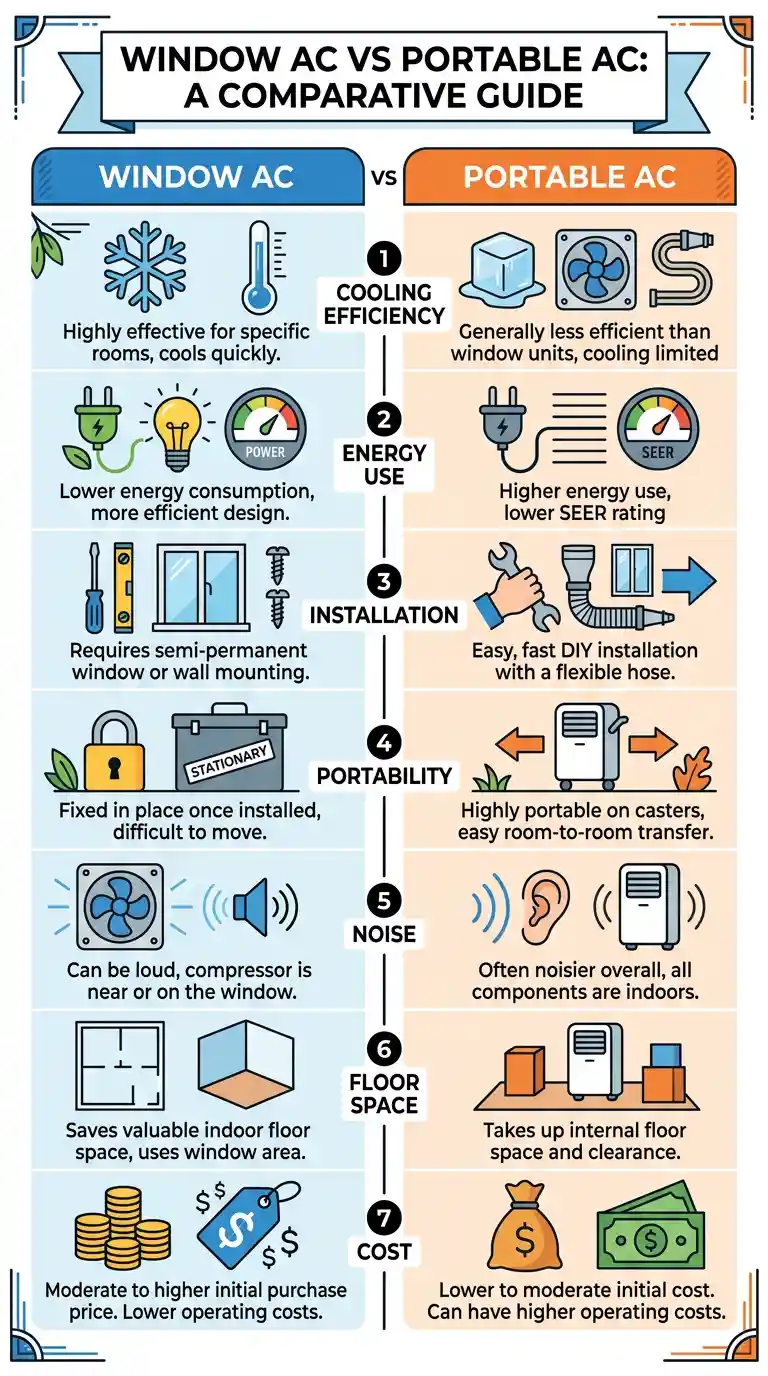
Each method serves different needs and living situations. Understanding these differences helps you choose wisely.
Choose Portable AC for Rentals
Renters benefit most from the plexiglass insert method. It uses Velcro or clips that leave no permanent marks. You can remove the entire setup in minutes when moving out. This protects your security deposit while still delivering reliable cooling.
Opt for Window Unit for Stronger Cooling
Homeowners needing serious cooling power should choose the framed window unit method. It supports units ranging from 8,000 to 14,000 BTU. Long-term efficiency exceeds portable models, making it more cost-effective over years of use.
Evaluate Removability Needs
Think about how often you will install and remove the unit. The plexiglass insert removes in seconds with twist-lock adapters. The framed AC requires seasonal disassembly and indoor storage during winter months.
Required Tools and Materials
Gather these supplies before starting either installation method.
For Portable AC Setup
• Digital caliper or precision tape measure
• 1/4-inch acrylic sheet cut to your dimensions
• 5-inch or 6-inch exhaust hose adapter with mesh and locking tabs
• Window screen clips (screwed or press-fit style)
• Heavy-duty double-sided tape
• Velcro strips for ledges at least 1/4 inch thick
• Drill with appropriate bits for adapter holes
For Window AC Installation
• Screwdriver or drill with bits
• 2×4 lumber for support beam
• 1/2-inch plywood for filler panels
• Backer rod filler for gap sealing
• Utility knife for cutting backer rod
• Measuring tape
• Window extender kit
• 2.5-inch wood screws
Prevent Common Installation Mistakes
Avoid these frequent errors that compromise performance and safety.
Avoid Warped or Flimsy Panels
Never use thin plastic, cardboard, or fabric inserts. These materials sag under wind pressure, allow air leaks, and degrade quickly. Quarter-inch acrylic provides the rigidity needed for a long-lasting seal.
Do Not Skip the Support Beam
Window ACs require structural support. Without a 2×4 beam, the unit sags, stresses the window frame, and risks falling. Always rest the beam under the sash for proper load transfer.
Seal Every Gap Completely
Unsealed openings waste energy and invite pests. Use backer rod before adding panels, check for light leaks around the unit, and reseal annually before summer arrives.
Align the Hose Adapter Properly
If the adapter does not twist-lock correctly, the hose may disconnect during operation. Rain enters the home, bugs crawl inside, and exhaust air recirculates indoors. Ensure holes in the plexiglass align perfectly with adapter tabs before locking.
Maintain Your Installation Yearly
Regular maintenance extends the life of your setup and keeps cooling efficiency high.
Clean Adapter Mesh Regularly
Dust and pollen clog the mesh screen on your exhaust adapter. Remove the adapter every four to six weeks during heavy use. Rinse with water and a soft brush, then reinstall for optimal airflow.
Inspect 2×4 Support Annually
Check that the support beam has not shifted before each cooling season. Tighten any loose screws and look for signs of wood rot or compression. A stable base ensures safe operation year after year.
Replace Degraded Backer Rod
Foam backer rod compresses or dries out after two to three seasons. Remove old filler and replace with fresh material. Use expanding foam only as a last resort since it can damage frames during removal.
Manage Adhesive Residue
Remove double-sided tape slowly to minimize residue. Clean leftover adhesive with isopropyl alcohol and a soft cloth. Avoid harsh chemicals that damage vinyl surfaces or paint finishes.
Frequently Asked Questions About Installing AC in Crank Windows
Can you put a window AC unit in a crank window?
Yes, you can install a window AC unit in a crank window by removing part of the casement frame and building a custom support structure with a 2×4 beam and plywood panels. This method supports units up to 14,000 BTU when properly framed.
What is the best AC for casement windows?
Portable air conditioners work best for casement windows when paired with a custom plexiglass insert. Traditional window units also work but require structural modifications including frame removal and 2×4 support beams.
How do you vent a portable AC through a casement window?
Create a custom plexiglass insert that replaces your window screen. Drill holes for a 5-inch or 6-inch exhaust hose adapter with locking tabs. Mount the insert using clips, tape, or Velcro depending on your frame material.
Do casement window AC brackets exist?
Standard window AC brackets do not fit casement windows because these windows lack vertical sliding tracks. Custom solutions like plexiglass inserts or framed support structures replace traditional brackets entirely.
Will a portable AC cool a room with casement windows?
Yes, a portable AC cools effectively when properly vented through a sealed plexiglass insert. The key is eliminating air leaks around the exhaust hose so hot air cannot recirculate into the room.
How much does it cost to install AC in a crank window?
Costs vary by method. The plexiglass insert approach runs $50 to $150 for materials. The framed window unit method costs $100 to $300 including lumber, plywood, and hardware. Professional installation adds $200 to $500.
Key Takeaways for Installing AC in Crank Windows
Learning how to install AC in crank window openings opens up cooling options you might have thought impossible. The plexiglass insert method offers a quick, removable solution perfect for renters and seasonal use. The framed window unit method delivers stronger cooling for homeowners willing to make structural modifications.
Before starting your project, measure your window opening precisely and identify your frame material. Gather all tools and materials in advance to avoid mid-project trips to the hardware store. Test fit every component before final installation to catch dimension errors early.
Your next step is choosing the method that matches your living situation and ordering the materials today. A cool, comfortable room is just one weekend project away.



