
Every winter, cold air sneaks into homes through one of the most overlooked spots, the front door. If your door feels drafty, your heating bill is climbing, or you can see light under the frame, it is time to act. Insulating a door properly can cut heat loss, improve comfort, and reduce energy costs by up to 20 percent. The good news is most fixes are affordable, DIY-friendly, and take less than an hour.
This guide walks you through every step, from diagnosing leaks to choosing the right weatherstripping, sealing hidden gaps, and upgrading insulation behind the scenes. Whether you are a homeowner, renter, or weekend DIYer, you will learn how to make your door airtight without replacing it unless it is time to upgrade.
Check for Air Leaks Before Buying Supplies

Before buying supplies, confirm where cold air enters. A drafty door often has multiple leak points that need attention.
Look for These Common Gaps
Measure space between door and jamb using a ruler. Anything over 1/8 inch needs sealing. Check the bottom gap by sliding paper under the door, which indicates cold air is getting in. Close the door gently to test if it presses snugly against the weatherstrip or if the striker plate is off. At night, have someone shine a flashlight outside to spot any glow indoors marking an air path.
Test With a Candle or Incense
Hold a lit candle or incense stick near door edges, the threshold, the letterbox, and the keyhole. Flickering smoke means airflow is present. Mark each leak with tape so you remember where to repair.
Pro Tip: Stand outside and gently push the door closed. If it hits the threshold before latching, the bottom may need trimming or the strike plate adjusting.
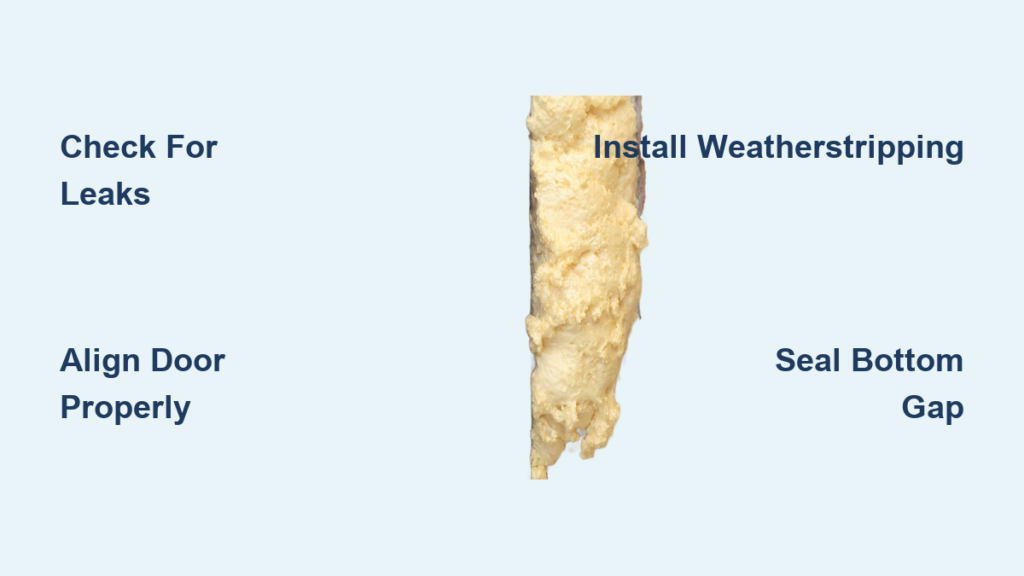
Align the Door for Proper Closure
No amount of weatherstripping works if the door does not close flush. Misalignment is common in older homes or doors with loose hinges.
Tighten or Shim Hinges
Remove hinge screws and replace with 3-inch structural screws that reach wall framing. If the door sags, insert wood shims behind the hinge mortise to shift it inward. Reattach hinges with new screws to pull the door tighter to the jamb.
Adjust the Strike Plate
Loosen screws on the strike plate and slide it up, down, or sideways so the latch fully engages. Use a utility knife to deepen the mortise if the latch binds.
Warning: A door that opens with a credit card, without unlocking, is both insecure and poorly sealed. Fix immediately.
File Down Contact Points
If the bottom corner drags on the threshold, mark the contact spot. Use a hand file or plane to remove 1/16 inch of wood. Test repeatedly until it clears without leaving a gap.
Install Weatherstripping on Sides and Top
Weatherstripping seals the vertical and top edges of the door. Choose the right type for your gap size and traffic level.
Pick the Right Type
| Type | Best For | Lifespan |
|---|---|---|
| Kerf weatherstrip | Doors with pre-cut channels | 5+ years |
| V-strip metal-clad | High-traffic doors, wide gaps | 7-10 years |
| Tubular rubber gasket | Maximum compression, durability | 5-7 years |
| Foam tape | Temporary or budget fix | 1-2 years |
| Extra-thick foam | Gaps up to 1/4 inch | 2-3 years |
Apply Kerf or Adhesive Strips
Remove old material completely and clean the jamb with rubbing alcohol. Cut the strip 1/2 inch longer than needed and compress slightly when installing. Press firmly into the groove or onto the surface.
Expert Move: For large gaps, back standard foam with a thin strip of closed-cell foam to increase pressure.
Choose Durable V-Strip for Heavy Use
Install aluminum or bronze V-strip into pre-drilled holes on the jamb. The vinyl V compresses when the door closes, sealing uneven gaps. This is ideal for exterior doors with seasonal expansion.
Avoid: Installing weatherstripping on the moving door where friction wears it out fast. Always apply to the jamb side.
Seal the Bottom Gap
Up to 60 percent of door drafts come from the bottom. Two parts work together: the threshold and door sweep.
Upgrade the Threshold
Adjustable thresholds have screws to raise or lower height. Set it so the door lightly drags when closed, enough to seal but not bind. Replace corroded or warped metal thresholds with bronze or aluminum models.
Install a Door Sweep
A door sweep attaches to the inside edge of the door bottom. Choose rubber or vinyl for quiet operation on hard floors. Use brush-style sweeps for carpet or uneven surfaces. Select adjustable models to fine-tune drop height.
Installation Steps
Measure door width and cut the sweep to size with a handsaw. Pre-drill holes to prevent splitting. Screw into place so the seal just touches the threshold.
For Renters: Use peel-and-stick sweeps or magnetic automatic bottoms that do not require drilling.
Consider an Automatic Door Bottom
An automatic door bottom retracts when the door opens and seals when closed. This is best for high-end installations or tight clearances. It is more expensive but nearly invisible.
Plug Hidden Drafts From Letterbox and Keyhole
Small openings add up. A letterbox can leak as much air as a square inch hole, enough to cool a room over time.
Fix the Letterbox
Replace a basic slot with a brush-sealed flap that closes automatically. Seal gaps around the unit with low-expansion spray foam or painter’s caulk. For extra insulation, glue a foam gasket behind the interior cover.
Cover the Keyhole
Install a spring-loaded escutcheon, the exterior plate with a flap. Alternatively, glue a felt or foam cover inside. Seal around the outer rim with silicone caulk.
Energy Impact: Sealing these micro-leaks can reduce heat loss by up to 10 percent in older homes.
Insulate Behind the Door Frame

Most builder-grade doors lack insulation between the frame and wall cavity, creating a hidden thermal bridge.
Use Low-Expansion Spray Foam
Score the paint line around the interior casing with a utility knife. Gently pry off trim to expose the gap. Inspect and if no insulation is visible, proceed. Spray door-and-window-specific foam, not standard insulation foam. Do not overfill since low-expansion foam expands slowly. Wait 24 hours to cure. Trim excess flush with a utility knife and reinstall casing.
Caution: High-expansion foam can warp frames. Never use standard insulation foam here.
Renter Warning: This method is not reversible. Only do it if you own the home or have permission.
Boost Hollow Core Door Insulation
Hollow core doors, common in older homes, are basically cardboard inside and offer almost no insulation.
Add Rigid Insulation Inside
Remove any interior molding or panel. Cut XPS foam board, 1/2 inch thick with R-2.5, to fit the cavity. Insert and secure with construction adhesive. Reattach the panel or cover with hardboard.
Alternative: Glue rigid foam directly to the interior face. Cut to size, use panel adhesive, and cover with paintable MDF or plywood for durability.
Reflective Option for Hot Climates
Face west-facing doors with foil-faced polyisocyanurate board, R-6.5 per inch. This reflects solar heat before it enters. Combine with thermal curtains for best effect.
Long-Term Fix: Replace with a solid-core wood or insulated fiberglass door when possible.
Insulate Glass and French Doors
Glass has poor R-value and often leaks at the edges, making these doors prone to heat loss.
Use Thermal Curtains
Hang heavy, insulated drapes that extend beyond the door frame. Close them at night and choose blackout lining for maximum heat retention.
Apply Window Insulation Film
Use a shrink-wrap kit like 3M Indoor Window Insulator. Clean the glass, apply double-sided tape, attach the film, and heat with a hair dryer. This creates an invisible insulating air pocket.
Seal Between Panes and Frame
Add magnetic or adhesive gaskets where glass meets the sash. This prevents air movement in multi-panel doors.
Upgrade Tip: Replace single-pane glass with double-glazed or Low-E inserts for permanent efficiency.
When to Replace the Door Instead
Sometimes insulation is not enough. Replace the door if you see rot or warping at the bottom rail, cracks in wood or fiberglass, persistent drafts after sealing, an interior door used outdoors, or weak security that makes it easy to kick in.
Best Replacement Options
| Type | R-Value | Pros | Cons |
|---|---|---|---|
| Fiberglass with foam core | R-5 to R-6 | Durable, rot-proof, high efficiency | Higher cost |
| Steel with polyurethane | R-5 to R-7 | Strong, good insulation | Can dent, may rust |
| Solid wood sealed | R-2 to R-3 | Beautiful, long-lasting | Needs maintenance |
Top Pick: Fiberglass doors with moisture-resistant bottom rails will not swell or rot like wood.
Temporary Fixes for Renters
You do not need to own to stay warm. Use non-permanent solutions that do not damage the property.
Use Non-Permanent Solutions
Apply adhesive weatherstripping that is removable foam or felt tape. Place a draft snake, a fabric tube filled with rice or sand, along the base. Hang a thermal-backed drape inside the door as a DIY door curtain. Use peel-and-stick threshold seal that sticks under the door and removes cleanly.
Pro Renter Move: Take photos before and after. Some landlords may reimburse energy-saving upgrades.
Test and Maintain Your Work
Insulation fades over time. Stay ahead with annual checks to ensure seals remain effective.
Re-Test for Drafts
Repeat the candle or incense test every fall. Look for new gaps due to seasonal wood movement.
Maintenance Checklist
Replace weatherstripping every 3 to 5 years. Clean sweeps and tracks of dirt and debris. Lubricate hinges and latch with silicone spray. Tighten screws on hinges and strike plates. Repaint wood doors every few years to block moisture.
Frequently Asked Questions About Insulating a Door
How do I know if my door needs insulation?
Check for visible light under the door, feel for drafts around edges, or hold a lit candle near the door frame. Flickering flame indicates air leakage. High energy bills in winter also suggest door insulation problems.
What is the best weatherstripping for exterior doors?
Kerf weatherstripping lasts over 5 years and fits doors with pre-cut channels. V-strip metal-clad options handle high-traffic doors and wide gaps for 7 to 10 years. For gaps up to 1/4 inch, use extra-thick foam strips.
Can I insulate a door without replacing it?
Yes. Most doors can be sealed with weatherstripping, door sweeps, threshold upgrades, and frame cavity foam. Only replace if there is structural damage, warping, or persistent drafts after sealing.
How much does door insulation cost?
Budget options start under $20 for foam tape and a door sweep. Complete weatherstripping runs $30 to $50. Professional frame foam insulation adds $50 to $100. Full door replacement ranges from $300 to $1,500.
How long does weatherstripping last?
Foam tape lasts 1 to 2 years. Extra-thick foam lasts 2 to 3 years. Kerf and tubular rubber options last 5 to 7 years. V-strip metal-clad lasts 7 to 10 years with proper maintenance.
Does door insulation really save money?
Yes. A well-insulated door can reduce heating and cooling costs by up to 20 percent. Combined with proper sealing, this improves comfort and extends HVAC system life.
Key Takeaways for Insulating Your Door
A well-insulated door is not just about comfort, it is a direct upgrade to your home energy efficiency. Start by checking for air leaks with a candle test, then align the door properly using hinge shims and striker plate adjustments. Install quality weatherstripping on sides and top, choosing kerf or V-strip options for long-lasting seals. Address the bottom gap with a door sweep and adjustable threshold, targeting the area where 60 percent of drafts originate.
Do not ignore hidden leaks. Seal the letterbox with brush flaps, cover keyholes, and insulate behind the frame using low-expansion spray foam. For hollow core doors, add rigid XPS board inside. Use thermal curtains for glass doors as a supplemental barrier. Whether you spend $10 on foam tape or $1,000 on a fiberglass replacement, every seal brings you closer to a quieter, warmer, and more efficient home.


