
Nothing ruins a sunny afternoon like streaky, smudged windows blocking your view of the outdoors. If you have battled with store-bought sprays that leave fog or residue behind, you are not alone. The good news is that learning how to make vinegar window cleaner takes only minutes and uses two ingredients already in your kitchen. This simple, eco-friendly solution cuts through grime, grease, and hard water spots without harsh chemicals.
In this guide, you will discover the exact ratio, application technique, and drying method that professionals swear by. Whether you are cleaning ground-floor panes or tall exterior glass, this DIY approach works fast and costs almost nothing. Let us walk through every step so your windows shine like new.
Mix the Perfect Vinegar Window Cleaner Solution

The right ratio is the foundation of a streak-free shine. Too much vinegar can leave an acidic film, while too little will not cut through grime.
Combine Equal Parts White Vinegar and Water
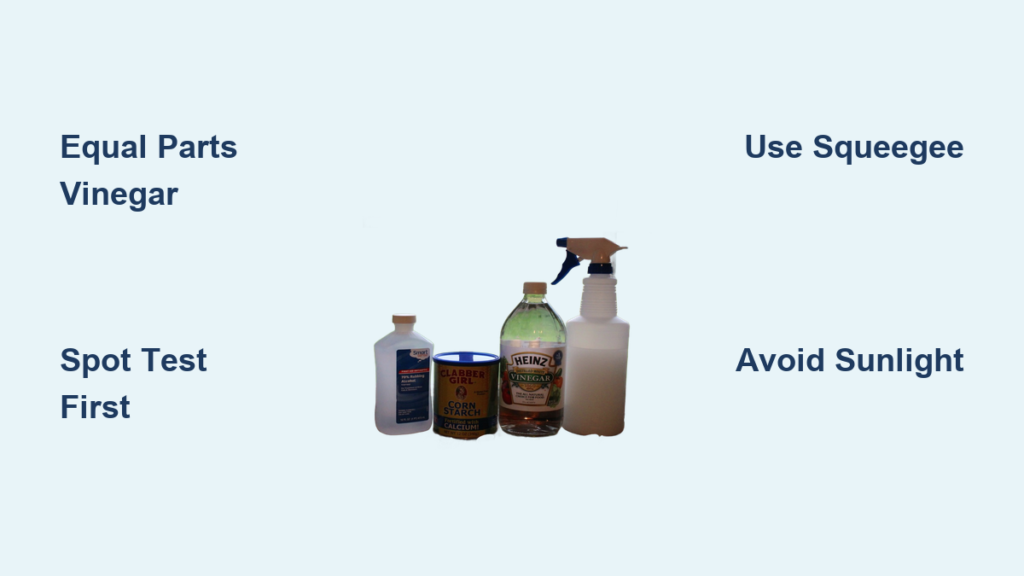
Mix 1 part white vinegar with 1 part water in a clean spray bottle or bucket. For a standard batch, combine 1 cup of vinegar with 1 cup of water. This balanced blend dissolves dirt and grease while staying gentle on glass.
- Use only clear white vinegar for a residue-free finish
- Skip apple cider or flavored varieties, which can stain glass
- Choose distilled water if you live in a hard water area
Strengthen the Mix for Heavy Buildup
For windows coated in pollution, tree sap, or winter road salt, increase the vinegar to a 2:1 ratio. This stronger formula breaks down stubborn residue that a standard mix cannot lift.
Pro Tip: Always spot-test a stronger solution on a hidden corner before treating the entire pane.
Prepare Your Windows Before Cleaning
Skipping prep is the fastest path to smeared glass. Removing loose debris first lets your cleaning solution do its real work.
Wipe Away Dust and Loose Dirt
Run a dry microfiber cloth or soft-bristle brush across the entire window surface. Start at the top and work downward so debris does not fall onto cleaned sections.
- Focus on corners and window tracks where grime collects
- Rinse your cloth often to avoid grinding particles into the glass
- Use gentle pressure to prevent scratches
Clear Cobwebs and Insect Nests
Inspect the frame edges and corners, especially on exterior windows. A quick brush pass removes spiderwebs and insect debris before liquid hits the glass.
Apply the Vinegar Cleaner the Right Way

Application technique directly affects whether you end up with streaks or a flawless finish.
Work in Manageable Sections
Dip your sponge or brush into the bucket and apply the solution to one small area at a time. Covering too much surface causes the liquid to dry before you can wipe it off, leaving marks behind.
- Aim for sections around 2 square feet
- Keep the surface visibly wet during scrubbing
- Move on only after drying each section
Use a Bucket for Big Jobs
When cleaning multiple windows or large panes, a bucket offers more control than a spray bottle. It also lets your sponge soak up plenty of solution for deeper cleaning.
Scrub Without Damaging the Glass
Effective scrubbing does not require brute force. The right tool and motion do most of the work.
Pick a Non-Abrasive Tool
Choose a soft sponge or gentle scrubbing brush to agitate the glass. These lift grime without leaving micro-scratches behind.
- Stay away from steel wool, scouring pads, and rough rags
- Swap out sponges once they show wear or trapped grit
Target Stuck-On Spots Carefully
For bird droppings, sap, or hard water marks, let the vinegar solution dwell for 30 to 60 seconds. Then scrub using soft circular motions and reapply if needed. Never press hard, since force can damage the surface.
Dry Your Windows Like a Professional
Drying technique separates amateur results from professional clarity. This step matters most.
Use a Squeegee for Large Panes
A squeegee pulls moisture away cleanly and is ideal for big windows.
Squeegee Technique in 4 Steps
- Place the blade at the top corner of the pane.
- Pull straight down with a slight angle.
- Wipe the blade with a clean microfiber cloth after every pass.
- Overlap each stroke slightly to avoid gaps.
Pro Tip: Try an “S” pattern on wide windows for consistent blade contact.
Wipe with Microfiber When a Squeegee Is Not Available
A dry, lint-free microfiber cloth works well for smaller jobs.
Two-Stage Wiping Method
- First pass: Blot moisture using a zigzag motion.
- Second pass: Finish with straight horizontal or vertical strokes.
- Flip to a dry section as the cloth gets damp
- Wash cloths regularly so dirt does not transfer back to the glass
Prevent Streaks Before They Start
A few smart habits keep your windows looking flawless long after you finish cleaning.
Choose the Right Weather
Direct sunlight dries the vinegar solution too fast, which causes streaks to bake onto the glass.
- Early morning or overcast days work best
- Avoid midday cleaning during summer months
Keep Your Tools Clean
A dirty sponge or cloth simply moves grime around instead of removing it.
- Rinse your sponge after each window
- Wipe squeegee blades and cloth edges frequently
Tackle Tough Stains and Mineral Buildup

Some problems need extra attention beyond a standard cleaning pass.
Remove Hard Water Spots
Cloudy or chalky patches usually signal mineral deposits on the glass.
Treatment Steps
- Boost the vinegar ratio to 2 parts vinegar to 1 part water
- Let the solution sit for 1 to 2 minutes
- Scrub gently and buff dry with a fresh microfiber cloth
Handle Tree Sap and Pollen
Sticky sap and powdery pollen require a different approach.
- Dab full-strength vinegar onto sap using a cloth (do not rub)
- Wipe pollen away first with a damp microfiber cloth, then follow with the vinegar mix
Keep Windows Cleaner for Longer
A few small habits extend the time between deep cleanings.
Rinse After Heavy Rain
Rain mixed with pollen or hard water leaves a thin film. A quick rinse with plain water prevents buildup from setting in.
Follow a Seasonal Cleaning Schedule
How often you clean depends on your surroundings.
- Urban areas: clean every 3 months due to pollution and exhaust
- Suburban or rural homes: every 6 months is usually enough
- Coastal zones: every 3 to 4 months because of salt air
Steer Clear of Common Cleaning Mistakes

Small errors can undo all your hard work. Watch out for these pitfalls.



