
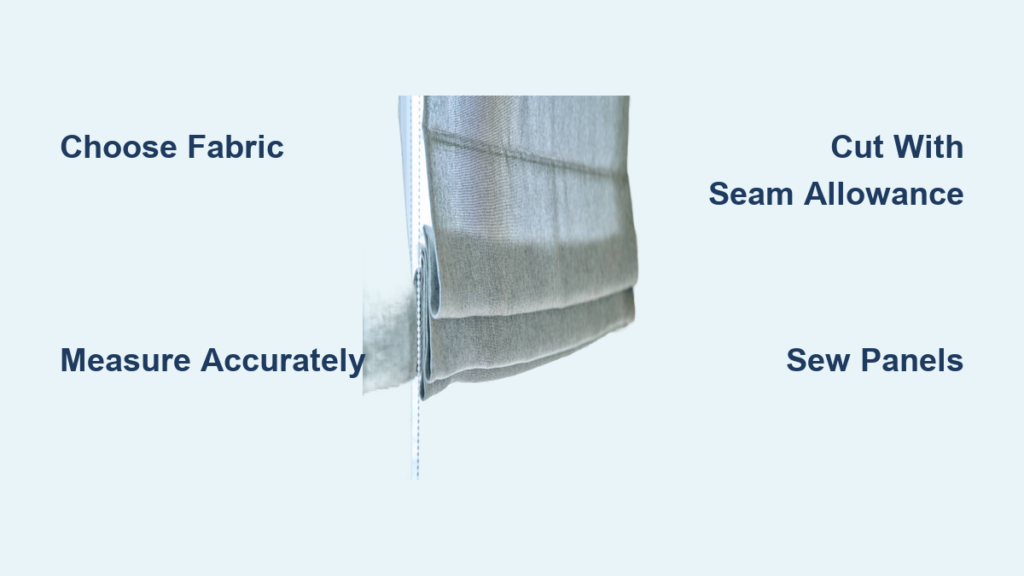
Tired of expensive custom window treatments? You can create beautiful, custom-fit fabric window shades with just a few basic tools and an afternoon of work. Learning how to make window shades from fabric opens the door to affordable, stylish home upgrades that reflect your personal taste. Whether you’re dressing a kitchen window, a nursery, or a sunroom, DIY shades let you choose the perfect color, pattern, and texture without the high price tag.
These handmade shades combine the soft elegance of curtains with the clean lines of blinds. Unlike off-the-shelf options, fabric shades can be tailored precisely to your window dimensions and decor style. Plus, they’re surprisingly simple to build, even if you’ve never touched a sewing machine. From selecting materials to mounting the final product, this guide walks you through every step of making your own window shades from fabric.
Choose the Right Fabric

Lightweight vs Heavyweight Fabrics
Lightweight cotton, linen, or sheer voile works well for rooms where you want soft light and airflow, like bathrooms or breakfast nooks. These fabrics drape nicely and are easy to sew but may offer less privacy and light control.
For living rooms or bedrooms, consider medium to heavyweight fabrics like cotton canvas, blackout lining, or drapery-weight material. These block more light and add insulation, helping regulate room temperature. If you want both style and function, use a layered approach with a decorative outer fabric paired with a hidden blackout lining.
Pre-Wash Fabric to Prevent Shrinkage
Always pre-wash and dry your fabric before cutting. This prevents unwanted shrinkage after the shade is complete. Use the same settings (water temperature, dryer heat) you plan to use for future cleaning.
Avoid stretchy knits or slippery satins for your first project. They’re harder to handle. Instead, opt for stable, tightly woven fabrics that hold their shape.
Measure Your Window Accurately

Inside Mount vs Outside Mount
Decide whether your shade will fit inside the window frame or outside of it.
• Inside mount gives a clean, built-in look. Measure the exact width and height of the window recess, then subtract 1/8 inch from width to ensure smooth operation.
• Outside mount covers the entire window trim and blocks more light. Add 2 to 3 inches to each side and 3 to 6 inches above the frame for full coverage.
Record Dimensions Precisely
Use a metal tape measure for accuracy. Measure width at the top, middle, and bottom, then use the smallest number for inside mounts. For height, measure from the top of the frame (or mounting area) to the sill.
Take multiple height measurements on the left, center, and right. Use the longest one to ensure the shade hangs evenly. Write down your final cut dimensions, including seam allowances (typically 1/2 inch on all sides).
Cut the Fabric to Size
Add Seam Allowances
When cutting your fabric, add 1/2 inch to all sides for seams. For example, if your finished shade should be 24″ x 30″, cut the fabric to 25″ x 31″.
If using lining, cut both the front fabric and lining to the same size. Place them right sides together before sewing.
Use Sharp Tools
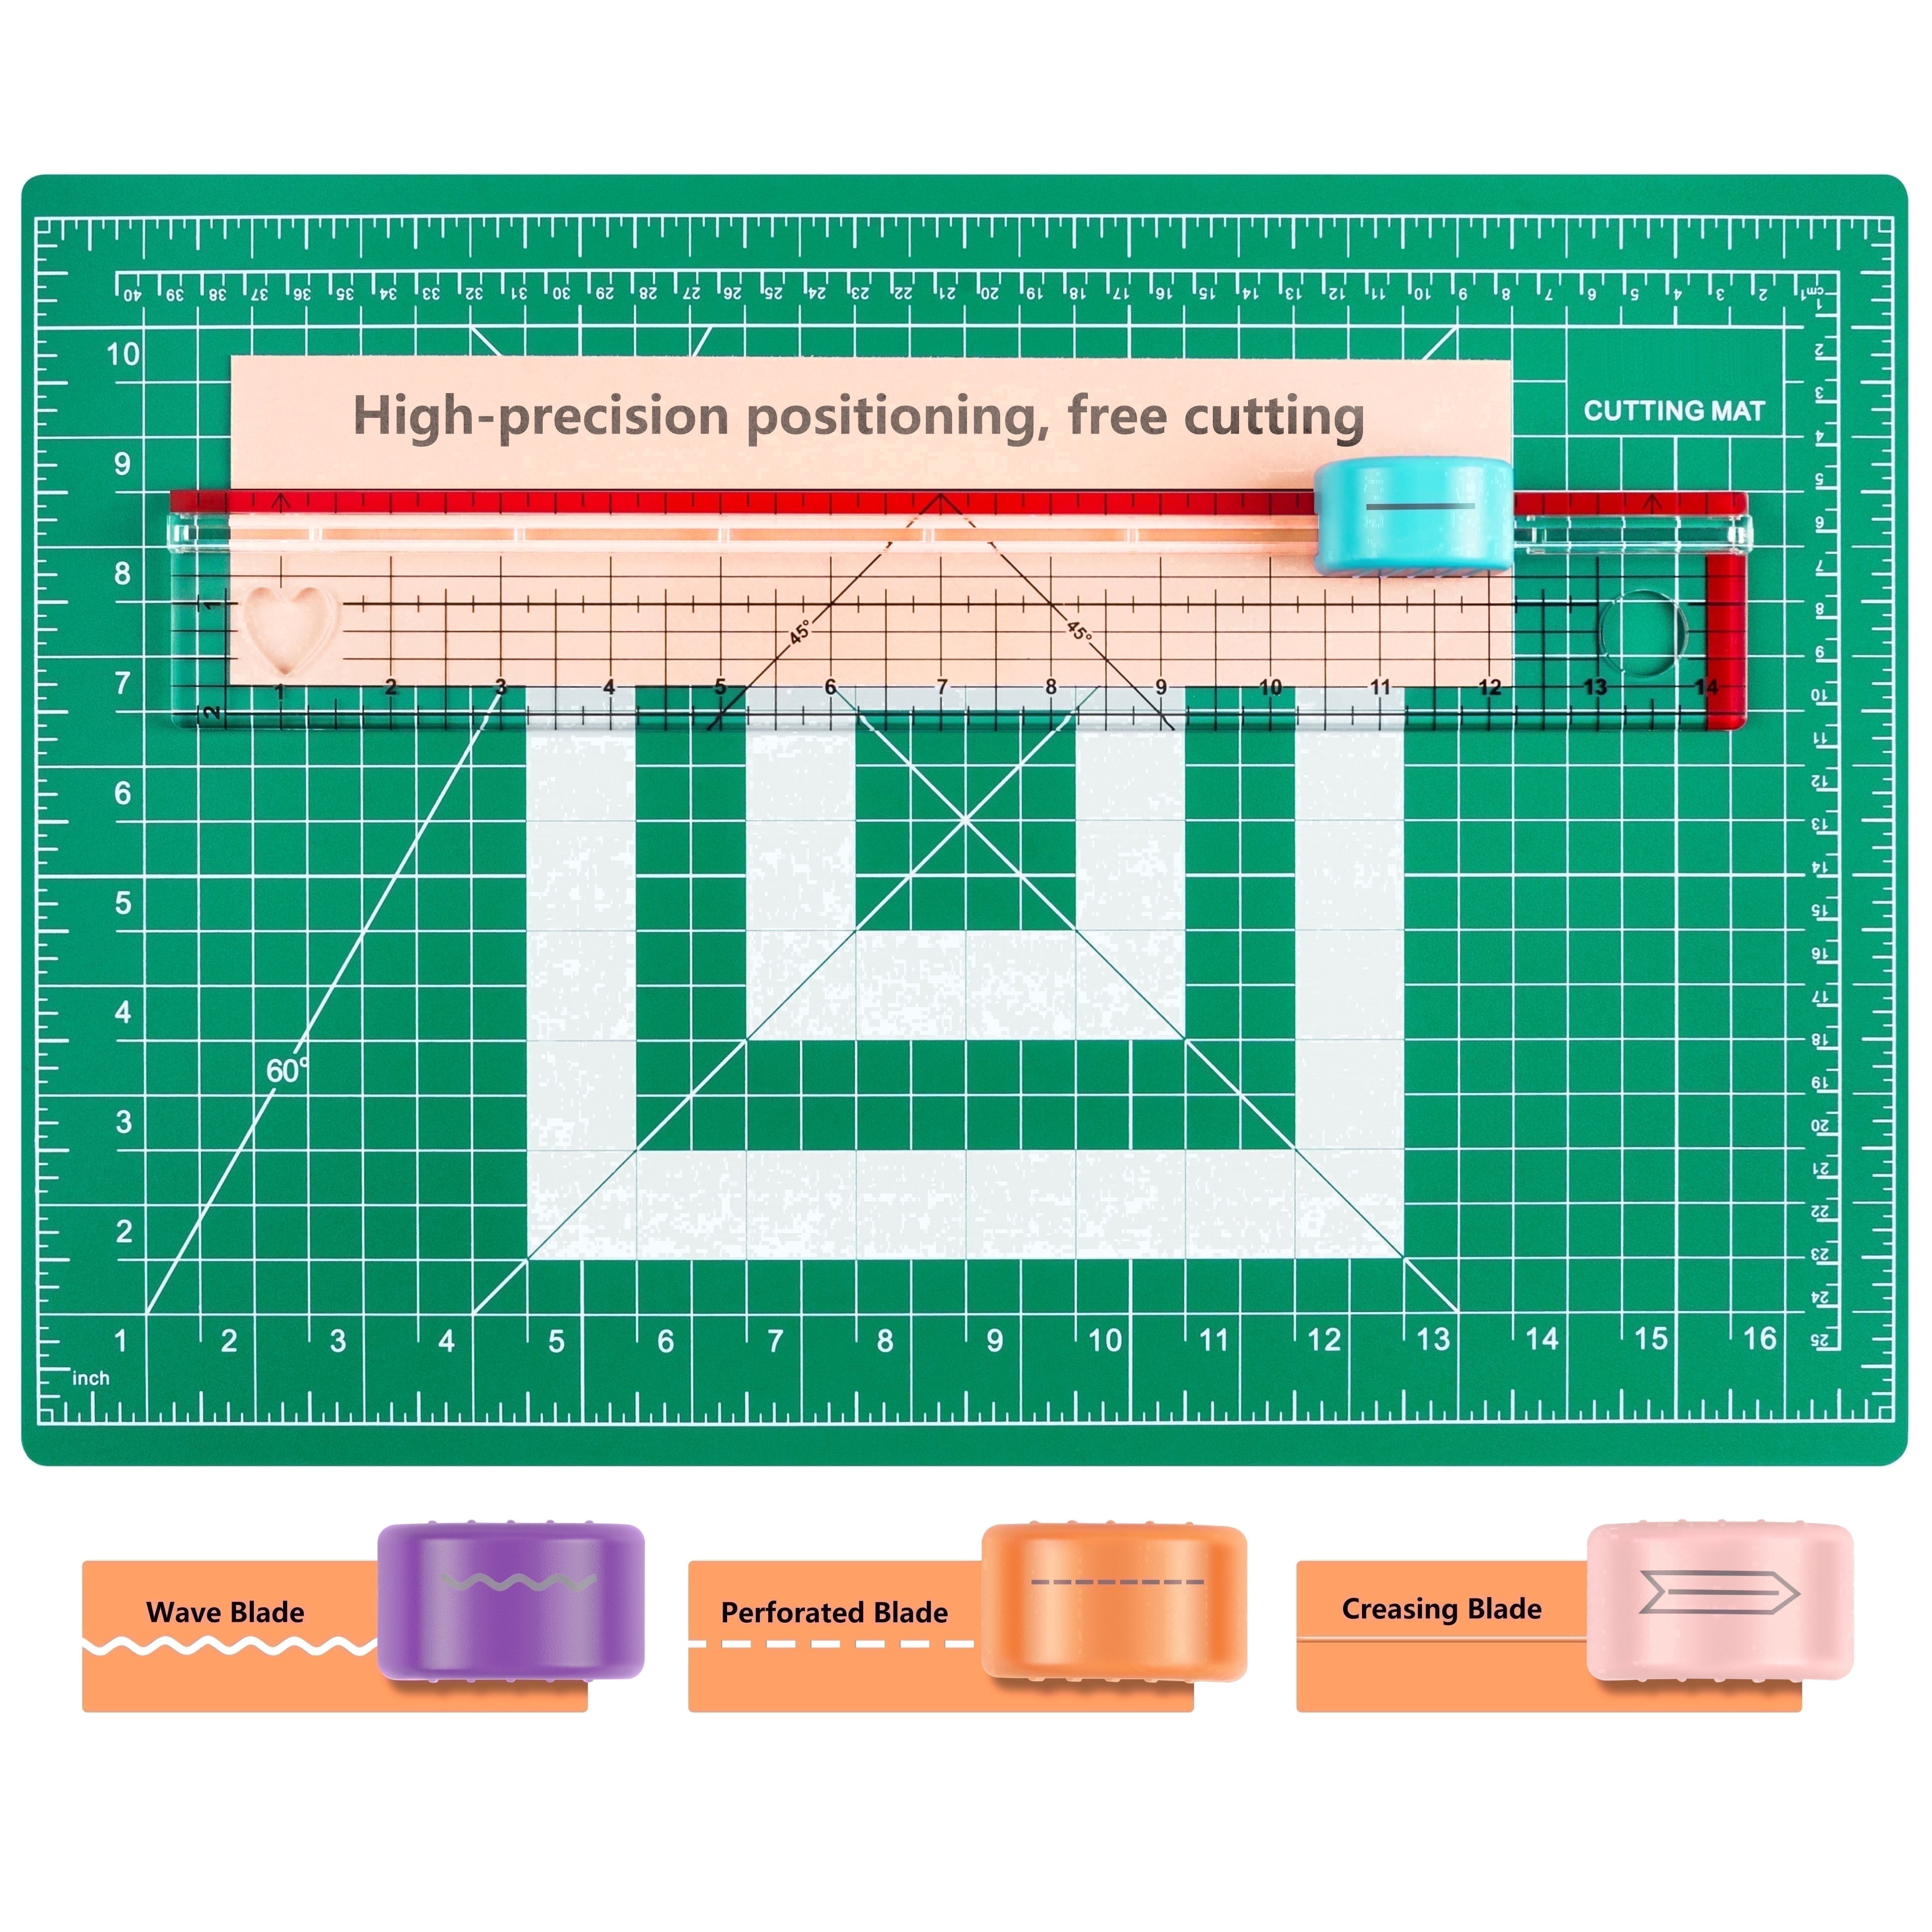
Use fabric scissors or a rotary cutter with a self-healing mat and ruler for straight edges. Jagged or uneven cuts will show once the shade is installed.
For patterned fabrics, align the design vertically so it looks balanced when hung. Mark your cut lines with chalk or washable fabric pen.
Sew the Shade Panels
Join Fabric and Lining (Optional)
For a fuller, more polished look, sew the decorative fabric to a lining. Place the two layers right sides together, pin around the edges, and stitch with a 1/2-inch seam allowance. Leave a 6-inch gap on one side for turning.
Trim corners diagonally to reduce bulk, then turn the shade right side out through the gap. Use a blunt tool (like a chopstick) to push out the corners gently.
Hand-stitch the opening closed with a ladder stitch, or topstitch around the entire perimeter 1/4 inch from the edge to close it by machine.
Press for a Crisp Finish
Use an iron to press



