
Trim pieces scattered across the floor, mismatched corners, and a frantic search for the right length right before installation. If that sounds familiar, you already know why learning how to organize window trim matters. Disorganized trim leads to wasted materials, installation delays, and frustrating mistakes that could have been avoided with a simple system.
This guide gives you a practical, repeatable process for sorting, labeling, storing, and retrieving window trim components. You will learn how to group pieces by style and dimension, build a labeling system that works for any project size, store trim safely to prevent damage, and avoid the most common organization pitfalls. Whether you are finishing one window or renovating an entire home, these strategies keep every piece accounted for and ready to install.
Sort Window Trim by Type and Size Before Anything Else
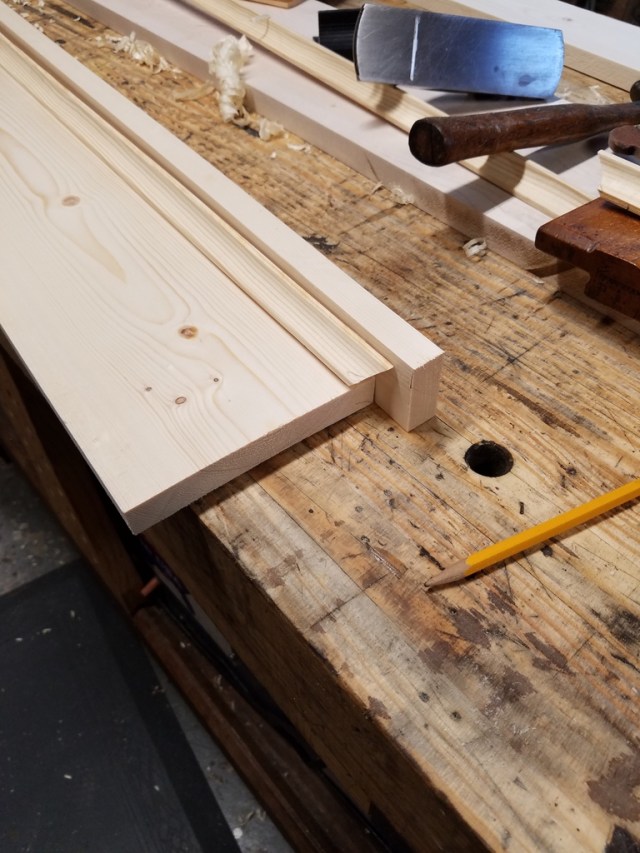
Sorting is the foundation of every good organization system. Before you label or store anything, separate your trim into clear categories so the right piece is always easy to find.
Group Pieces by Trim Style
Window trim comes in several distinct profiles, and mixing them creates confusion during installation. Separate your piles into these categories:
– Casing trim (standard rectangular or profiled)
– Decorative crown or architrave
– Inside and outside corner pieces
– Pre-cut mitered corners
– Base shoe or sill pieces
Keep each style in its own labeled container or zone so nothing gets mixed up.
Separate by Length, Width, and Thickness
Even within the same style, trim dimensions vary. Measure each piece and group accordingly:
– Length: short (under 36 inches), standard (36 to 72 inches), long (over 72 inches)
– Width: narrow (1 to 2 inches), medium (2 to 3 inches), wide (3 inches or more)
– Thickness: standard (¾ inch), thin (½ inch), or custom
Store longer pieces vertically or on wall racks to prevent warping over time.
Label Every Trim Section with a Consistent System
Clear labels eliminate guesswork and let anyone on the job identify contents at a glance. A consistent naming system is the key.
Build a Simple Naming Convention
Tie your labels directly to window locations so retrieval is instant. Try one of these formats:
– Room plus window number (Kitchen_Win3)
– Wall plus position (NorthWall_Left)
– Floor plus zone (Upstairs_Hall)
For precision, add a part descriptor like MasterBed_Win1_CasingTop.
Attach Durable, Weather-Resistant Labels
Choose labeling materials that hold up on a busy job site:
– Plastic tags secured with zip ties
– Masking tape marked with a permanent marker for short-term use
– Laser-printed labels affixed with double-sided tape
Place labels on storage bins, bundles, or directly on large trim stacks where they are easy to see.
Store Window Trim Safely Until Installation Day
Proper storage protects your materials and keeps your organization system intact. Damaged trim is useless trim, so this step matters.
Keep Trim in a Dry, Level Area
Moisture causes warping, swelling, and mold growth. Store trim in a climate-controlled, dry space away from humidity. Avoid garages or basements with damp floors. Use raised pallets or shelves to keep pieces off the ground, and stack flat to avoid bending or bowing.
Use Vertical Racks for Long Boards
Long trim boards should never sit in flat piles for extended periods. Instead:
– Install wall-mounted vertical racks
– Set up sawhorses or pipe stands
– Group same-length pieces together in the same rack slot
This prevents bowing and makes retrieval much faster.
Organize Trim by Installation Zone or Room

When you are working on multiple windows at once, organizing by installation area matches your workflow and saves serious time.
Create Complete Room-Based Kits
Assemble full trim sets for each window so everything you need is in one place. Each kit should include:
– Top, bottom, left, and right casing
– Corner blocks or mitered ends
– Fasteners and touch-up materials
Place all components in a labeled bin or wrap them together with colored tape.
Use Color-Coding for Fast Identification
Assign a color to each room or zone so identification is instant:
– Red tape for the living room
– Blue tape for the bathroom
– Green tape for the kitchen
Color-coded labels work especially well on busy job sites where speed matters.
Pre-Label Each Trim Piece for Exact Placement
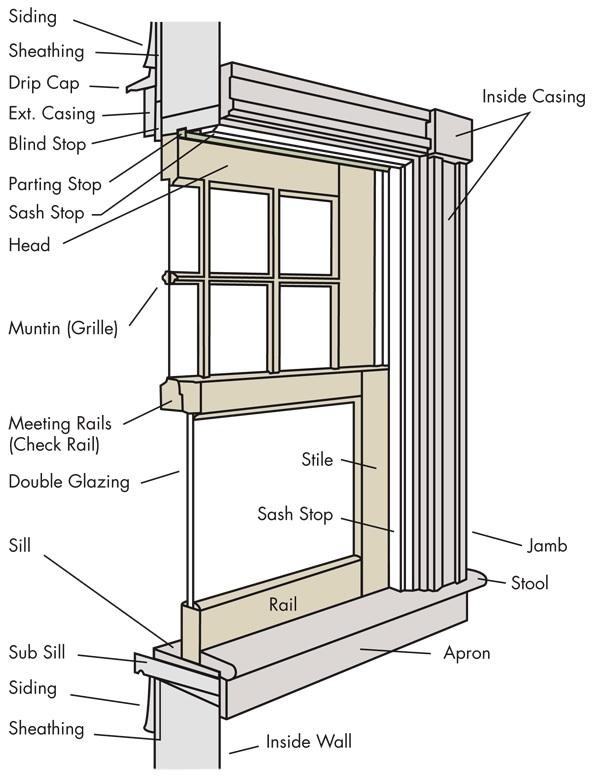
Marking each piece with its final position eliminates guesswork during installation and prevents costly fitting errors.
Mark the Installation Location on the Back
Use a pencil or masking tape to write the placement directly on the back of each piece:
– Top, Win2
– Left, Entry
– Miter Inside Corner
This way, you never have to stop and figure out where a piece belongs.
Number Matching Pairs for Symmetrical Pieces
For mitered corners or symmetrical trim, label each piece as a matched pair:
– Pair 1A and 1B
– Top L and Top R
This guarantees correct alignment and a clean final fit.
Avoid These Common Window Trim Organization Mistakes
Small oversights can derail your entire workflow. Watch for these frequent errors and plan around them.
Never Mix Trim from Different Batches
Wood and composite trim can vary in color or grain between manufacturing batches. Always keep pieces from the same batch together, install all trim from one batch in the same room, and note batch numbers on labels when possible.
Always Do a Final Count Before Installation
Before you start fitting pieces, verify that all four sides are present for each window. Check for damaged or warped pieces and replace or recut any missing components early. A quick checklist prevents mid-installation surprises that cost time and money.
Use Digital Tools to Track Large Trim Projects
On bigger renovations, paper labels alone are not enough. Digital tools add a layer of reliability and team coordination.
Photograph Every Labeled Bundle
Snap a picture of each labeled bundle with your phone and store it in a dedicated project folder. Name files clearly, such as Kitchen_Win1_Casing or Master_Bedroom_Set. Photos are useful for remote reference and team coordination.
Build a Trim Inventory Spreadsheet
Create a simple spreadsheet to track every piece:
– Window location
– Trim type and size
– Quantity used
– Storage location
This helps track usage, reorder supplies efficiently, and manage waste throughout the project.
Frequently Asked Questions About Organizing Window Trim
What is the best way to label window trim for a large project?
Use a consistent naming convention tied to room and window location, such as Kitchen_Win3. Pair the name with a part descriptor like CasingTop or LeftSide. Durable plastic tags, masking tape with permanent marker, or laser-printed labels all work well for job site conditions.
Should window trim be stored flat or upright?
Long trim boards should be stored vertically on wall-mounted racks, sawhorses, or pipe stands to prevent bowing and warping. Short pieces can be stacked flat on raised shelves, but always keep them in a dry, climate-controlled space away from moisture.
How do you keep trim from different rooms separate during a renovation?
Color-coded tape is the fastest method. Assign a unique color to each room or zone, then wrap or tag bundles with that color. Combine color-coding with room-based kits stored in labeled bins for maximum clarity.
Can you mix trim pieces from different batches?
It is best to avoid mixing batches because wood and composite trim can vary slightly in color and grain. Keep pieces from the same batch together and install them in the same room. When possible, note batch numbers on labels for future reference.
How do you prevent window trim from warping during storage?
Store trim in a dry, level area with stable humidity. Use raised pallets or shelves to keep pieces off damp floors, and store long boards vertically to prevent bowing. Avoid garages and basements prone to moisture whenever possible.
Key Takeaways for Organizing Window Trim Efficiently
Organizing window trim is about more than tidiness. It is about efficiency, accuracy, and a professional final result. Start by sorting pieces by style and dimension, then commit to a consistent labeling system tied to room and window location. Store trim vertically in a dry space, build room-based kits with color-coding, and pre-mark each piece with its exact placement. Skip these steps and you risk delays, mismatched pieces, and wasted materials.
Your next step is simple. Pick one window in your current project and apply this system from sorting through labeling. Once you see how smoothly installation flows, expand the approach to every window in the job. A little organization upfront saves hours of frustration later.



