
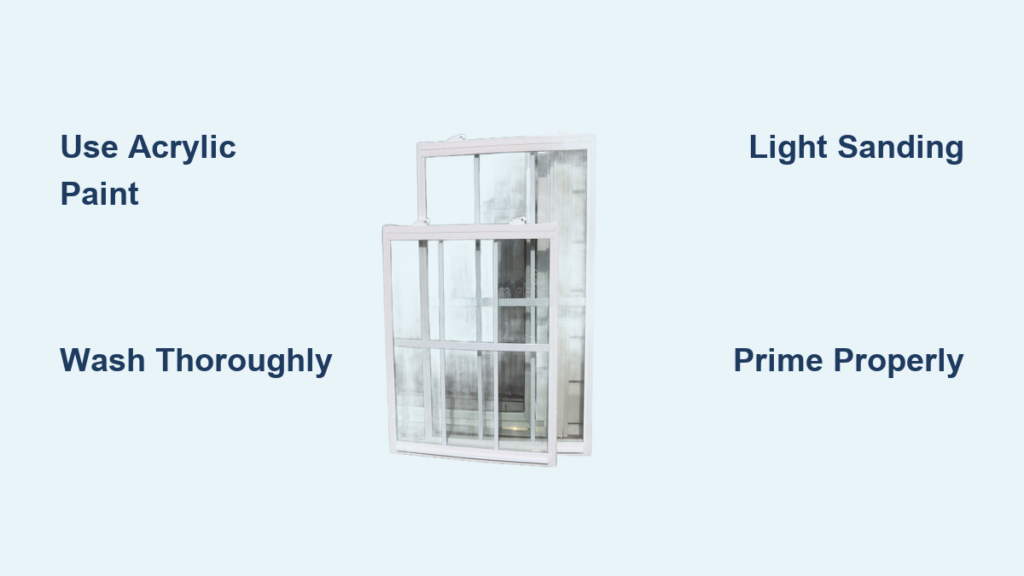
Vinyl windows are popular for their durability and clean appearance, but the factory color doesn’t always match your style. If your beige frames feel dated or clash with new siding, learning how to paint vinyl window frames can refresh your home’s look without replacing them. This DIY project costs far less than new windows and delivers impressive curb appeal when done right.
Painting vinyl takes more care than painting wood because the surface is slick and flexible. The wrong paint will peel, bubble, or cause warping. This guide breaks down the exact products, preparation steps, and techniques you need for a smooth, lasting finish that holds up to sun, rain, and temperature swings.
Select Paint Formulated for Vinyl

Standard house paint fails on vinyl because it cannot flex with the material. You need a paint engineered to bond to slick surfaces and stretch with seasonal movement.
Choose 100% Acrylic Latex Paint
Pick a 100% acrylic exterior latex paint for flexibility and weather resistance. These formulas stay slightly elastic after curing, so they move with the vinyl instead of cracking. Avoid oil-based or alkyd paints, which turn brittle and chip within months.
Trusted vinyl-safe options include:
• Sherwin-Williams Resilience
• Benjamin Moore Aura
• Behr Premium Plus Ultra
Look for labels mentioning flexibility, UV resistance, or vinyl compatibility.
Stick to Light Colors Only
Dark colors absorb heat, and vinyl can reach surface temperatures above 160°F on sunny days. That heat causes warping, sagging, and buckling, and most manufacturers void warranties for dark applications.
Choose colors with a Light Reflectance Value (LRV) of 55 or higher. Safe choices include whites, creams, soft grays, and pale pastels. Always review your window manufacturer’s color guidelines before buying paint.
Wash Every Surface Before Painting
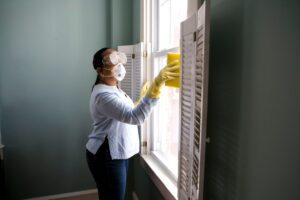
Dirt, chalk, and wax block paint adhesion. A thorough wash creates a clean foundation that helps primer and paint grip properly.
Scrub with Mild Detergent
Mix warm water with a few drops of dish soap or a vinyl-safe cleaner. Use a soft sponge to scrub frames, edges, and corners where grime builds up. Rinse with clean water and skip the pressure washer, since high pressure can force water behind seals.
Remove Chalk and Oxidation
Older vinyl develops a powdery film from UV exposure. This chalky layer must come off before painting. Apply a vinyl brightener like Krud Kutter or Simple Green Extreme, let it sit for 5 to 10 minutes, then rinse thoroughly. Let frames dry for at least 24 hours before moving forward.
Sand Lightly for Better Adhesion
Vinyl’s slick finish resists paint. A light scuff gives the primer something to grip.
Use 220-Grit Sandpaper
Sand all painted areas with 220-grit sandpaper using gentle, even strokes. Your goal is to dull the shine, not strip the surface. Wipe away dust with a tack cloth or damp microfiber rag. Avoid paper towels, which leave lint behind.
Prime with a Bonding Primer

Primer seals the scuffed surface and locks down adhesion. Skipping this step almost guarantees early peeling.
Apply a High-Adhesion Exterior Primer
Choose a bonding primer rated for vinyl, glass, and metal. Zinsser Bulls Eye 1-2-3 and INSL-X STIX are reliable choices. Apply a thin, even coat with a synthetic brush or mini roller, then let it dry for 2 to 4 hours before painting.
Paint Using the Right Tools and Method
Your technique matters as much as your materials. The right tools prevent brush marks and ensure even coverage.
Use Synthetic Brushes and Mini Rollers
Natural bristle brushes absorb water and swell, leaving rough edges. Use nylon or polyester synthetic brushes for trim and corners. For flat sections, a 3/8-inch nap mini roller applies paint smoothly without stippling.
Apply Multiple Thin Coats
Thick coats sag and crack. Apply two to three thin coats, letting each dry for 4 to 6 hours. Lightly sand between coats with 320-grit paper to remove dust nibs, then wipe clean. Always maintain a wet edge by overlapping fresh strokes into the previous section.
Mask Moving Parts and Seals
Vinyl windows contain hardware and weatherstripping that should never be painted over.
Cover Tracks, Hinges, and Rubber Seals
Apply painter’s tape to window tracks, glazing beads, and any rubber gaskets. Avoid coating hinges, tilt latches, or locking mechanisms. Pull the tape while the final coat is still slightly tacky to prevent chipping. Wait 24 to 48 hours before opening or closing windows.
Allow Proper Cure Time
Dry to the touch does not mean fully cured. Rushing this stage ruins the finish.
Wait 72 Hours Before Regular Use
Give painted frames at least three days before heavy handling. Cool or humid conditions extend drying time. Avoid washing the frames for one full week after painting.
Maintain the Finish Long-Term
A little yearly care keeps your painted frames looking fresh.
Inspect and Touch Up Annually
Check each frame once a year for chips, cracks, or peeling edges. Touch up small areas quickly with matching paint to block moisture intrusion. Clean gently with soft cloths and mild soap. Avoid abrasive pads, scouring powders, and pressure washers.
Steer Clear of Common Painting Mistakes
Even confident DIYers slip up on vinyl projects. Watch for these frequent errors.
Skipping the Prep Steps
Rushing through cleaning, sanding, or priming reduces paint life dramatically. Every prep step matters for adhesion.
Painting in Direct Sunlight or Extreme Temperatures
Heat dries paint too fast and causes brush marks. Paint in the morning or on overcast days when temperatures sit between 50°F and 85°F.
Choosing Dark Colors
Dark shades trap heat and risk warping. Stay within the LRV 55+ range to protect both the paint and the vinyl underneath.
Frequently Asked Questions About Painting Vinyl Window Frames
Can you paint vinyl window frames without voiding the warranty?
Many manufacturers allow painting if you follow their color guidelines. Most require light colors with an LRV of 55 or higher. Check your specific warranty document before starting, since dark colors often void coverage.
What is the best paint for vinyl window frames?
A 100% acrylic exterior latex paint rated for vinyl is the best option. Top choices include Sherwin-Williams Resilience, Benjamin Moore Aura, and Behr Premium Plus Ultra. Pair the paint with a bonding primer like Zinsser Bulls Eye 1-2-3 for maximum adhesion.
How long does paint last on vinyl window frames?
With proper prep and quality materials, painted vinyl frames last 10 years or more. Annual touch ups and gentle cleaning extend the life of the finish. Harsh cleaners and skipped prep shorten the lifespan significantly.
Do I need to sand vinyl window frames before painting?
Yes, light sanding with 220-grit sandpaper is recommended. Sanding dulls the glossy surface and gives primer a texture to bond with. Skip this step and primer may not adhere properly.
Can I paint vinyl window frames in cold weather?
Painting below 50°F causes poor adhesion and slow curing. Aim for temperatures between 50°F and 85°F with low humidity. Early morning or overcast days in mild weather offer the best conditions.



