
Applying window stickers looks easy, but a single speck of dust or wrong temperature can ruin the result. Most failed decals trace back to poor surface prep, rushing the alignment, or skipping the correct method for the sticker size. This guide breaks down exactly how to put window stickers on so they look professional and stay bonded for years. You will learn the right temperature range, tool checklist, both dry and wet application methods, and how to fix bubbles, wrinkles, and misalignment before they become permanent problems.
Set Up the Right Conditions Before You Start
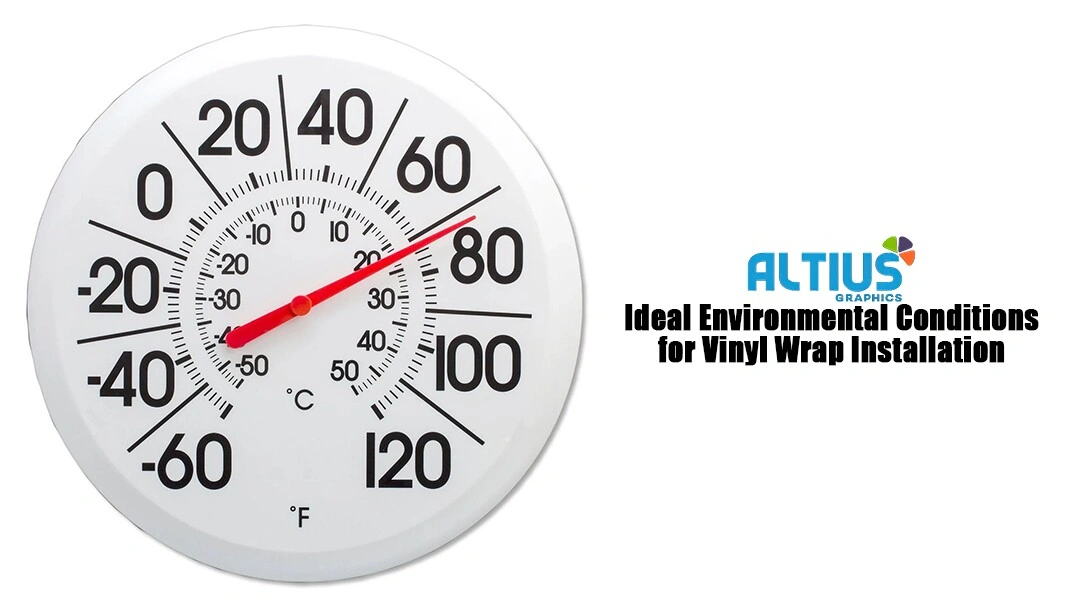
Match the Temperature Window for Strong Adhesion
Window stickers need a specific temperature range to bond correctly. Aim for 40°F to 90°F (roughly 4°C to 32°C). Cold glass stiffens the adhesive and prevents a proper seal, while excessive heat makes vinyl stretch or grab too fast. Avoid installing on freezing windows or sun-baked glass. If you must work indoors, pick a warm, dry room. For car windows, park in the shade and let the glass adjust to a moderate temperature before applying your decal.
Gather Your Tools Before You Begin
Having the right tools on hand prevents mid-application frustration. Scrambling for a squeegee with the backing half-peeled leads to bubbles and crooked placement. Before you start, collect these essentials:
- Glass cleaner or rubbing alcohol
- Lint-free cloths or paper towels
- A squeegee or credit card wrapped in masking tape
- Masking tape or painter’s tape
- A utility knife or scissors
- A spray bottle with soapy water
- A safety pin
- A one-inch razor blade for old residue
Pro Tip: Wrap the edge of your squeegee with masking tape. This prevents scratches on the vinyl surface during smoothing.
Prep the Glass Until It Is Truly Clean
Remove Dirt, Grease, and Fingerprint Oils
A clean window is the single biggest factor in successful adhesion. Even invisible oils from your fingers block the adhesive from bonding. Start by spraying the area with glass cleaner or rubbing alcohol. Wipe firmly with a lint-free cloth, paying extra attention to corners and edges where peeling usually starts. For best results, clean the surface twice and let it dry fully. Never apply a sticker to damp or greasy glass.
Strip Away Old Adhesive and Previous Decals
If the window has leftover glue or a prior decal, remove it completely before installing the new one. Spray water on stubborn residue and scrape gently with a one-inch razor blade held at a low angle. After scraping, wipe down the area with rubbing alcohol to dissolve any remaining stickiness. For textured glass or hard-to-reach spots, use a scrub pad soaked in alcohol. Finish with a dry lint-free cloth to confirm the surface is residue-free.
Pick the Right Installation Method for Your Sticker
Use Dry Application for Small and Simple Decals
Dry installation works best for small to medium stickers with solid designs. It is fast, beginner-friendly, and creates an immediate bond.
Press the Transfer Tape Before Peeling
Before removing any backing, press your hands firmly across the entire sticker. This step ensures the transfer tape grips the vinyl cutouts securely. Skipping it often causes the design to separate from the tape when you peel the backing.
Peel the Backing and Anchor with Tape
Remove the paper backing from the transfer tape, starting face-down for better control. If the vinyl lifts with the paper, press it back and re-roll gently. Once the adhesive is exposed, anchor the top edge with masking tape. This creates a hinge so you can lower the decal straight down without shifting.
Smooth from the Center Toward the Edges
Use a squeegee or credit card to press from the center outward. This pushes air out instead of trapping it under the vinyl. Work slowly and apply firm, even pressure. Focus extra attention on corners and edges since these bond last and lift first.
Peel the Transfer Tape at a 45-Degree Angle
Slowly remove the transfer tape at a 45-degree angle. If any part of the vinyl starts lifting, stop, press it down, and re-smooth before continuing. After the tape is off, do one final squeegee pass to lock in adhesion.
Use Wet Application for Large or Complex Designs
Wet installation is best for big stickers, multi-part graphics, or any job requiring precise alignment. The soapy solution lets the decal slide freely into position.
Mix a Light Soapy Solution
Add a few drops of dish soap to water in a spray bottle. Shake gently since too many bubbles can interfere with placement. Spray the entire window until it is evenly wet.
Float the Decal into Position
Peel the backing and place the decal on the wet glass. Do not press down yet. The soapy layer lets you lift and reposition freely. Use a tape measure or level to center the design. If it is crooked, simply slide it into place without damage.
Squeegee Out Water and Air
Once aligned, press gently with your hand to begin pushing out water. Then use a squeegee from the center outward. Never work from edge to center since this traps liquid underneath. Peel off the transfer tape only after most water is removed. Let the rest evaporate naturally for full bond strength.
Fix Common Mistakes Before They Set
Pop Stubborn Air Bubbles
Small bubbles often disappear on their own, but you can speed the process. Push them toward the nearest edge with a squeegee or rubber roller. For bubbles that refuse to move, prick a tiny hole with a safety pin, press the air out, and smooth the area flat. Avoid making multiple holes since this weakens the vinyl.
Correct Misalignment Right Away
If a section shifts during dry application, do not peel the whole sticker off. Reapply transfer tape to the misaligned area, lift it slightly, reposition, and press down again. The adhesive can re-bond if you act quickly. For wet installs, simply lift and slide the decal into place before squeegeeing.
Smooth Out Wrinkles and Folds
Stop immediately if a wrinkle forms. For dry application, peel the decal back to the wrinkled area and re-smooth with light pressure. For wet application, lift and reposition while the surface is still slippery. Use a soft cloth to glide over the area without stretching or pulling the vinyl.
Care for Your Sticker After Installation

Wait Before Washing the Area
Give the adhesive at least 24 hours to fully bond before cleaning the area. This waiting period matters most for exterior stickers exposed to weather. Indoor decals with light handling are generally fine immediately after installation.
Clean Gently to Prevent Edge Peeling
Never scrub decals with abrasive pads or stiff brushes. These wear down edges and cause peeling over time. Instead, dab dirt away with a soft cloth and mild soapy water. Avoid harsh chemicals like acetone or ammonia-based cleaners, which can discolor or degrade vinyl.
Make Your Sticker Last for Years
Expect Long-Term Durability with Proper Care
Quality vinyl stickers last 5 or more years with correct installation and gentle maintenance. Real-world testing shows flawless performance after 11 or more months of sun, rain, and temperature swings. The two biggest factors are perfect surface prep and choosing the right application method.
Protect Decals from Physical Damage
Avoid scraping ice over decals, running windshield wipers across them, or parking under sap-producing trees. Physical contact is the leading cause of edge lifting. If you must clear ice, use a plastic scraper and work around the decal edges.
Know When to Hire a Professional
Large Decals Need Extra Hands
For stickers larger than 18 by 24 inches, consider professional help. Big vinyl sheets are harder to align and squeegee without trapping air. Pros use heat guns and industrial tools to stretch and conform vinyl to curves.
Curved or Textured Surfaces Require Special Techniques
Car windows, bus sides, and frosted glass often need heat application to wrap vinyl around contours without bubbling. DIY attempts on curved surfaces frequently fail without the right tools and experience.
Multi-Panel or Tiled Graphics Demand Precision
If your design requires multiple panels that must line up perfectly, a professional ensures seamless alignment. Even small misalignments ruin the visual impact of tiled graphics.
Confirm a Perfect Installation
Check for a Smooth, Bubble-Free Finish
A successful application looks painted on. Inspect under angled lighting, such as a phone flashlight, to catch subtle bubbles or ripples. No trapped air or lifted edges should be visible.
Verify Full Edge Adhesion
Run a finger along the entire perimeter. No part should feel loose or raised. If an edge lifts, re-smooth with a squeegee and apply firm pressure to reseal it.
Confirm Accurate Alignment
Check that the decal is centered, level, and matches your intended placement. Even a slight tilt becomes obvious on doors, storefronts, or vehicle windows.
Frequently Asked Questions About Applying Window Stickers
What Temperature Is Best for Putting Window Stickers On?
The ideal range is 40°F to 90°F (roughly 4°C to 32°C). Cold temperatures stiffen the adhesive and prevent proper bonding, while hot conditions cause the vinyl to stretch or stick prematurely. Always work in mild conditions or a climate-controlled space.
Can You Apply Window Stickers in Cold Weather?
Cold weather makes installation unreliable. The adhesive becomes stiff and cannot form a strong bond with the glass. If you must apply a sticker in winter, bring the window indoors or work in a heated space and let the glass acclimate before starting.
Should I Use Soapy Water When Applying Window Stickers?
Soapy water helps with large or complex decals that need precise alignment. The solution lets the vinyl slide into position before bonding. For small, simple stickers, dry application is faster and creates an immediate, strong hold.
How Do You Remove Air Bubbles from Window Stickers?
Push small bubbles toward the nearest edge with a squeegee or rubber roller. For stubborn bubbles, prick a tiny hole with a safety pin, press the air out, and smooth the area flat. Avoid making multiple holes since this weakens the vinyl.
How Long Do Window Stickers Last?
Quality vinyl decals last 5 or more years with proper installation and gentle care. Real-world tests show perfect condition after 11 or more months of outdoor exposure. Surface prep and correct application method are the biggest factors in longevity.
When Should I Hire a Professional for Window Sticker Installation?
Hire a pro for decals larger than 18 by 24 inches, curved or textured surfaces, or multi-panel graphics requiring perfect alignment. Professionals use heat guns and industrial tools that most DIY installers do not have access to.
Key Takeaways for a Flawless Window Sticker Finish
Putting window stickers on correctly comes down to three things: clean glass, correct temperature, and the right application method. Always prep the surface twice, work between 40°F and 90°F, and choose dry application for small decals or wet application for large or complex designs. Fix bubbles, wrinkles, and misalignment immediately before the adhesive sets. With these steps, your sticker will look sharp and stay bonded for years. Start by gathering your tools and cleaning your window today for a professional result on your first attempt.



