Restoring old window frames often means dealing with layers of stubborn paint that can hide beautiful woodwork or leave metal frames looking messy. Many homeowners worry about damaging glass, gouging wood, or scratching metal during the process. The good news is that learning how to remove paint from window frame surfaces is straightforward with the right tools and techniques.
This guide walks you through proven methods for both wooden and metal frames. You’ll discover how infrared heat can strip decades of paint without sanding, how masking delivers clean results on metal, and how to avoid the most common mistakes that ruin frames and crack glass.
Prepare Wooden Window Frames
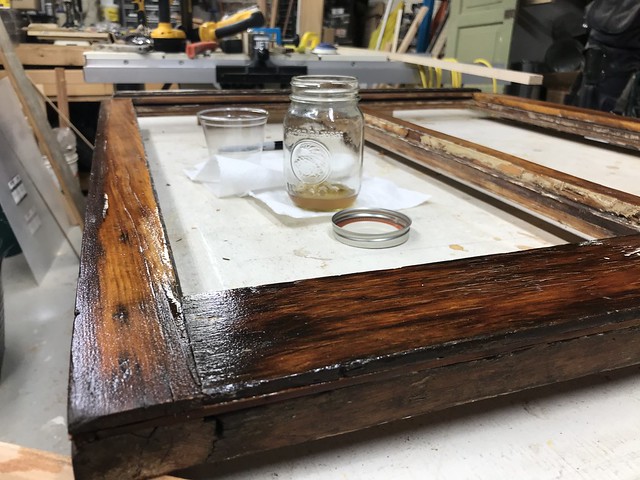
Smart preparation protects your health and sets the stage for clean paint removal. Skipping these steps leads to dust hazards, damaged glass, and uneven results.
Apply Raw Linseed Oil
Coat the entire frame with raw linseed oil to soften brittle paint and bind hazardous dust. The oil rehydrates dried paint layers so they lift easily during scraping.
For acrylic paint, score the surface lightly with a utility knife first. This helps the oil penetrate and work more effectively when heated.
Let the oil soak for 24 hours. Rushing this step increases resistance during scraping and raises dust risks significantly.
Label and Protect the Glass
Mark the top, bottom, and glass side with tape before disassembly. This guarantees correct reinstallation later.
Shield the glass using one of these methods:
– Aluminum tape cut to fit along edges
– Foil-wrapped cardboard placed between the scraping area and glass
Both options prevent thermal shock and accidental scratches during removal.
Set Up a Stable Workstation
Clamp the window securely on a custom tabletop or workbench. Use a backing system like cardboard under foil to catch falling debris.
A stable setup improves your control and reduces the risk of slips that could damage wood or cause injury.
Use Infrared Heat to Soften Paint
The Silent Paint Remover uses infrared technology to gently warm paint without burning wood. This makes it ideal for historic or delicate frames where preservation matters.
Start the Infrared Unit Safely
Put on a respirator before powering on. Inhaling fumes or dust remains a serious hazard, even with non-toxic heating.
Follow these startup steps:
1. Read the manufacturer’s manual
2. Extend side shields fully
3. Flip the green power switch
4. Wait 2 minutes for heating tubes to glow orange
Never touch the unit during operation.
Heat Paint for 30 Seconds
Apply the heater to small sections for roughly 30 seconds. Watch for warning signs:
– Bubbling
– Smoke
If either appears, stop immediately. These signals indicate excessive heat, often from previous torch or heat gun use.
Unlike conventional tools, infrared cannot burn wood when used correctly. Scorch marks point to past misuse, not current error.
Scrape Paint Without Sanding

With properly heated and oiled paint, high-quality scrapers remove layers cleanly. No sanding is required when technique is correct.
Scrape With the Grain
Use a sharp pull scraper with a long handle for better control. Hold it parallel to the surface and pull toward you.
Always work with the wood grain to avoid gouging. Adjust your angle around curves using smaller scrapers as needed.
On the exterior side, begin scraping to expose the putty line. This guides glass removal later in the process.
Focus on Interior Grooves
The interior side features complex profiles and takes the most time. Use multiple scraper sizes to follow tight contours.
Keep blades sharp throughout the job. Dull tools drag paint instead of lifting it, increasing effort and risking surface damage.
When done correctly, the wood feels smooth and looks clean, ready for finishing.
Remove Putty and Glazing Pins
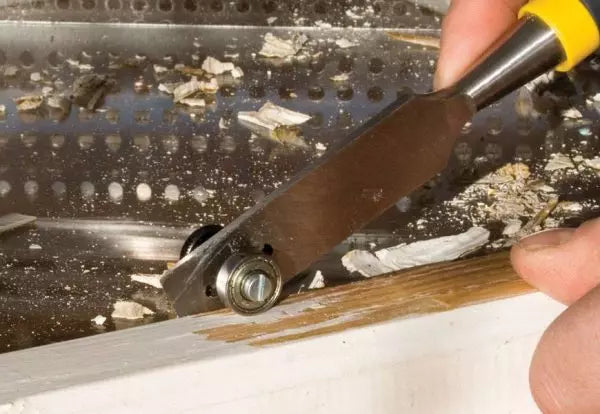
Once paint is gone, old glazing materials must come out to prepare for glass work.
Cut Out Old Putty
Use a chisel with roller to follow the putty groove:
1. Place the roller on the outer edge
2. Guide the chisel along the line to separate putty from wood
Work slowly. Ease of removal depends on original materials and age.
For residual putty, reheat lightly and use a putty chisel or standard scraper to clean the channel.
Extract Glazing Pins Safely
Do not use pliers. They can crack the glass with minimal pressure.
Instead:
1. Run a scraper along the glass edge to loosen the area
2. Pull the pin out at a slight angle with your fingers
Only a small tug is needed. Forcing the pin risks breakage.
Remove the Glass Carefully
Take out any wooden spacers behind the glass. They prevent proper reseating later.
Gently lift the glass out, keeping orientation markers intact.
Inspect for cracks and replace damaged panes before reinstalling.
Clean Residue and Finish Wood
Even after scraping, some paint may linger deep in the grain. Final cleaning ensures a professional result.
Treat Stubborn Paint Spots
For embedded residue:
1. Apply a drop of raw linseed oil to the spot
2. Reheat briefly with the infrared unit
3. Wipe with 0000 grade steel wool
This lifts remaining paint while preserving wood texture.
A small amount of paint deep in the grain is acceptable and will not affect new finishes.
Wash and Dry the Glass
Clean removed glass using one of these methods:
– Linseed oil soap in warm water (soak method)
– Direct application with a non-scratch pad
Place a microfiber cloth behind the glass while cleaning edges to prevent slips.
Use Sun Dish Soap or another non-chemical cleaner to remove oil residue.
Let glass dry completely before re-glazing.
Mask and Repaint Metal Frames
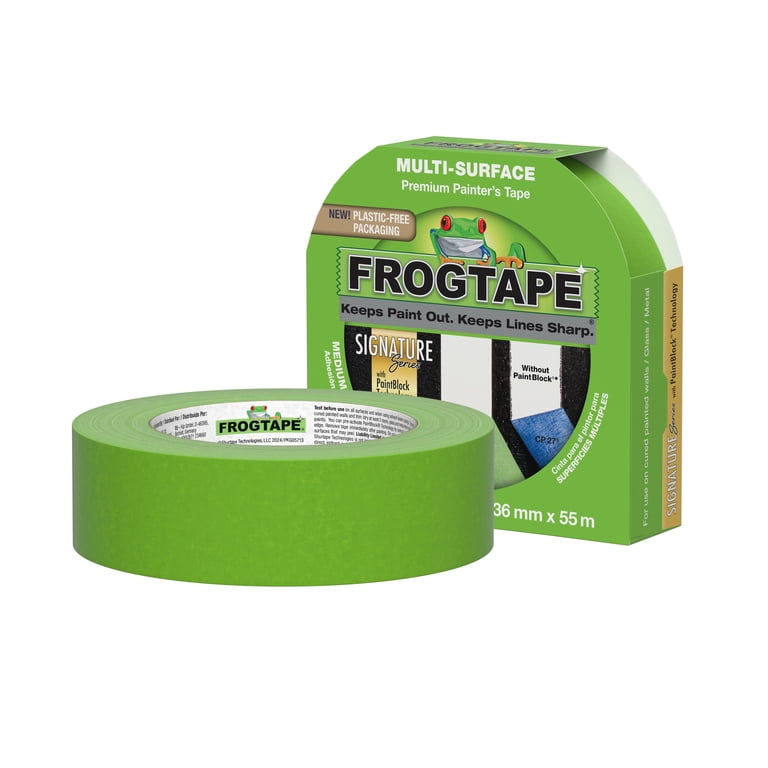
For metal window frames, masking and repainting is the safest way to hide paint smears or overspray.
Clean Frame Before Painting
Wipe the metal thoroughly with a degreaser or all-purpose cleaner. Remove dirt, grease, and loose particles.
A clean surface ensures paint adhesion and a sharp final line.
Apply Frog Tape for Sharp Edges
Use water-activated painter’s tape like Frog Tape for bleed-proof results.
Apply tape so it extends from the frame edge, leaving a ¼ inch gap from the wall or desired boundary.
Press edges firmly to seal. This creates a clean transition between wall and frame.
Paint Over Smudges
Use a brush or mini roller to apply matching wall color or a complementary shade.
Apply 2 to 3 thin coats, letting each dry fully. This fully covers old paint without drips.
Remove tape once the final coat is dry to the touch but not fully cured, usually after 1 to 2 hours.
Pull the tape at a 45 degree angle for the cleanest edge.
Alternative Metal Paint Removal Methods
While masking is preferred, some situations call for mechanical removal. These methods carry higher risks.
Use a Razor Blade Safely
A razor blade in a safety holder can scribe and lift paint from metal edges.
Work slowly with light pressure. One slip can scratch the factory finish.
This technique works best for small smears, not large areas. It is not recommended for beginners.
Try Heat Gun and Scraping
Softening paint with a heat gun allows gentle scraping.
Use low heat and move constantly to avoid warping thin metal.
Combine with a plastic scraper or dull blade to minimize scratches.
Test in an inconspicuous area first if pairing with chemical removers.
Lightly Sand Painted Areas
Use fine-grit sandpaper (220+ grit) to buff away surface paint.
Sand only enough to remove the top layer. Over-sanding exposes bare metal and invites rust.
Wipe clean with a tack cloth before painting.
Safety First: Protect Yourself and Your Work
Paint removal involves hazards, especially with older coatings that may contain lead.
Wear a Respirator Always
Even with non-toxic methods like infrared, fumes and dust are present.
Use a NIOSH-approved respirator rated for organic vapors and particulates.
Never rely on a standard dust mask.
Control Dust and Debris
The linseed oil soak binds dust on wood frames.
Pair it with a custom work table that captures falling particles for easy cleanup.
For metal work, wipe surfaces frequently with a damp cloth.
Avoid Glass Damage
When removing pins or scraping near glass, use minimal force.
Always protect the pane during wood frame work with foil or tape.
Never apply heat directly to glass. Thermal shock can cause instant cracking.
Know What’s Normal After Removal
Understanding acceptable outcomes prevents overworking the frame.
Accept Minor Paint in Wood Grain
Tiny traces of paint deep in the grain are normal and harmless.
They will not interfere with staining, oiling, or painting.
Aggressive cleaning risks damaging the wood. Stop when the surface feels smooth.
Expect a Bare Wood Finish
Infrared and scraping leave wood ready for oil-based paint or linseed oil finish.
No sanding means you preserve original profiles and reduce dust.
Seal the wood soon after to prevent moisture absorption.
Metal Should Look Fresh, Not Stripped
The goal for metal is not bare metal. It is a clean, painted edge that matches the wall.
Masking achieves this without risking dents, scratches, or corrosion.
Repainting is faster, safer, and more durable than stripping.
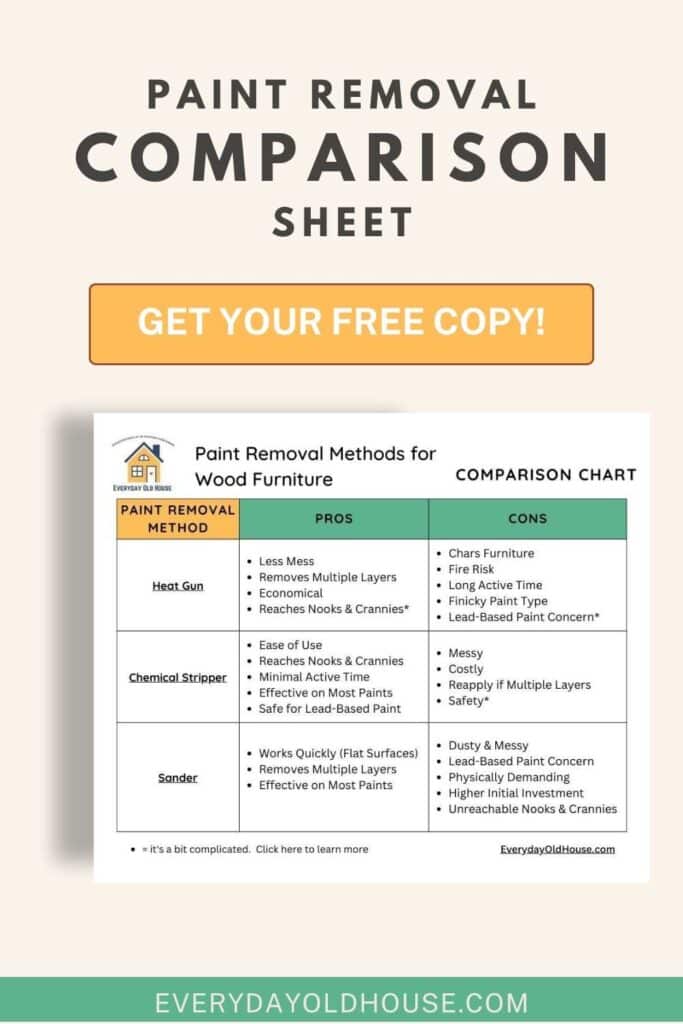
Best Practices by Frame Type
| Frame Type | Best Method | Key Tool | Avoid |
|---|---|---|---|
| Wood (Vintage) | Infrared + Oil + Scraping | Silent Paint Remover | Sanding, Pliers on Pins |
| Wood (Interior Grooves) | Multi-Scraper Technique | Pull Scrapers (Various Sizes) | Dull Blades, Against Grain |
| Metal (Overspray) | Masking + Repainting | Frog Tape + Matching Paint | Razor Blades, Overheating |
| Metal (Stubborn Paint) | Light Sanding or Heat | Fine Sandpaper / Heat Gun | Aggressive Scraping |
Frequently Asked Questions About Removing Paint from Window Frames
What is the safest way to remove paint from window frames?
For wood, the infrared method combined with raw linseed oil prep is safest. It avoids toxic fumes, prevents burns, and requires no sanding. For metal, masking and repainting protects the factory finish while hiding smears.
Can you remove paint from window frames without sanding?
Yes. When using infrared heat and a sharp pull scraper on wood, sanding becomes unnecessary. The heated paint lifts cleanly, leaving smooth wood ready for finishing.
How long does linseed oil need to soak before paint removal?
Raw linseed oil needs a full 24 hours to penetrate and soften paint layers. Skipping this soak time makes scraping harder and increases dust generation.
Is it safe to use a heat gun on metal window frames?
Heat guns work on metal but carry risks. Thin metal can warp under high heat, and the finish may discolor. Use low heat, keep the gun moving, and test a small area first.
How do you remove paint smears from metal window frames?
The easiest method is masking with Frog Tape and painting over the smear with matching wall color. This avoids scratches and delivers a professional edge in hours.
What should you do if old paint contains lead?
Stop work and call a lead-safe certified professional. Disturbing lead paint without proper containment creates serious health hazards. Do not sand, scrape, or heat paint that may contain lead.
Key Takeaways for Removing Paint from Window Frames
Learning how to remove paint from window frame surfaces comes down to matching the method to the material. For wood, infrared heat paired with a 24 hour linseed oil soak and sharp scrapers delivers smooth, ready-to-finish results without sanding. For metal, masking with Frog Tape and repainting provides a clean look without risking scratches or warping.
Your next step is to assess your frame type, gather the right tools, and start with proper preparation. Wear a respirator, protect the glass, and work with the grain. With these techniques, your windows will look beautifully restored rather than damaged.