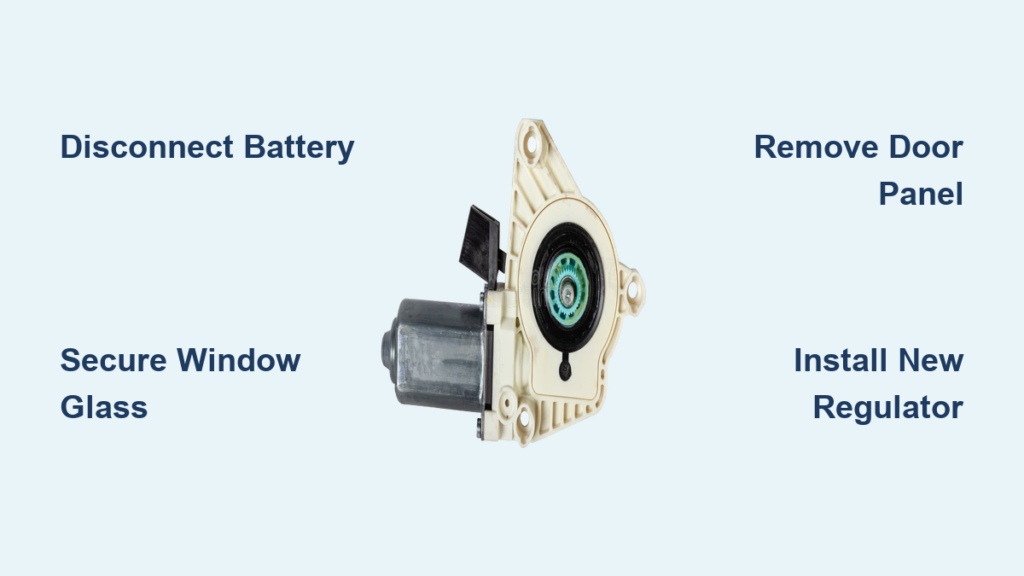
You press the window switch and hear a faint hum, but the glass refuses to move. That frustrating moment usually points to one culprit: a failing window regulator. This small mechanism controls whether your window glides smoothly or stays stuck in place. When it breaks, you lose convenience, security, and weather protection all at once.
Learning how to repair a window regulator saves you hundreds in mechanic fees and gets your car road-ready again. Most replacements only require basic hand tools and about three hours of work. This guide covers diagnosing the problem, removing the old unit, installing a new regulator, and preventing future failures. Follow each step carefully and your window will operate like new.
Critical Safety Steps Before Repairing a Window Regulator
Car door internals combine glass, sharp edges, and live wiring. Skipping safety prep risks injury and costly damage.
Disconnect the Battery First
Always remove the negative battery cable before touching door components. This prevents accidental window activation and electrical shorts. Loosen the terminal nut with a wrench and tuck the cable away from the post.
Secure the Window Glass in Place
If the window sits halfway down, tape it from the outside using strong painter’s tape. Once the regulator is detached, nothing supports the glass. Without tape, it can slide into the door cavity and shatter.
Wear Eye and Hand Protection
Put on safety glasses and work gloves before prying off panels. Door frames hide sharp metal edges, and tempered glass can crack under stress. Protection is non-negotiable.
Tools and Parts Needed to Repair a Window Regulator
Gathering everything in advance prevents mid-job interruptions and lost hardware.
Basic Hand Tools Required
- Phillips and flathead screwdrivers
- Socket wrench set with 8mm and 10mm sockets
- Plastic trim removal tools
- Torx bit set
- Needle-nose pliers
- Bright flashlight or work lamp
Replacement Parts to Purchase
- Window regulator matched to your vehicle’s year, make, and model
- Integrated motor if your design uses a combined unit
- New fasteners and mounting hardware
Pro Tip: Choose OEM-grade or premium aftermarket regulators. Cheap parts use brittle plastic gears that fail within months.
Removing the Door Panel Without Damage
The interior panel blocks access to the regulator. Forceful removal cracks clips and breaks plastic.
Find and Remove Hidden Screws
Inspect common screw locations before prying anything. Look behind the door handle bezel, under the armrest, near the speaker grille, and around the inner latch. Use a trim tool to lift plastic covers gently.
Release the Retaining Clips
Slide a plastic pry tool along the panel’s outer edge. Apply steady pressure to pop each clip loose. Listen for the clicking sound that confirms release.
Lift Off the Panel and Unplug Connectors
Raise the panel upward to clear the window lip. Tilt it outward and disconnect the power window switch harness. Unplug any speaker wires if needed. Store the panel face-up on a soft surface.
Diagnosing Whether You Need a Window Regulator Repair
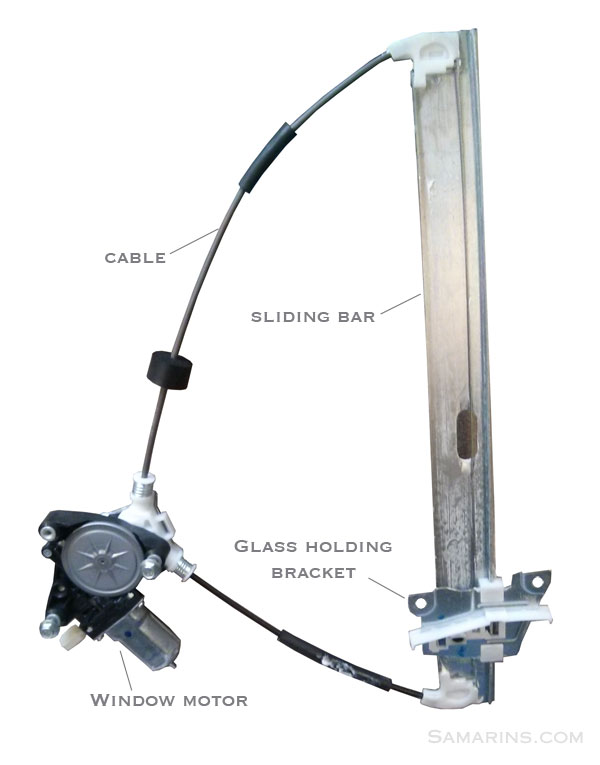
Not every window problem traces back to the regulator. Confirm the root cause first.
Listen for Motor Function
Reconnect the battery temporarily and press the switch. A humming sound with no glass movement suggests the motor works but the regulator is broken. Silence points to an electrical fault instead.
Watch for Mechanical Symptoms
Have a helper press the switch while you observe inside the door. Look for jerky motion, loose cables, bent arms, or cracked plastic guides. Visible damage confirms a regulator replacement.
Test Voltage at the Motor
Use a multimeter to check power at the motor connector. Zero voltage means a blown fuse, bad switch, or broken wire. Proper voltage with no movement confirms the regulator is the failure point.
Extracting the Faulty Window Regulator

With diagnosis complete, removing the broken unit is straightforward.
Lower the Glass Fully
If the window still moves, run it all the way down. Lower position provides clearance to unbolt the glass from the regulator arms.
Unbolt the Glass from the Regulator
Locate the two or three bolts connecting the glass to the lift arms. Remove them with a socket wrench while supporting the glass with your other hand. Tape the glass securely once detached.
Disconnect the Motor Harness
Unplug the motor wiring connector. Skip this step if your regulator and motor are a single assembly.
Remove Regulator Mounting Bolts
Unscrew the bolts anchoring the regulator to the door frame. Common locations include the top bracket, side rails, and bottom anchor points. Organize bolts by size since lengths often vary.
Pull the Assembly Out Carefully
Maneuver the regulator through the access hole in the door. Avoid scraping the inner door skin or tearing the moisture barrier. A flashlight helps spot clear paths.
Installing Your New Window Regulator
Correct alignment during installation determines whether the window operates smoothly.
Pre-Assemble Components If Needed
Some regulators ship in pieces. Follow the included diagram to attach arms, cables, and the motor before inserting the unit into the door.
Position the New Regulator
Slide the assembly into the door cavity. Align the mounting holes with the door frame. Insert a couple of bolts temporarily to hold the unit steady.
Reattach the Window Glass
Align the lift arm brackets with the glass mounting holes. Insert bolts and tighten them firmly. Avoid over-tightening since glass can crack under excessive pressure.
Secure All Mounting Hardware
Tighten every regulator-to-door bolt completely. Verify alignment by sliding the glass manually. Smooth motion without binding confirms correct installation.
Testing the Repair Before Reassembly

Always verify operation before snapping the door panel back on.
Restore Electrical Power
Reconnect the motor harness and the negative battery cable. Make sure all connectors click firmly into place.
Cycle the Window Up and Down
Run the window through full travel several times. Watch for smooth motion, even alignment, and absence of grinding noises. Listen for cable skipping or motor strain.
Adjust Alignment If Needed
If the glass sits crooked or wobbles, loosen the glass bolts slightly. Reposition the glass and retighten. Small adjustments prevent future seal leaks and rattles.
Reinstalling the Door Panel Properly
Restore the door interior once the regulator works flawlessly.
Reconnect Wiring Harnesses
Plug in the window switch and any speaker connectors you removed. Loose connections cause intermittent failures that are hard to diagnose later.
Snap the Panel Into Place
Align the bottom tabs with the door channel first. Press evenly around the edges until every clip engages. Listen for the satisfying snap of each fastener.
Replace All Screws and Covers
Reinstall every screw in its original location. Replace plastic trim covers and caps. Missing fasteners create annoying rattles at highway speed.
Preventing Future Window Regulator Failures
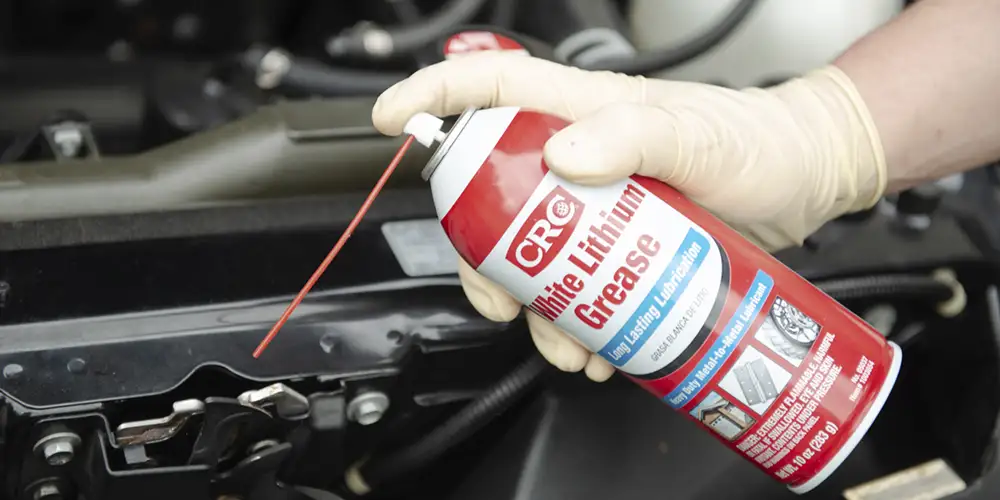
A new regulator can last years with simple maintenance habits.
Lubricate Moving Parts Annually
Apply white lithium grease to regulator tracks, pulley wheels, and cable guides. Annual lubrication prevents corrosion and reduces mechanical wear.
Keep Window Channels Clear
Never force the window past obstructions like seatbelts or ice. Strain on the regulator accelerates cable fatigue and gear damage.
Exercise the Windows Regularly
Run each window up and down once a month. Movement prevents rust buildup and keeps cables flexible. Stagnant mechanisms fail faster than active ones.
Frequently Asked Questions About Window Regulator Repair
How Long Does It Take to Repair a Window Regulator?
Most DIY repairs take two to four hours depending on experience and vehicle design. First-time repairs may run longer due to unfamiliar fasteners and panel layouts.
Can I Repair a Window Regulator Without Replacing It?
Cable-style regulators sometimes allow cable replacement, but most modern units require full assembly replacement. Repairing individual components rarely provides lasting results.
How Much Does a Window Regulator Cost?
Aftermarket regulators range from $50 to $200 depending on vehicle model. OEM parts cost more but offer longer service life. Dealer labor adds $200 to $400 to the total.
What Causes Window Regulators to Fail?
Common causes include worn cables, broken plastic pulleys, failed motors, and corroded tracks. Cold weather and infrequent use accelerate mechanical wear.
Do I Need to Replace the Motor With the Regulator?
Replace the motor only if testing confirms failure. Many regulators include a new motor as part of the assembly. Separate motors save money when the original still works.
Key Takeaways for Successfully Repairing a Window Regulator
Repairing a window regulator rewards careful preparation and methodical work. Start by disconnecting the battery and securing the glass to prevent injury. Diagnose the actual failure point before ordering parts, since electrical issues mimic regulator problems. Match the replacement regulator precisely to your vehicle specifications and use quality hardware.
The entire process requires basic tools, patience, and about three hours of focused effort. Following each step in order prevents costly mistakes like cracked glass or stripped bolts. Once complete, annual lubrication and regular window exercise keep the new regulator working reliably for years. Your next step is gathering your tools, purchasing the correct replacement part, and setting aside a quiet afternoon to complete the repair.