
Replacing a doorknob is one of the simplest home repairs you can tackle. Whether your current knob is loose, broken, or you simply want to upgrade for better security or style, knowing how to replace a doorknob saves you the cost of a professional. Most standard replacements take under 30 minutes and require only basic tools like a screwdriver. The key is understanding your door’s measurements before purchasing new hardware.
This guide walks you through the complete replacement process from start to finish. You will learn how to remove the old knob, install the new latch mechanism, align all components properly, and test everything to ensure smooth operation. Whether you are working with an interior passage knob or an exterior keyed entry set, these steps apply to nearly all standard residential doors.
Choose the Right Replacement Doorknob
Before purchasing a new doorknob, you need to verify that it will fit your door. Taking a few measurements now prevents frustration later when the hardware does not align properly.
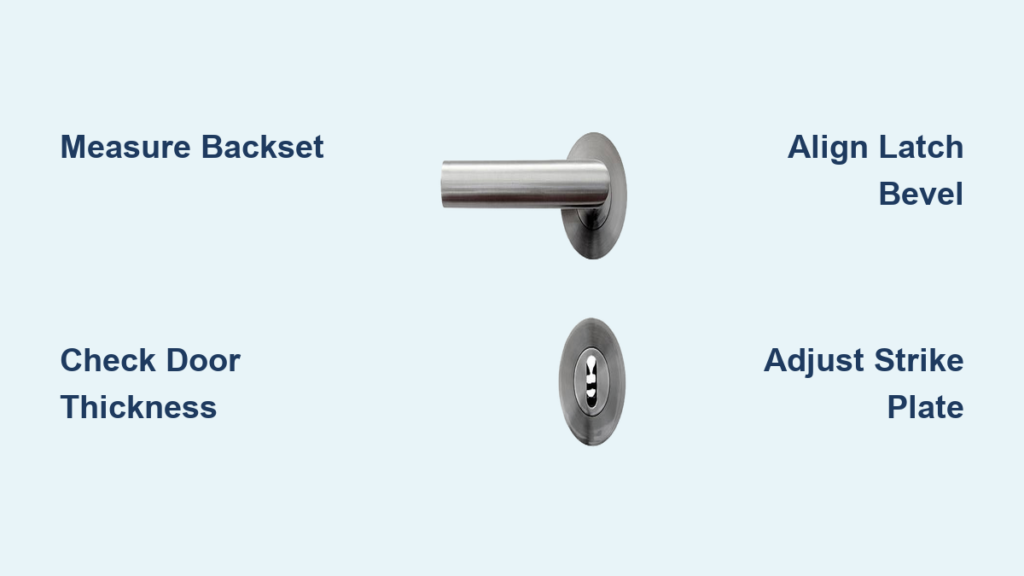
Measure the Backset
The backset is the distance from the edge of the door to the center of the bore hole. Standard residential doors use either 2-3/8 inches or 2-3/4 inches. Use a tape measure to check your existing door. If you are replacing the latch too, the new knob packaging will indicate which backsets it supports.
Check Door Thickness
Interior doors typically measure 1-3/8 inches thick, while exterior doors are usually 1-3/4 inches. Most doorknob packages list the door thickness they accommodate. Make sure your chosen knob matches this specification.
Select the Correct Knob Type
Different doors require different knob functionality.
• Passage knobs have no lock and work best for closets and hallways
• Privacy knobs include a push-button or turn lock for bathrooms and bedrooms
• Keyed entry knobs lock with a key and are required for exterior doors
• Smart locks integrate with keyless systems and require battery power
Bring your old latch mechanism to the hardware store when shopping. Comparing the old part with new options ensures you get compatible hardware.
Gather Essential Tools
You do not need expensive equipment to replace a doorknob. Most homeowners already have the necessary tools in their garage or toolbox.
• Phillips-head screwdriver or power drill with Phillips bit
• Flat-head screwdriver for prying off cover plates
• Tape measure for verifying measurements
• Needle-nose pliers for snapping components together
• Chisel and utility knife if you need to adjust the strike plate mortise
• Wood glue and golf tees for repairing stripped jamb holes
New doorknob sets typically include the latch, strike plate, and all required screws, so you rarely need to purchase extra hardware.
Remove the Old Doorknob
With the right tools ready, you can begin removing the existing knob. The process is straightforward but requires attention to hidden mechanisms on some models.
Locate the Mounting Screws
Most doorknobs have two long screws connecting the interior and exterior halves. These screws are usually visible on the rose, which is the decorative base plate on the inside of the door.
If you do not see screws, look for a small slot or hole on the side of the knob. Insert a flat-head screwdriver or paperclip into this slot to release a hidden spring clip. This allows you to lift off the cover plate and expose the mounting screws.
Take Apart the Knob
- Unscrew both mounting screws using a Phillips-head driver
- Gently pull the two knob halves apart, one from each side of the door
- The spindle, which is the connecting rod, will come out with one side
Do not force the knobs if they resist separation. Check for additional release mechanisms before applying pressure.
Take Out the Latch Mechanism
With the knobs removed, the latch assembly is now exposed on the edge of the door. Removing it prepares the door for the new hardware.
Unscrew the Latch Faceplate
Locate the two screws holding the latch faceplate to the edge of the door. These screws are typically positioned vertically. Remove them with your screwdriver.
Slide Out the Latch
Grasp the latch body and pull it straight out of the cross bore, which is the 1-inch hole in the door edge. The latch contains a spring-loaded bolt. Press it in with your finger; it should snap back smoothly. If it does not, the spring may be worn.
Evaluate the Strike Plate
Check the strike plate on the door jamb for wear, rust, or misalignment. Replace it if damaged. Reuse it only if it is in good condition and matches the new latch.
Install the New Latch

Proper latch orientation is critical for smooth door operation. Installing it incorrectly causes the door to jam or fail to close.
Orient the Latch Correctly
The beveled, or slanted, side of the latch bolt must face the door jamb. This bevel allows the door to close smoothly as the bolt slides into the strike plate. If installed backward, the door will not latch properly.
Insert and Secure the Latch
- Slide the new latch into the cross bore
- Align the faceplate flush with the door edge
- Insert one screw and tighten slightly
- Add the second screw, then tighten both evenly to prevent binding
Avoid over-tightening, which can strip screw holes or warp the plate.
Test the Spring Action
Press the latch bolt in with your finger. It should spring back automatically. If it does not, the latch may be defective and should be replaced.
Attach the Interior Knob
Now you will install the knob on the interior side of the door. This is typically the side with the locking mechanism.
Align the Spindle
Insert the interior knob so the spindle extends through the bore hole and engages the latch mechanism. Position the backplate so the screw holes align with the latch body.
Insert Mounting Screws
Use the long machine screws included with the set. These screws thread into the latch mechanism itself, not into the door wood. Start threading by hand to avoid cross-threading, then tighten with a screwdriver.
The screw orientation, whether horizontal or vertical, does not matter as long as the latch has matching threaded holes. You do not need to drill new holes.
Mount the Exterior Knob
The exterior knob attaches to the spindle protruding from the outside of the door.
Slide On the Outside Handle
Take the exterior knob and slide it onto the protruding spindle. Ensure it sits flush against the door surface. Wiggle gently to help align internal components.
Final Tightening
The mounting screws are accessed from the interior side on most models. Tighten them securely, but avoid overtightening, which causes binding. If the knob feels stiff, slightly loosen the screws, realign the components, and retighten gradually.
Adjust the Strike Plate
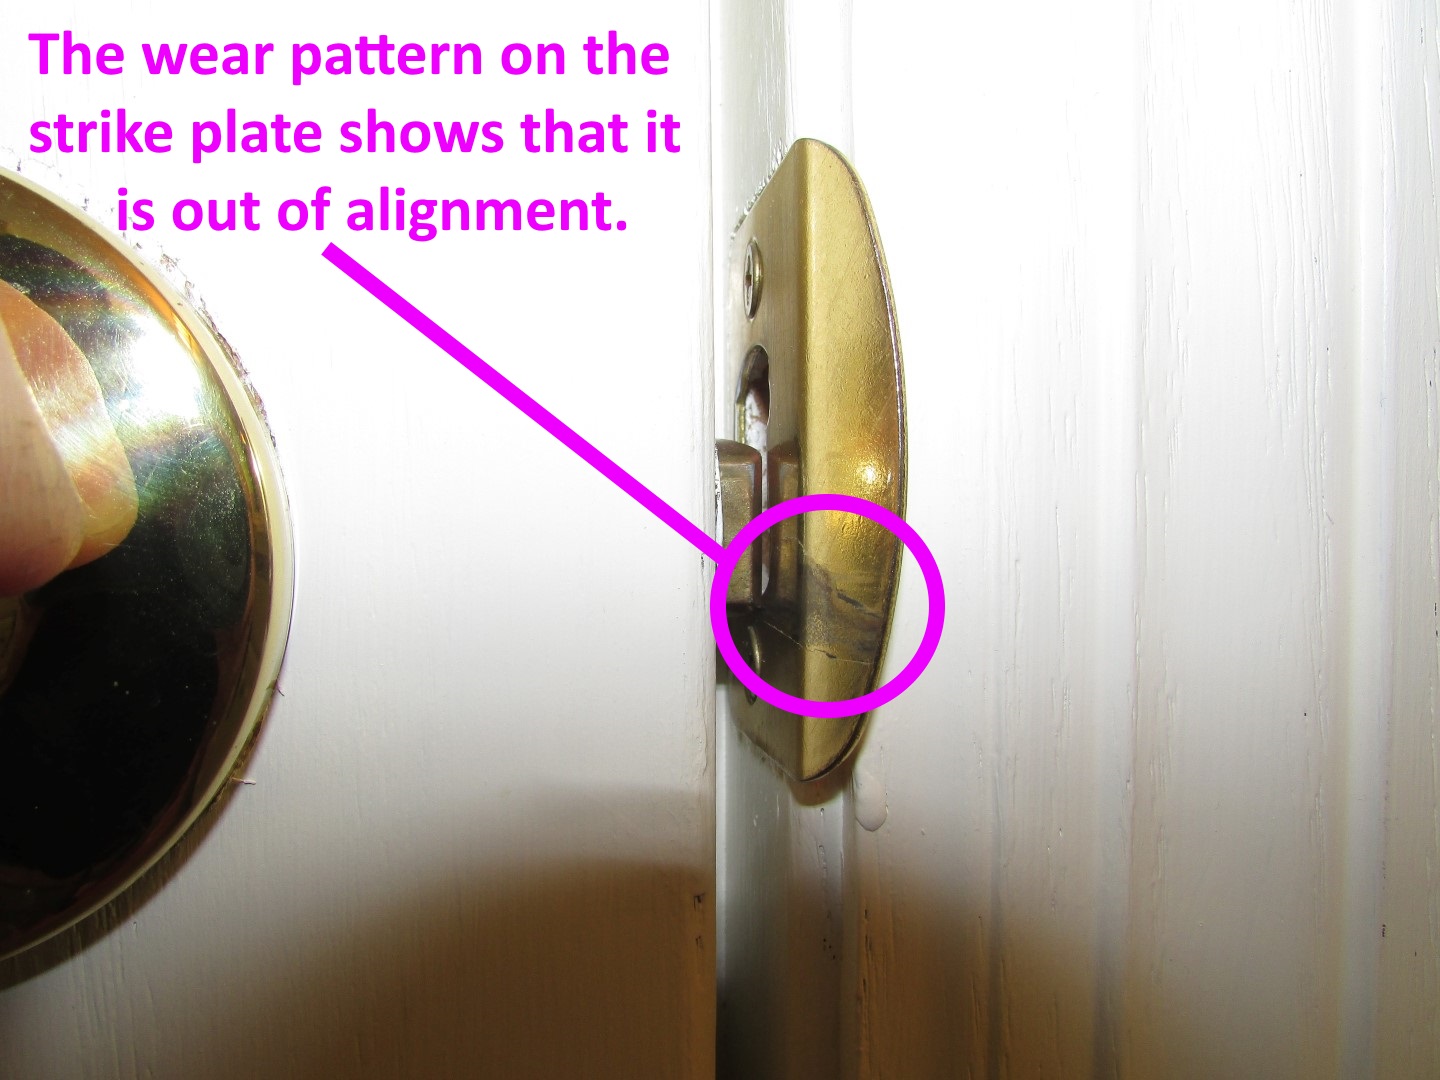
Proper strike plate alignment ensures the latch catches securely and the door operates quietly.
Position the Plate Correctly
Close the door slowly and watch where the latch bolt hits the jamb. Position the new strike plate so the latch enters the opening smoothly. The bent lip of the plate should face the direction of door swing to guide the bolt in.
Secure the Plate
- Mark screw hole locations with a pencil
- Pre-drill pilot holes if installing into hardwood
- Screw the plate in place
Fix Misalignment
If the latch binds or does not catch, loosen the strike plate and shift it slightly. Use a chisel to deepen the mortise if the plate sticks out. Use a file to widen the opening if the bolt scrapes the edges.
Test the New Doorknob
Before considering the job complete, you must verify that everything works correctly from both sides of the door.
Functional Checks
Open and close the door several times. Verify that the latch retracts smoothly when the knob is turned. Confirm the latch extends and catches securely when closed. Check that the knob turns freely without wobbling. Test locking mechanisms from both sides if your knob includes them.
Alignment and Stability
Ensure the knob base is flush with the door surface. Check for lateral play, which indicates loose screws or misaligned components. Tighten as needed.
Fix Common Problems
Even with proper installation, issues can arise. Here is how to address the most frequent problems.
Latch Will Not Catch
Misaligned strike plates are the usual cause. Loosen the plate screws, reposition it, and retighten. You may need to chisel or file the mortise for a proper fit.
Knob Feels Stiff or Binds
Over-tightened screws or a misaligned spindle are typically to blame. Loosen the mounting screws slightly, wiggle the knob to realign, then retighten gradually.
Key Will Not Turn
For keyed knobs, improper rekeying or debris in the cylinder causes this problem. Rekey following the manufacturer steps, or clean the lock with dry graphite spray.
Loose Knob
Stripped jamb screws or worn hardware create wobbling. Reinforce the strike plate holes using the golf tee method with wood glue, or replace the latch if the spindle connection is worn.
Frequently Asked Questions About Replacing Doorknobs
How long does it take to replace a doorknob?
Most homeowners complete the job in 20 to 30 minutes. Experienced DIYers often finish in 10 to 15 minutes. First-time installers should plan for up to 30 minutes per door.
Do I need to replace the latch when replacing the doorknob?
It is not required, but it is recommended. New latches come with new knobs and ensure compatibility. Old latches may have worn springs that cause sticking or failure.
Can I change a doorknob from horizontal screws to vertical screws?
Yes, as long as the new latch has threaded holes in both orientations. You do not need to drill new holes. Most modern latches support both horizontal and vertical screw placements.
What is the most common backset size?
The 2-3/8-inch backset is most common for interior doors. Exterior doors often use 2-3/4 inches. Measure your existing door to confirm before purchasing.
How do I rekey a Kwikset SmartKey lock?
Insert the original key and turn it 90 degrees clockwise. Insert the SmartKey tool into the rekey hole on the interior side. Remove the tool, then pull out the original key without rotating it. Insert your new key, turn it back to vertical, and remove it. The lock is now programmed.
Why should I use dry graphite spray instead of oil on locks?
Oil attracts dust and debris, which gums up lock cylinders over time. Dry graphite lubricates without creating buildup. Apply it annually to keyed mechanisms for smooth operation.
Key Takeaways for Replacing Your Doorknob
Replacing a doorknob is a beginner-friendly DIY project that delivers immediate results. The most critical step is measuring your door correctly before purchasing hardware. Verify the backset, door thickness, and bore hole size to ensure a proper fit. During installation, pay special attention to latch orientation, with the beveled side facing the strike plate.
The mounting screws secure the knob halves to the latch mechanism, not to the door wood, so you never need to drill new holes for different screw orientations. Take your time with strike plate alignment to prevent binding and ensure quiet operation. Test everything from both sides before finishing.
With basic tools and this guide, you can replace a doorknob in under 30 minutes and enjoy smoother operation, improved security, and a fresh look for your door.


