
You’ve finally found the perfect fabric pattern, but standing in front of your window with a tape measure feels overwhelming. The good news? Sewing a window valance is one of the most forgiving beginner projects, delivering professional-looking results with basic skills and minimal yardage. Unlike full drapes that pool on the floor, a valance covers only the top portion of your window, hiding hardware while adding color, texture, and personality to any room.
This complete guide on how to sew a window valance walks you through every stage, from measuring your window and selecting fabric to stitching clean hems and a functional rod pocket. You’ll learn two professional methods for finishing side seams (including the clever “wrap” technique), how to add lining or blackout layers, and how to troubleshoot common mistakes. By the end, you’ll have a custom window treatment that looks store-bought.
Measure Your Window Before Cutting Fabric
Install the Rod First for Accurate Dimensions
Always mount your curtain rod and brackets before you measure or cut anything. The rod’s position determines how far your valance extends past the window frame, typically 3″ to 5″ on each side for visual balance. Measure from the outer edge of one bracket to the outer edge of the other. This span is your rod length and forms the foundation for all fabric calculations.
Calculate the Fabric Width You Need
To create that soft, gathered look, your fabric must be wider than the rod itself. Multiply your rod length by a fullness factor based on fabric weight:
- Sheer fabrics: 2.5x to 3x the rod length
- Medium to heavyweight fabrics: 2x to 2.5x the rod length
For example, a 60″ rod with medium fabric requires 120″ to 150″ of total fabric width. Since most decorator fabric comes 54″ wide, you’ll likely need to sew two panels together using a ½” seam allowance. Position seams between brackets so they stay hidden when hung.
Determine the Finished Valance Length
Standard valances measure 15″ to 18″ in finished length. A reliable starting formula is one-quarter of the window height plus 1″. Beginners should cut 20″ and trim later if needed.
Your total cut length must include:
- Finished length (e.g., 18″)
- Header above the rod (2″)
- Rod pocket depth (3″ total)
- Top seam allowance (1″)
- Bottom hem (3.5″ to 4″)
This brings your total cut length to roughly 27.5″ to 30″. If you’re adding lining, cut it 3″ shorter than the main fabric so it stays tucked behind the hems.
Choose the Right Fabric for Your Space
Match Fabric Type to Room Function
Kitchen and bathroom valances benefit from washable cotton or decorator fabric that handles frequent cleaning. For a bold statement, choose patterned upholstery-weight material. Lightweight sheers work beautifully in sunrooms but require extra fullness to hang properly. Skip overly stiff fabrics unless you want a structured, architectural look.
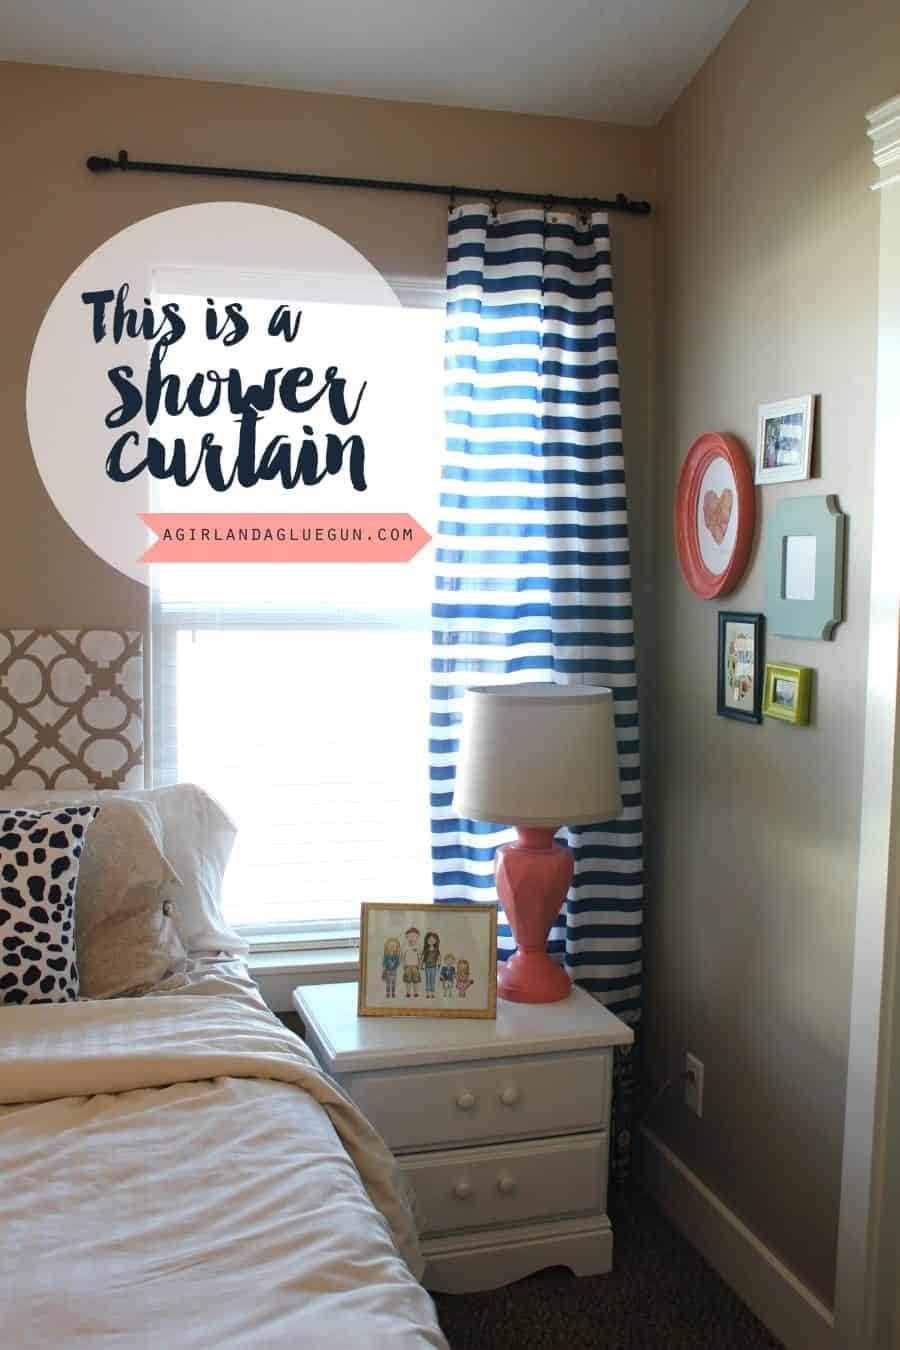
A clever budget hack: repurpose a $15 shower curtain. Many are 72″ wide, ideal for standard windows, and the vinyl backing means you can skip lining entirely.
Pre-Wash Cotton to Prevent Shrinkage
If your valance will live in a kitchen or bathroom, pre-wash and dry the fabric before cutting. This prevents disappointing shrinkage after all your sewing work is done. Iron the fabric smooth once dry so your measurements stay accurate.
Add Lining for a Professional Finish
Lining adds body, hides interior seams, and protects the back of your fabric from sun damage. Use standard drapery lining with medium-weight cottons. Skip lining for sheers since it would stiffen the drape.
For bedrooms or media rooms, insert a blackout lining panel between the main fabric and standard lining before sewing the top hem. This blocks light without leaving transparent edges.
Cut and Join Your Fabric Panels
Cut Main Fabric and Lining Separately
Using your calculated measurements, cut the main fabric to full width and length. Cut the lining to the same width but 3″ shorter in length. If joining multiple widths, cut each piece so seams fall between brackets where they’ll be hidden from view.
For a 120″ total width from 54″ fabric, cut two 60.25″ pieces (each includes a ½” seam allowance).
Sew Panels Together with Clean Seams
Place two fabric pieces with right sides together. Pin along the short edge and sew with a ½” seam allowance. Press the seam open with an iron to reduce bulk and create a flat surface for folding hems later. Repeat for lining if used. Finish all raw edges with a zigzag stitch or serger to prevent fraying over time.
Finish Side Edges with the Wrap Method
Try the Integrated Wrap Technique for Hidden Seams
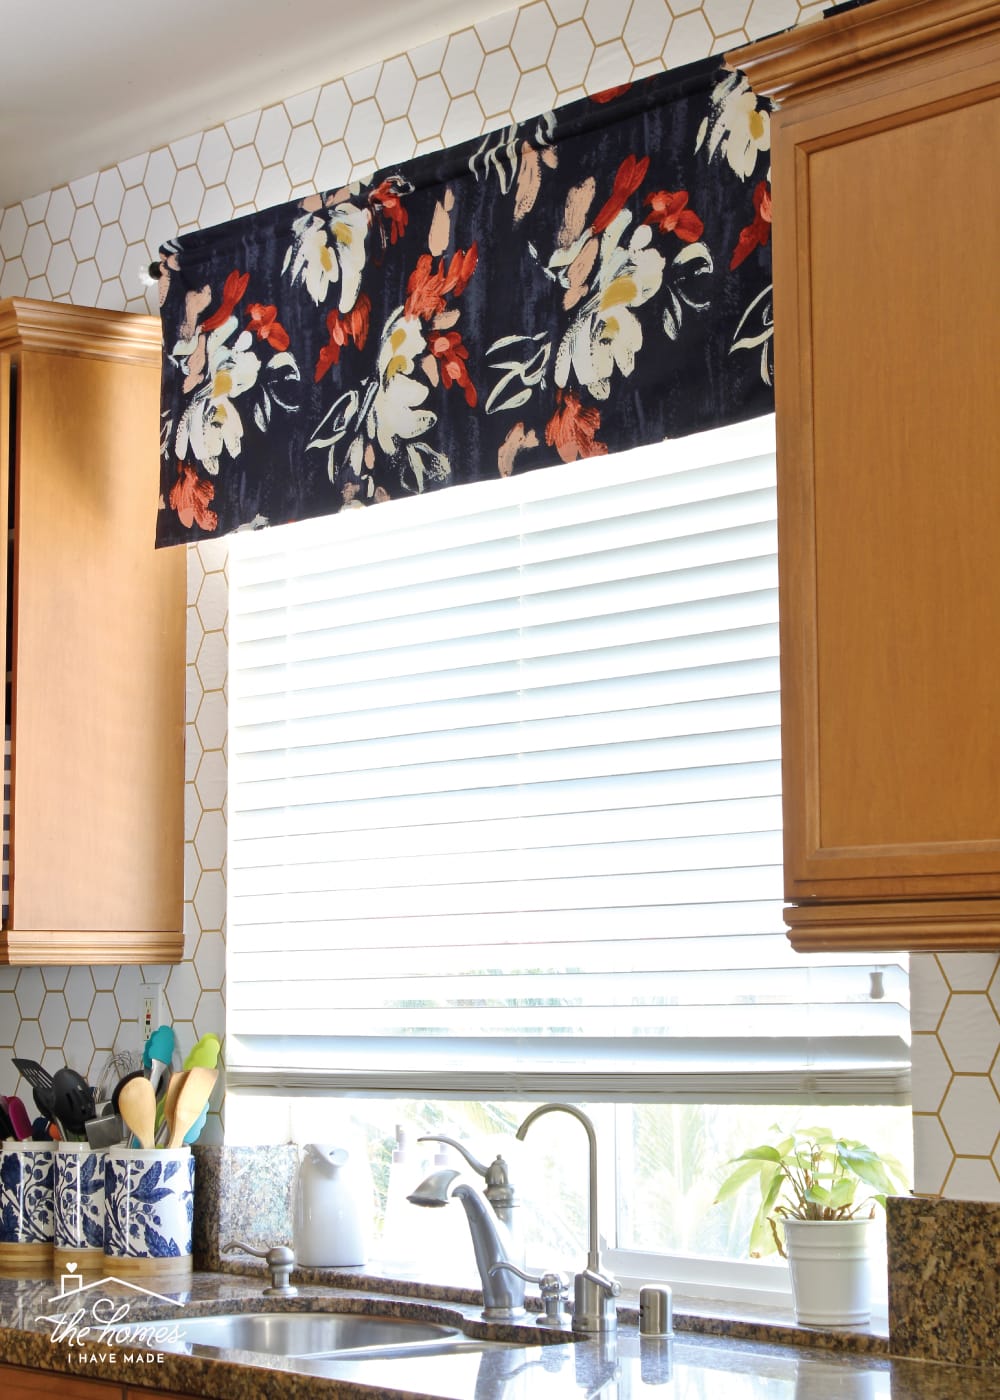
For a truly professional finish with no visible raw edges, use the wrap method:
- Cut your lining 4″ narrower than the main fabric (for 72″ fabric, cut lining to 68″)
- Place right sides together, aligning top and bottom edges
- Pin both sides securely
- Sew each side with a ½” seam allowance
- Turn right-side out and press flat
The main fabric naturally folds 2″ over the lining on each side, completely hiding it from the front. You get a clean, crisp edge with no exposed stitching.
Alternative: Traditional Double-Fold Hem
If you prefer separate hems or aren’t using lining, fold each side edge ¼” to the wrong side and press. Fold again ½”, enclosing the raw edge, then stitch ⅛” from the inner fold. Repeat for lining and baste both layers together at the top edge.
Warning: Never let lining extend past the main fabric. Trim it down to match if needed.
Create a Crisp Bottom Hem with Mitered Corners
Fold a Double Hem for Weight and Durability
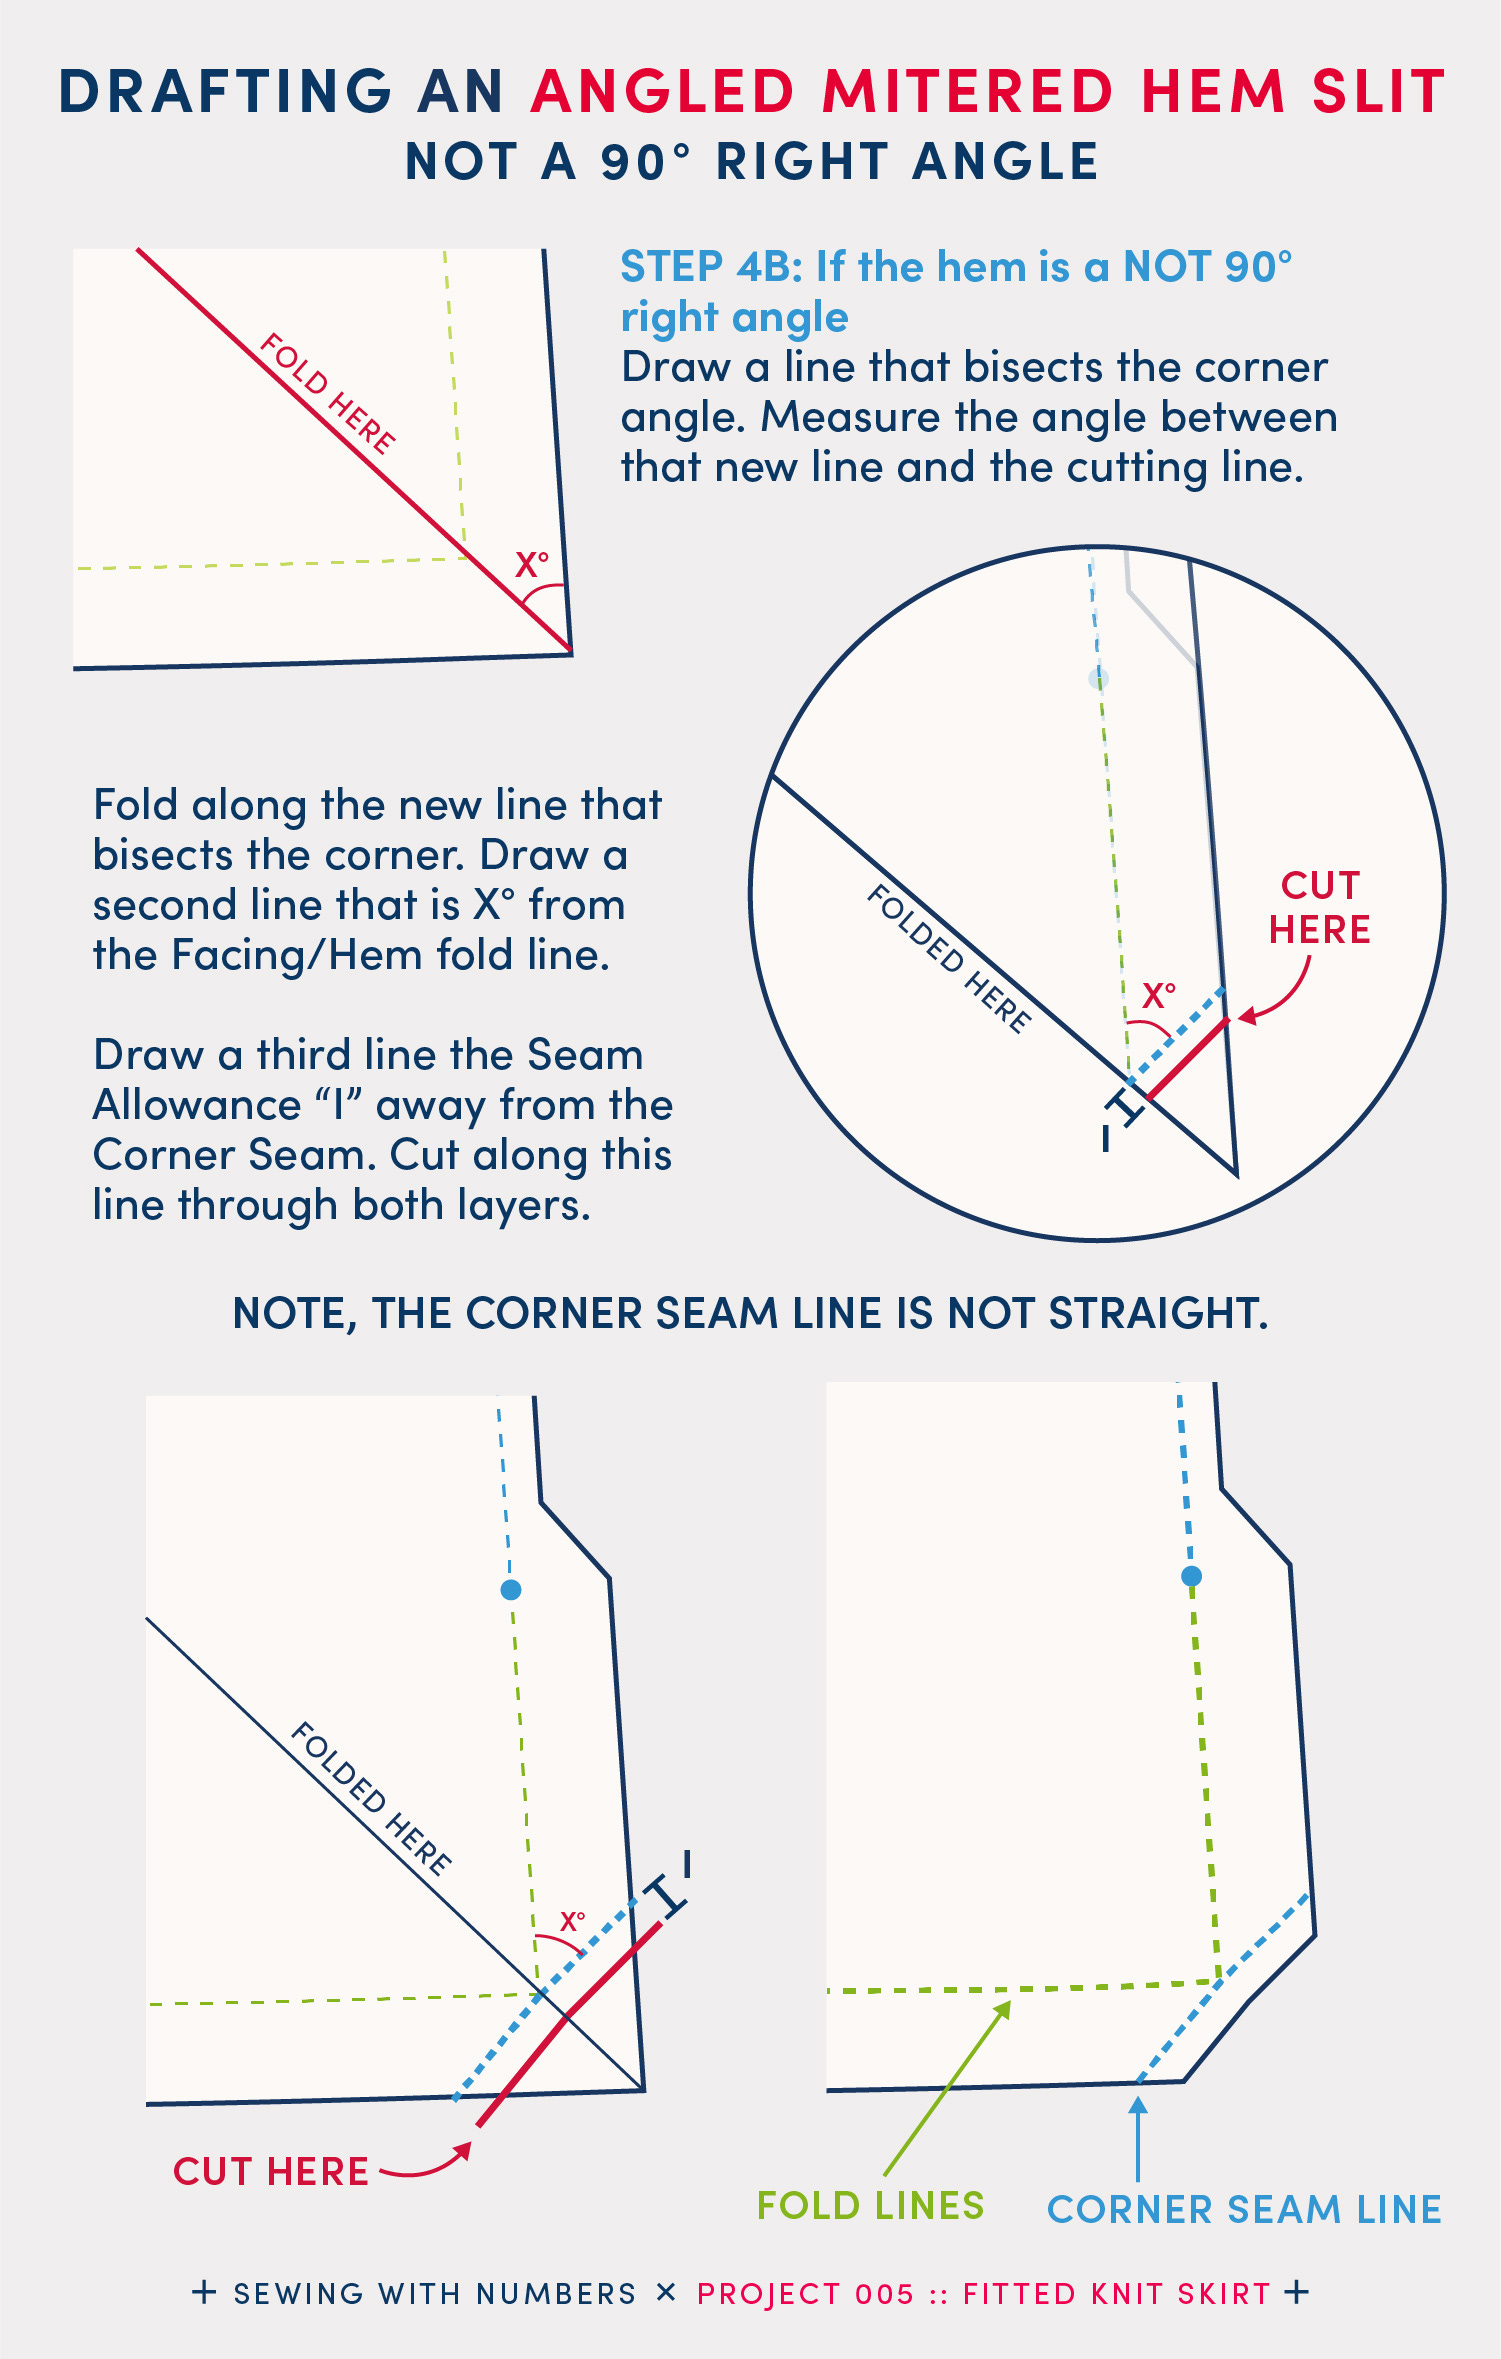
At the bottom edge, fold up 1″ to the wrong side and press. Fold up another 3″ and press again. This 4″ double-fold hem prevents fraying and adds weight so the valance hangs straight.
Miter the Corners to Eliminate Bulk
At each bottom corner, open the first 1″ fold and fold the fabric diagonally so the edge aligns with the side hem’s inner fold. Re-fold the 3″ hem over this mitered triangle, creating a neat, flat corner. Press and pin in place.
Stitch ⅛” from the top edge of the hem, catching the mitered fold. The result is a sharp, professional corner with no bunching.
Pro tip: A zipper foot helps you stitch close to folds without catching excess fabric.
Build the Rod Pocket and Decorative Header
Fold the Top Edge to Form the Casing
The top fold creates both the functional rod pocket and the decorative header (the soft pouf of fabric above the rod). Fold the top edge down ¼” and press. Fold down again to a total depth of header height (2″) plus rod pocket depth (1.5″), which equals 3.5″. Press sharply to create a crisp fold.
Insert Blackout Lining for Light Control
If you’re adding a blackout panel, cut it to match the main fabric width and make it 3″ shorter than the lining. Slide it between the main fabric and lining layers before folding the top hem. Push it up into the fold so it stays completely hidden when hung.
Test first: Hold your fabric and lining combination up to a window. Standard lining often allows light through, even with dark fabrics.
Stitch the Rod Pocket in Two Lines
Pin the folded hem in place. Stitch close to the bottom edge of the fold to secure the hem and hold the blackout layer. Then create the second stitch line for the rod pocket:
- Method 1: Insert your actual rod, push it down to the first stitch line, and mark the fabric just below the rod
- Method 2: Measure down 3.5″ from the top fold (2″ header plus 1.5″ pocket) and mark a straight line
Stitch along this line across all layers. Test the pocket with your actual rod before final stitching. It should slide through easily but feel snug.
Press and Hang Your Finished Valance
Give It a Final Press for a Polished Look
Use a hot iron set appropriately for your fabric type. Press the entire valance, paying special attention to side folds (ensure even wrapping), bottom hem (flatten those mitered corners), and the top casing (smooth out any puckers). A well-pressed valance looks store-bought.
Install and Make Final Adjustments
Mount your brackets and insert the rod. Slide the rod through the pocket, hang the valance, and center it on the window. If the length looks off:
- Too long? Unstitch the bottom hem, trim the fabric, and re-hem
- Too short? Add a fabric border before re-sewing
Pro tip: Hang tie-backs about two-thirds of the way down the window height for a soft, gathered look when the valance is pushed aside.
Fix Common Valance Problems
Valance Is Too Sheer
Even dark fabrics can transmit light without proper lining. Always test opacity before final assembly. If light shows through, add a blackout panel between the layers.
Side Folds Look Uneven
In the wrap method, uneven pressing causes one side to look thicker than the other. Pin and press sides carefully before final assembly, and double-check that the lining is centered with fabric wrapping symmetrically.
Rod Won’t Fit in the Pocket
Measure your rod at its widest point and add ½” for ease. If the pocket is too tight, rip the second stitch line, widen the fold slightly, and re-stitch. Never force the rod through, as this can tear your seams.
Hems Look Bulky
Trim seam allowances on corner folds and use a narrower hem on lining (2″ total) compared to main fabric (4″). Press all seams completely flat.
Save Time and Money on Materials
Use a Shower Curtain for Budget-Friendly Results
A $15 vinyl-backed shower curtain provides 72″ of width, perfect for standard windows. The vinyl backing eliminates the need for lining, and you can skip hemming the sides entirely. Just cut to length, fold the top, and stitch the rod pocket.
Skip the Rod Pocket with Easy-Hang Alternatives
For rentals or quick installations, try these alternatives:
- Clip rings: Attach to the top edge with stitches or Velcro tabs
- Tension rod: Insert directly into the casing for damage-free hanging
- Velcro strips: Sew to the back and mount to the wall for removable installation
Time estimate: Experienced sewers finish in under one hour. Beginners typically complete the project in one evening.
Frequently Asked Questions About Sewing a Window Valance
What Is the Easiest Fabric to Use for a Beginner Valance?
Medium-weight cotton is the most beginner-friendly option. It presses cleanly, sews without slipping, and holds creases well. Pre-wash it before cutting to prevent shrinkage, and choose a pattern that hides small mistakes.
How Much Fabric Do I Need for a Window Valance?
Fabric requirements depend on your window width and desired fullness. For a standard 60″ rod with medium-weight fabric at 2x fullness, you need 120″ of total width. Since most fabric is 54″ wide, plan on purchasing 3 to 4 yards to allow for joining panels and cutting length.
Do I Need to Line My Window Valance?
Lining is recommended for medium-weight cottons because it adds body, hides seams, and protects against sun damage. Skip lining for sheer fabrics to preserve their drape. Add blackout lining if you need light control in bedrooms or media rooms.
Can I Sew a Valance Without a Sewing Machine?
Hand-sewing is possible but time-consuming for a project this size. A basic sewing machine makes the job faster and produces more durable seams. If you don’t own one, borrow one or use a local maker space for a few hours.
How Do I Hang a Valance Without a Rod Pocket?
Use clip rings, Velcro strips, or a tension rod inserted into the casing. These methods work well for rentals where you can’t install permanent hardware. Clip rings also let you adjust the valance height easily.
How Long Does It Take to Sew a Window Valance?
Experienced sewers complete a basic valance in under one hour. Beginners should budget two to three hours, especially for first attempts. The project requires no advanced techniques, just straight seams and careful pressing.
Key Takeaways for Sewing Your Own Window Valance
Sewing a window valance combines simple techniques with high visual impact, making it an ideal project for beginners and experienced sewers alike. The three most important success factors are accurate measurements (always install the rod first), proper fabric preparation (pre-wash cotton and choose lining based on room function), and clean finishing techniques (use the wrap method for hidden seams and miter corners for a professional look).
Your next step is simple: measure your window, choose your fabric, and set aside an evening to start sewing. Within hours, you’ll have a custom window treatment that transforms your space and showcases your new skills.



