
A misaligned door latch compromises your home security and makes closing doors frustrating. Whether your interior bedroom door won’t catch or your exterior door sticks, fixing a misaligned door latch often requires nothing more than a screwdriver and a few minutes of your time. The problem might stem from loose hinge screws, seasonal wood swelling, or builder-grade installation errors. In this guide, you’ll learn exactly how to diagnose the issue and apply the right fix, from the lipstick test to hinge shimming and strike plate adjustments.
Diagnose the Misalignment First
Before grabbing tools, you need to identify how and why the latch isn’t engaging properly. Jumping straight into repairs without diagnosis wastes effort and risks visible damage.
Use the Lipstick Test
This foolproof method reveals exactly where the latch strikes the jamb.
• Coat the latch bolt with red lipstick, pencil lead, or colored tape
• Retract the latch using the doorknob
• Close the door gently so the latch contacts the strike plate
• Reopen and examine the mark left on the strike plate:
- Top edge marked: Latch sits too low, door has sagged
- Bottom edge marked: Latch sits too high, rare but possible
- Side edges marked: Horizontal misalignment
- No mark or partial contact: Depth or angular issue
This test shows whether the problem is vertical, horizontal, or depth-related with no guesswork.
Inspect for Physical Signs
Look for clues that confirm your diagnosis.
• Gaps between door and frame when closed
• Loose hinges that wobble or allow movement
• Rub marks on the jamb or door edge
• Bent or loose strike plate
• Stripped screw holes in hinges or jamb
If the door feels spongy at the knob or sags when opened, hinge failure is likely. For new homes, builder error like a misplaced strike plate hole is common.
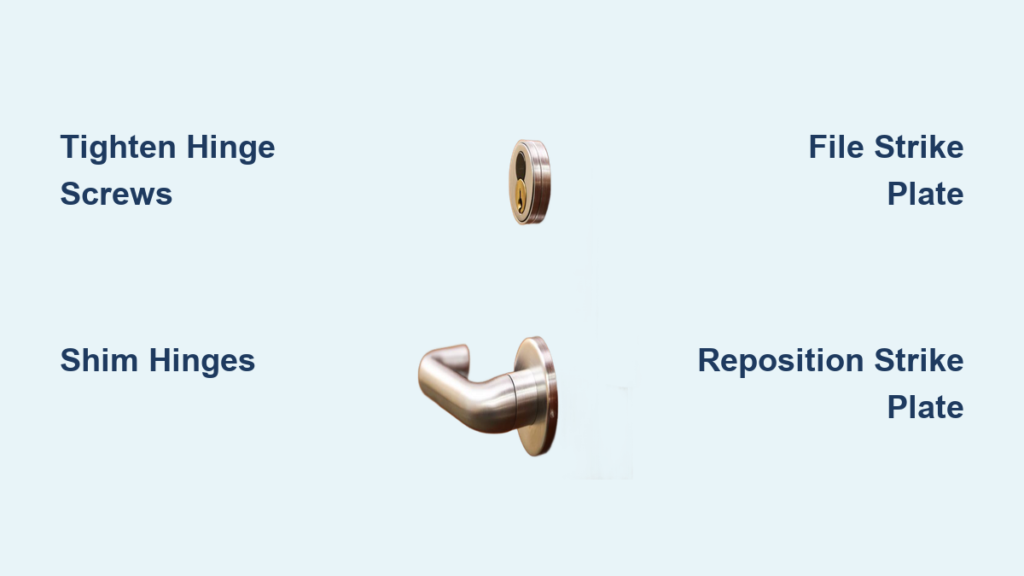
Tighten or Repair Hinge Screws
Loose hinges are the number one cause of latch misalignment.
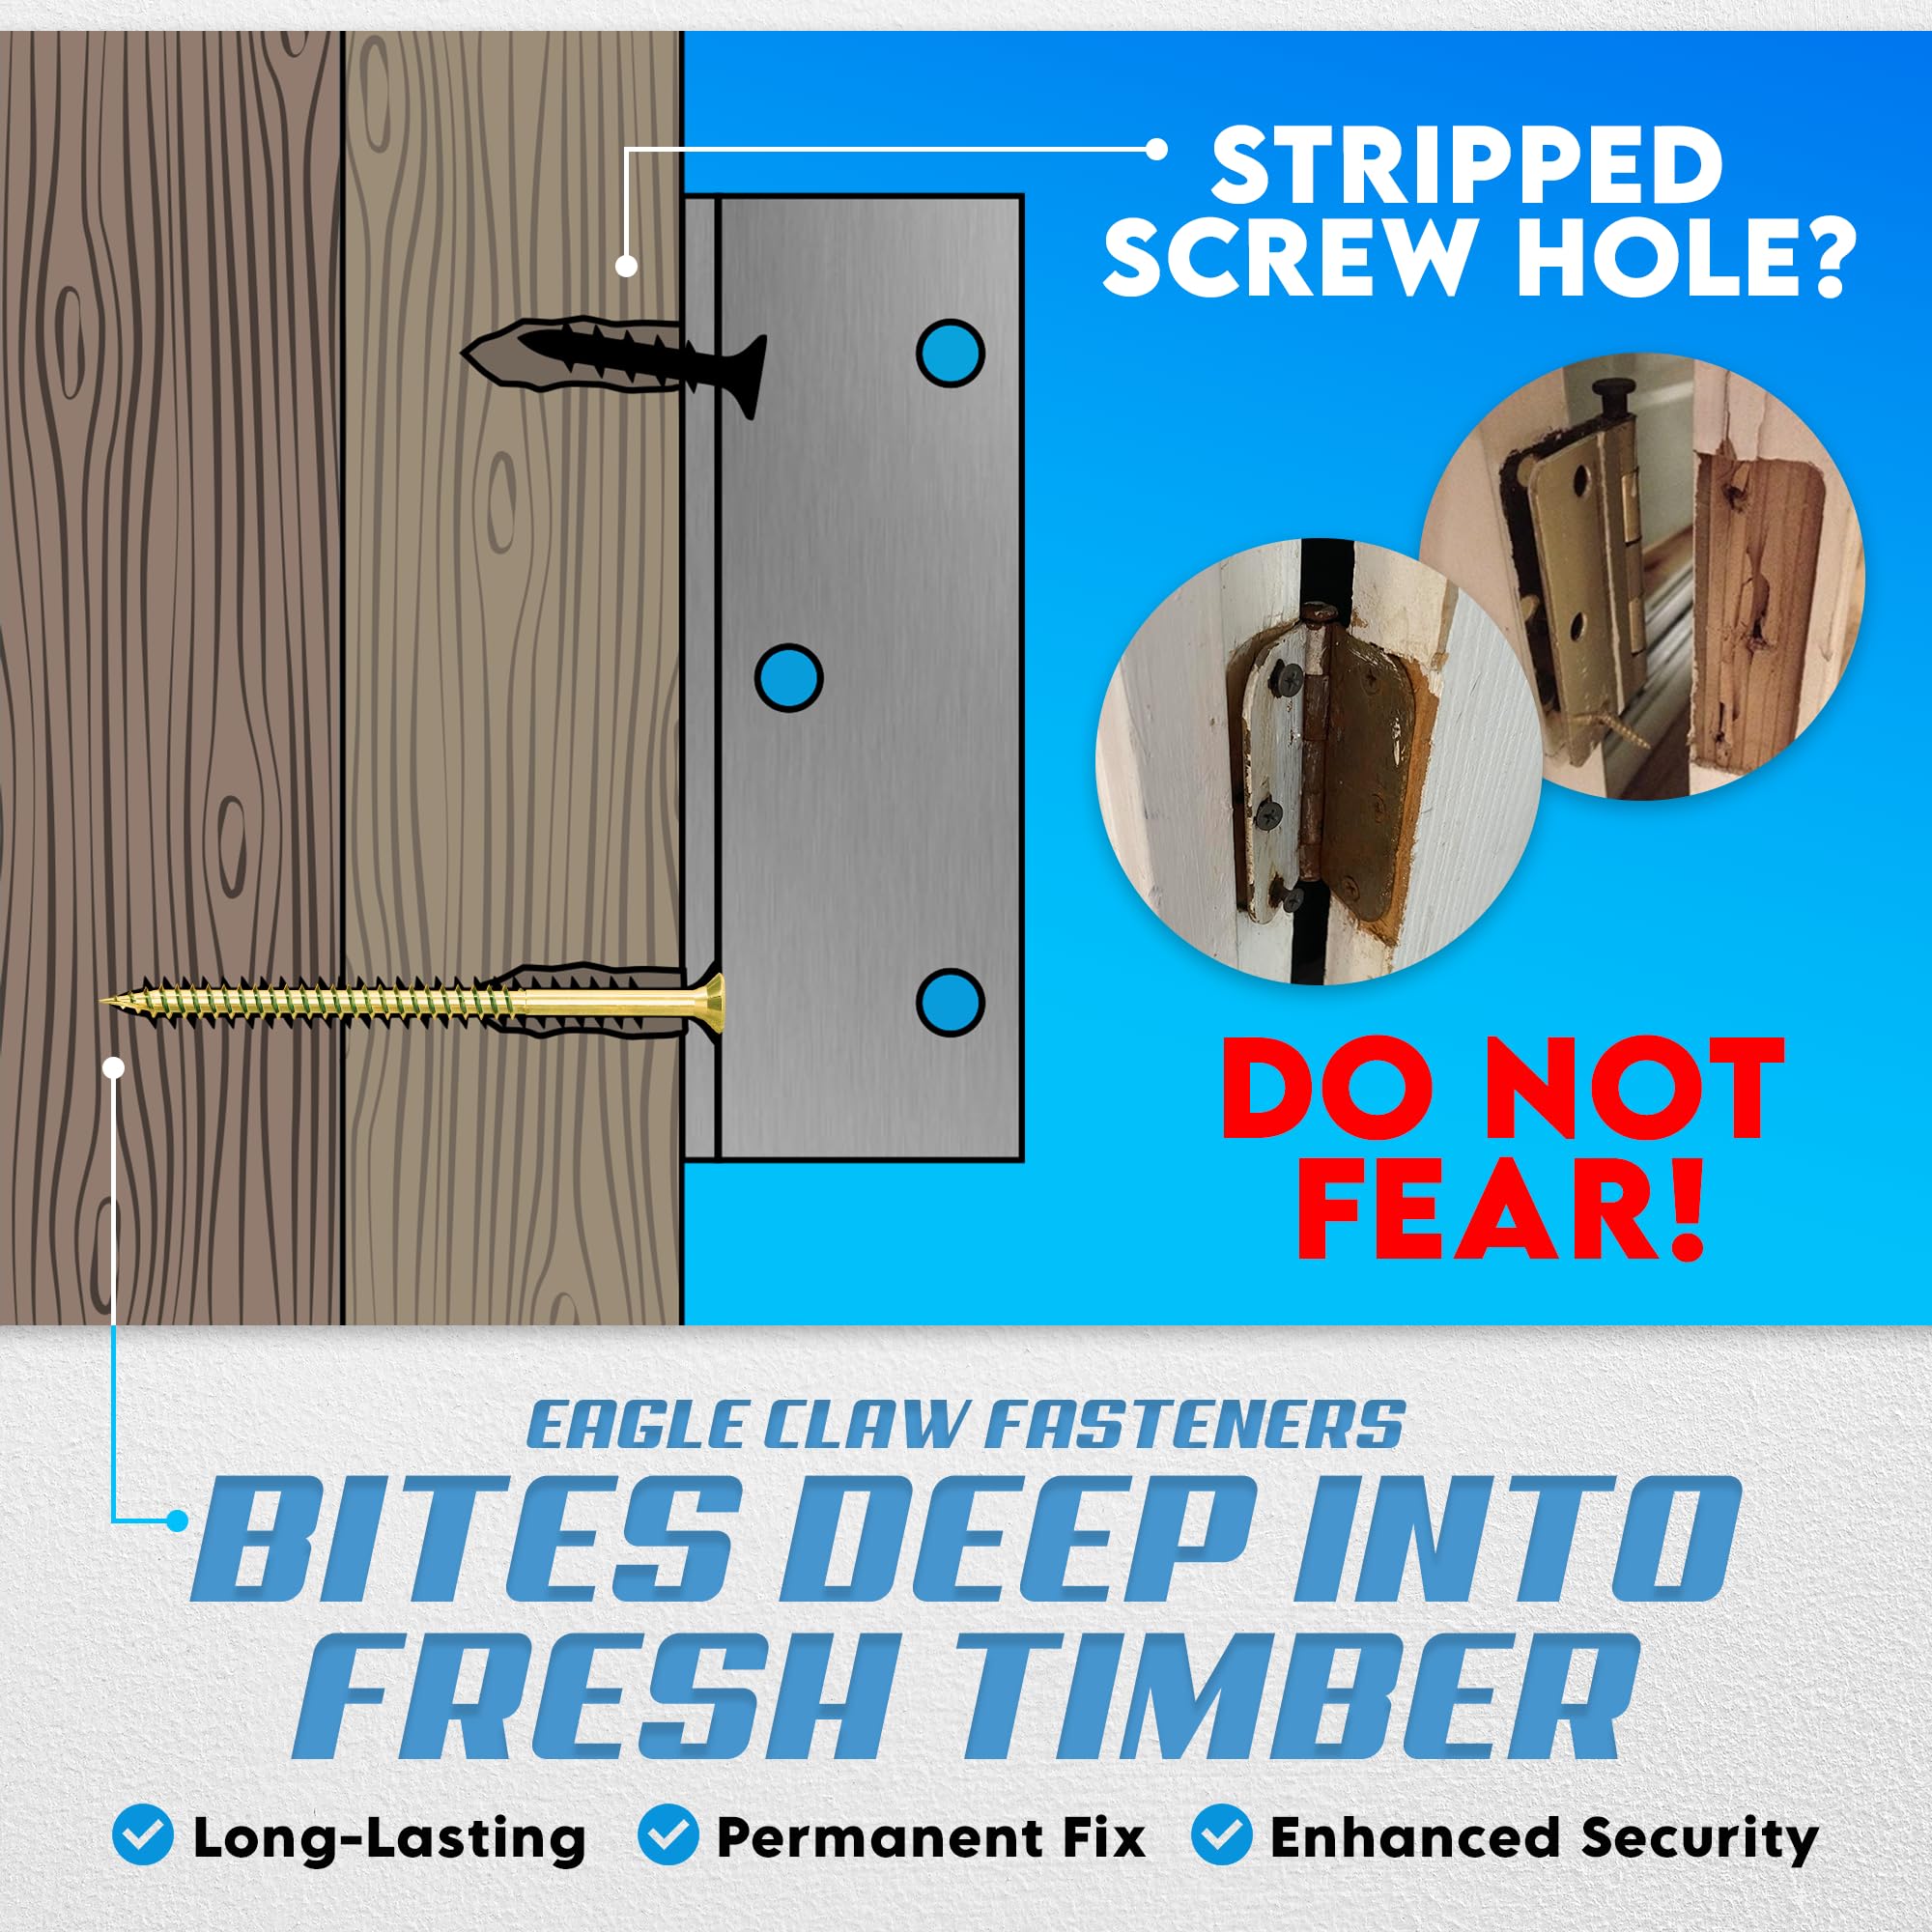
Fix Stripped Hinge Holes
When screws spin freely, they’ve lost grip in the jamb or door.
- Remove the loose screw
- Fill the hole with wood glue-coated toothpicks, matchsticks, or dowels
- Pack tightly and snap flush with the surface
- Let dry overnight
- Reinsert the original screw
Never use drywall anchors or filler alone. They won’t hold long-term.
Upgrade to Longer Screws
For sagging doors, 3-inch construction screws in the top hinge can lift the door by anchoring into the wall stud.
• Replace short half-inch hinge screws with 3 to 4-inch coarse-thread screws
• Focus on the top hinge to lift a sagging door
• Drive slowly to avoid splitting the jamb
Warning: Only effective if a stud is behind the hinge. Not all jambs are fully backed.
Shim the Hinges for Angle Adjustment

When tightening isn’t enough, shimming repositions the door without chiseling wood.
Use Cardboard or Commercial Shims
Materials needed:
• Cardboard (cereal box thickness works perfectly)
• Pre-cut hinge shims (available at hardware stores)
How to install:
1. Remove one hinge leaf from the door jamb
2. Place shim behind the hinge
3. Reattach with screws
Apply the Right Shim Strategy
• Raise the latch: Shim the bottom hinge
• Lower the latch: Shim the top hinge
• Fix depth (door too far in or out): Shim all hinges
“Put a piece of cardboard behind the bottom hinge. 95 percent sure that will fix your problem.” — Lawrence108, homeowner
Cardboard is a proven, accessible fix. Just ensure it’s trimmed flush and doesn’t protrude.
File the Strike Plate for Minor Misalignment
If the latch is close but not quite hitting, modify the strike plate instead of the wood.
Use a File or Dremel Tool
Best for gaps under one-eighth inch (3 mm).
- Remove the strike plate
- Support it in a vise or clamp
- File or grind the bottom edge if latch hits high, the top edge if latch hits low, or the sides for left-right misalignment
- Reinstall and test
A Dremel with a grinding bit takes seconds. Many homeowners call this the quickest fix.
Avoid over-filing. Test-fit often because a little metal removal goes a long way.
Install an Oversized Strike Plate
For recurring misalignment, upgrade to a more forgiving plate.
Choose an Adjustable Strike Plate
• Look for vertical elongation or extended play
• These plates fit up to one-half inch (12–13 mm) offset
• Install in original screw holes or slightly modified ones
Pros:
• No woodwork required
• Handles seasonal swelling
• Works with minor sag
Cons:
• May look bulkier or mismatch existing hardware
• Some users report aesthetic concerns
Best for high-traffic or problem-prone doors where function trumps form.
Reposition the Strike Plate

For misalignment over one-eighth inch, move the strike plate to match the latch.
Fill Old Screw Holes
Stripped or relocated holes need reinforcement.
- Insert glue-soaked toothpicks or dowels
- Break flush and let cure
- Drill new pilot holes
Wood glue plus dowels holds far better than filler or anchors.
Chisel the New Mortise
Tools: Half-inch sharp chisel, hammer, pencil, ruler
- Mark new strike plate position based on lipstick test
- Score edges with chisel
- Remove wood in thin layers (about one-sixteenth inch at a time)
- Test-fit the plate and adjust as needed
- Enlarge the latch hole in the jamb if necessary
- Secure with one-and-a-quarter to two-inch coarse-thread wood screws
A jamb is typically three-fourths inch thick. Longer screws anchor into framing for durability.
Finish and Paint
• Fill gaps with hardwood putty (not spackle)
• Sand smooth
• Match stain or paint
• Seal exposed wood to prevent moisture damage
Sand or Plane the Door or Jamb
If the door binds before closing, it can’t latch regardless of strike plate alignment.
Find the Contact Point
• Close the door slowly and feel for resistance
• Look for rub marks on the jamb or door edge
• Apply lipstick to the jamb and close. The transfer shows exact contact.
Remove Material Gradually
Tools: Hand plane, sander, or sandpaper
- Remove one-sixteenth inch (1.5 mm) or less at a time
- Focus on the door edge or jamb shoulder
- Rehang and test
Over-sanding weakens seals and insulation. Only remove what’s necessary.
Best for seasonal swelling or doors that bind at the top or side.
Handle Severe or Structural Issues
When basic fixes fail, the problem may be beyond DIY.
Recognize Structural Red Flags
• Multiple doors misaligned throughout the home
• Cracks in walls or floor near door
• Door frame out of square
• Persistent issues after repeated repairs
These may indicate foundation settling, especially in older homes.
“My house is over 100 years old. Every door has been adjusted.” — Homeowner
Call a Professional
For structural issues, consult a licensed contractor or structural engineer. Consider jamb replacement or frame realignment. Exterior doors with security concerns need expert reinforcement.
Choose the Right Fix by Severity
| Misalignment | Best Solution | Time Required |
|---|---|---|
| Less than 1/8″ | File strike plate | 5–10 minutes |
| 1/8″ to 1/4″ | Reposition strike plate | 20–30 minutes |
| Loose hinges | Tighten plus fill holes | 10–15 minutes |
| Sagging door | 3-inch screws in top hinge | 15 minutes |
| Binding jamb | Sand or plane contact point | 10–20 minutes |
| Recurring issue | Oversized strike plate | 10 minutes |
Pro Tips for Lasting Results
• Test after every step. Don’t assume it’s fixed until the door closes smoothly.
• Use graphite powder to lubricate the latch mechanism. Oil attracts dust.
• Lubricate hinges with silicone spray or light machine oil.
• Reinforce all hinge screws during repair. Don’t just fix one.
• Inspect annually. Seasonal changes can reopen old issues.
• For exterior doors, use reinforced strike plates with 3-inch screws for security.
Over 90 percent of latch issues are resolved with hinge tightening, shimming, or strike plate adjustment.
Frequently Asked Questions About Misaligned Door Latches
What causes a door latch to become misaligned?
The most common causes include loose hinge screws, door sagging from weight or age, seasonal wood swelling from humidity changes, improper initial installation by builders, and wear on hinge mortises. Foundation settling in older homes can also shift frames out of alignment.
Can I fix a misaligned door latch without calling a professional?
Yes. Most misalignment issues resolve with simple DIY fixes like tightening hinge screws, adding cardboard shims behind hinges, or filing the strike plate. These methods handle over 90 percent of cases and require only basic tools.
How do I know if my door problem is structural?
If multiple doors throughout your home are misaligned, you see cracks in walls near doorways, or the door frame appears out of square, you likely have a structural issue. In these cases, consult a licensed contractor or structural engineer.
What is the quickest fix for a misaligned door latch?
The fastest solution is usually filing the strike plate with a Dremel tool or metal file. This works for minor misalignments under one-eighth inch and takes only 5 to 10 minutes.
Should I use wood filler to repair stripped hinge holes?
No. Wood filler lacks holding power and will strip again. Instead, use wood glue with toothpicks, matchsticks, or wooden dowels. This creates a solid base that holds screws securely for years.
Key Takeaways for Fixing Your Misaligned Door Latch
Most misaligned door latch problems can be fixed in under 30 minutes with basic tools. Start with the simplest fix: tightening hinge screws or adding a cardboard shim behind the bottom hinge. The key is diagnosing accurately first using the lipstick test to determine whether the issue is vertical, horizontal, or depth-related. Escalate to more involved solutions like filing, repositioning, or replacing the strike plate only when simpler methods fail. For exterior doors or recurring issues, consider upgrading to an oversized adjustable strike plate and reinforce with three-inch screws. Address structural concerns promptly by consulting a professional, especially in older homes where foundation settling may be the root cause.


