
Installing door hinges might seem simple, but getting them right is crucial for smooth operation, long-term durability, and a professional finish. Whether you’re hanging a new interior door or replacing an old one that sags or binds, how to install door hinges correctly starts with precision, the right tools, and attention to alignment. This guide walks you through every step, from measuring and mortising to final alignment, using pro techniques that ensure your door swings perfectly for years.
Prepare the Door and Frame
Before touching a chisel or drill, ensure your foundation is solid. A hinge cannot fix a crooked frame.
Check Jamb for Plumb and Level
The hinge-side jamb must be perfectly plumb. Use a 24″ or 48″ level to verify. Even a 1/8″ deviation can cause binding or gaps. The head jamb should be level, regardless of floor slope. Shim between the jamb and rough opening on the latch side to maintain consistent door clearance.
Use the String Method for Parallelism
In masonry or uneven openings, use the string method to confirm both jambs are parallel.
Run a string from the top outer corner of one jamb to the opposite bottom corner. Cross it by running a second string the other way. When both strings just touch at the center, the jambs are parallel. This technique is essential for commercial or high-precision installations.
Choose Rabbeted Jambs When Possible
Opt for rabbeted jambs. They have a built-in recess that matches the door edge, eliminating the need for separate stop molding. This creates a tighter seal, better alignment, and a cleaner look. Split jambs with removable stops are less durable and often discarded by pros.
Select the Right Hinges
Choosing the correct hinge type and size ensures your door operates smoothly and stays aligned.
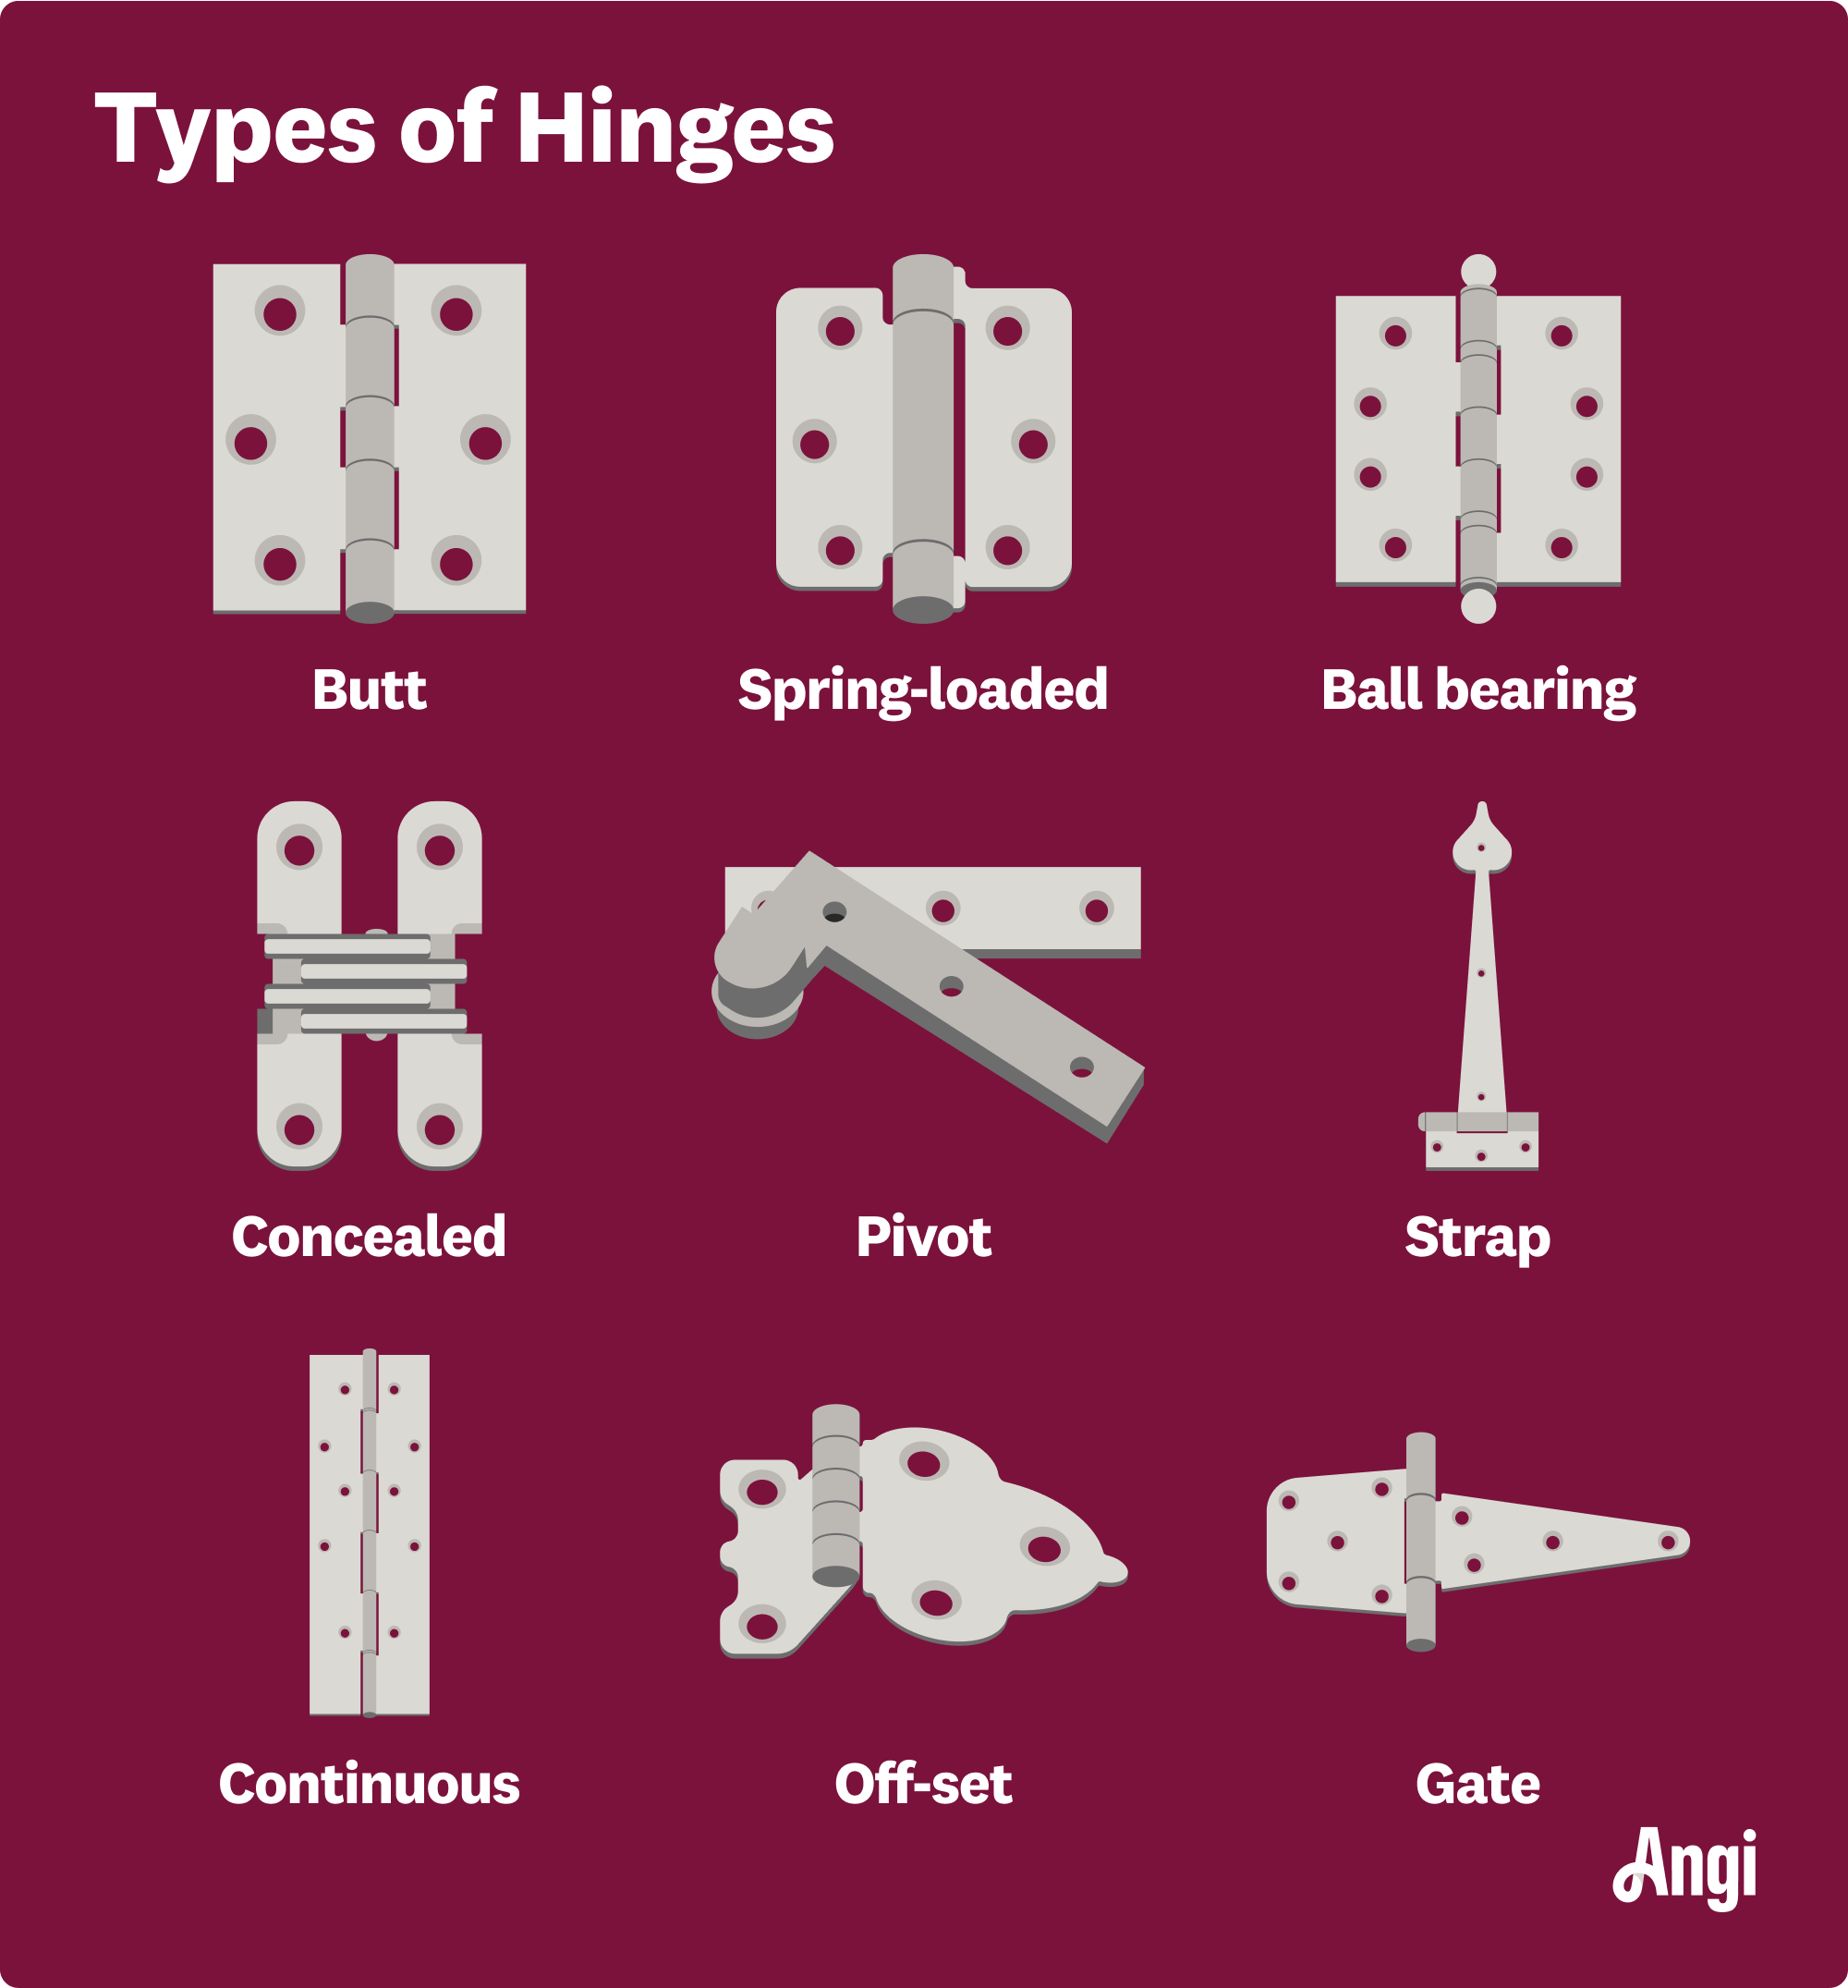
Match Hinge Type to Door Use
Butt hinges work best for standard interior and exterior doors. They mortise into both door and frame. Ball-bearing hinges are ideal for solid-core or heavy exterior doors because they reduce friction and prevent sagging. Spring hinges are self-closing and required for fire-rated doors, garages, or utility rooms. Soss hinges are concealed when closed, used for modern seamless designs, but they are complex to install. T-hinges are surface-mounted, common on barn doors or sheds.
Determine Hinge Size and Quantity
Use 3.5″ or 4″ hinges for standard 80″ doors. Follow the one hinge per 30 inches of height rule. A 70 to 80 inch door needs three hinges. Doors over 80 inches or over 50 pounds need three or four hinges. Fire-rated doors require certified hinges, often gasketed or spring-loaded.
Gather Tools and Materials
Having the right tools makes the job faster, safer, and more accurate.
Essential Tools List
You will need a hammer or mallet, sharp chisel, utility knife, tape measure, and pencil. A cordless drill with screwdriver bit is essential. Use a self-centering drill bit for precise alignment and a pilot hole bit slightly smaller than screw diameter. Have a combination square, level, clamps or door wedges, and a story pole or cardboard template for consistent placement.
A hinge mortising jig and router are optional but recommended for clean, repeatable cuts, especially useful for multiple doors.
Materials You Will Need
Gather door hinges, screws, wooden toothpicks and wood glue for stripped holes, cardboard or plastic shims, a towel or foam pad to protect the door, and lubricant like graphite powder or silicone spray.
Mark and Position Hinges
Accurate placement ensures even weight distribution and smooth operation.
Set Top and Bottom Hinge Locations
The top hinge goes 7 inches from the top of the door. The bottom hinge goes 10 inches from the bottom. Place the middle hinge vertically centered between the two. For doors over 80 inches or heavy doors, add a fourth hinge near the bottom.
Transfer Hinge Positions to Door Edge
Lay the door on padded sawhorses, handle side down. Hold the hinge against the edge with the pin side facing the door swing direction. Let it drape open so one leaf lies on the edge, the other on the face. Trace the outline with a pencil. Score the lines with a utility knife for a cleaner cut and to prevent tear-out.
Cut the Hinge Mortises
Mortising is the most critical step. Done poorly, it leads to misaligned or loose hinges.
Score and Chisel the Mortise
Use a sharp utility knife to cut along the traced lines to about 1/16″ deep. Hold the chisel bevel-side down, aligned with the scored line. Tap gently with a hammer, removing wood in small increments. Always chisel with the grain to avoid splintering. Work toward the center, flattening the bottom with light scraping.
Use a Router for Precision
For faster, cleaner cuts, use a hinge mortising jig with a router and straight bit. Set depth to match hinge thickness. The jig ensures perfect alignment and depth, ideal for multiple doors.
Check for Flush Fit
Place the hinge into the mortise. Run your finger across with no gaps or high spots. If too high, deepen slightly with chisel. If too deep, insert a cardboard shim under the hinge to raise it flush.
Attach Hinges to the Door

Secure hinges properly to prevent stripping or misalignment.
Drill Pilot Holes
Use a bit slightly smaller than the screw diameter. This prevents wood splitting, especially in hardwoods. Drill straight because angled holes weaken the joint.
Install Hinge Screws
Start with the middle screw in each hinge to stabilize it. Use a cordless drill with a screwdriver bit and avoid over-tightening. If using self-countersinking screws, they sit flush. Otherwise, use a countersink bit. Use a self-centering bit to ensure screw holes align perfectly with the hinge.
Install Hinges on the Door Frame
Now transfer the hinge alignment to the jamb.
Support the Door Temporarily
Use shims or clamps to hold the door in place. Align the door so it is plumb and centered in the jamb. Maintain a consistent 1/8″ gap on hinge and latch sides.
Transfer Hinge Locations to Jamb
Close the door and align hinge leaves. Use the door hinge as a template to mark screw holes on the jamb. Or, drill pilot holes through the hinge into the jamb for exact placement.
Mortise the Jamb Side
Follow the same chiseling process as on the door. Ensure hinge leaves sit flush and knuckles align perfectly. Misaligned knuckles make pin insertion difficult.
Anchor Top Hinge into Stud
Replace standard screws in the top hinge with 3″ structural screws. Drive them into the wall stud for added support. This prevents long-term sagging, critical for heavy or exterior doors.
Align the Door and Test Fit
Now check for proper gaps, flush closure, and smooth operation.
Check 1/8″ Gaps Around the Door
Side and top margins should have a consistent 1/8″ gap. Use a credit card or feeler gauge to verify. If gaps are uneven, the jamb may be out of plumb.
Fix Binding or Gaps with Shims
If the door rubs at the top or bottom, shim behind the hinge. Place a cardboard or plastic shim between the hinge leaf and mortise. On the door side, this pulls the door tighter to the stop. On the jamb side, this shifts the entire door position slightly.
Adjust Door Position if Needed
If the hinge side is 1/4″ from the stop when closed, remove the strike-side and head stop molding. Close the door. Reinstall stops snug against the door edge. The result is a tight, satisfying closure with no gaps.
Fix Common Hinge Problems
Even with careful work, issues can arise. Here is how to fix them fast.
Door Won t Close Flush
The cause is misaligned jamb, shallow mortise, or hinge not flush. Recheck jamb plumb. Deepen mortise if hinge is proud. Shim if needed.
Door Sags Over Time
The cause is heavy door, weak hinges, or screws not in stud. Install ball-bearing hinges. Use 3″ screws in top hinge. Replace stripped holes with toothpicks plus wood glue.
Hinges Squeak
The cause is dry pins or friction. Remove pin, apply graphite powder or silicone spray. Reinsert.
Door Swings Open or Closed on Its Own
The cause is frame out of plumb. Shim behind hinges to adjust plane. Install spring hinge if automatic closure is needed.
Replace Old Hinges
Upgrading hinges? Follow this process for a clean swap.
Remove Old Hinges
Take out hinge pins and remove door. Unscrew hinges from door and jamb. Clean old mortises of paint, debris, or glue.
Fit New Hinges
Test-fit new hinges and ensure same size and thickness. If screw holes do not align, fill old holes with toothpicks dipped in wood glue. Let dry, trim flush, then drill new pilot holes.
Reinstall and Align
Use fresh pilot holes, offset from old ones if possible. Match hinge finish for consistency. Lubricate pins before reassembly.
Maintain Hinges for Long Life
A little maintenance prevents big problems.
Lubricate Every 6 to 12 Months
Use powdered graphite or silicone spray. Avoid oil-based lubes because they attract dust.
Inspect Screws Annually
Tighten loose screws. Replace stripped ones with longer or structural screws.
Watch for Rust or Wear
On exterior doors, check for corrosion. Replace stainless steel or brass hinges if pitted.
When to Call a Pro
Some jobs are best left to experts.
Hire a Carpenter If
You are installing fire-rated, security, or heavy exterior doors. The frame is damaged, out of square, or severely out of plumb. You are using Soss or concealed hinges which require high precision. You are working on multiple doors and need uniform results.
Frequently Asked Questions About Installing Door Hinges
What tools do I need to install door hinges?
You need a hammer or mallet, sharp wood chisel, utility knife, tape measure, pencil, cordless drill with screwdriver bit, self-centering drill bit, pilot hole bit, level, and clamps. A hinge mortising jig with router is optional but recommended for precision.
How many hinges does a standard door need?
Follow the one hinge per 30 inches of height rule. Most standard 80 inch doors need three hinges. Heavy doors or doors over 80 inches need three or four hinges.
Can I install door hinges without mortising?
Technically yes if the frame allows clearance. However, non-mortised hinges cause the door to sit proud, leading to poor closure and aesthetic issues. Mortising is strongly recommended for proper fit and durability.
How do I prevent door sagging after installation?
Use ball-bearing hinges for heavy or solid-core doors. Anchor the top hinge into the wall stud with 3″ structural screws instead of standard screws. This is the number one fix for sagging doors.
Why do my door hinges squeak?
Hinges squeak when pins are dry or there is friction. Remove the hinge pin and apply graphite powder or silicone spray. Reinsert the pin and operate the door several times to work in the lubricant.
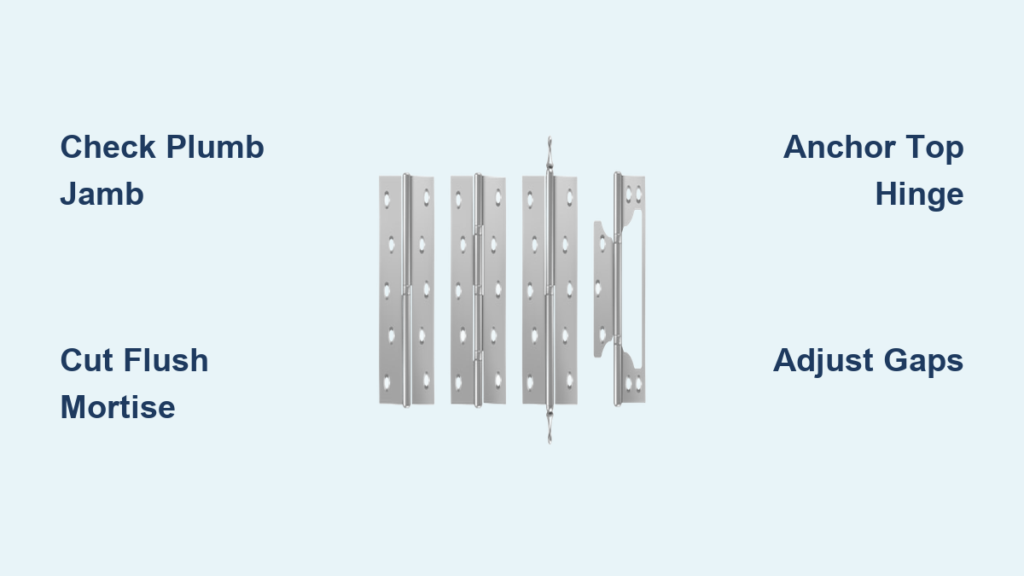
Key Takeaways for Installing Door Hinges
Installing door hinges well starts with a plumb jamb and ends with a door that swings smoothly and closes with a solid thunk. Use ball-bearing hinges for heavy doors, cut flush mortises, and anchor the top hinge into the stud. Check for consistent 1/8″ gaps around the door and shim behind hinges to correct any binding or misalignment. Maintain hinges by lubricating pins every 6 to 12 months and inspecting screws annually. Whether you are a DIYer or a professional, these steps ensure a durable, professional result every time.


