A cracked or shattered window pane does more than spoil your view. It drags down energy efficiency, invites moisture and drafts, and weakens home security. The good news? Fix a window pane is one of the most accessible DIY repairs you can tackle, often completed in under two hours for around $75 in materials.
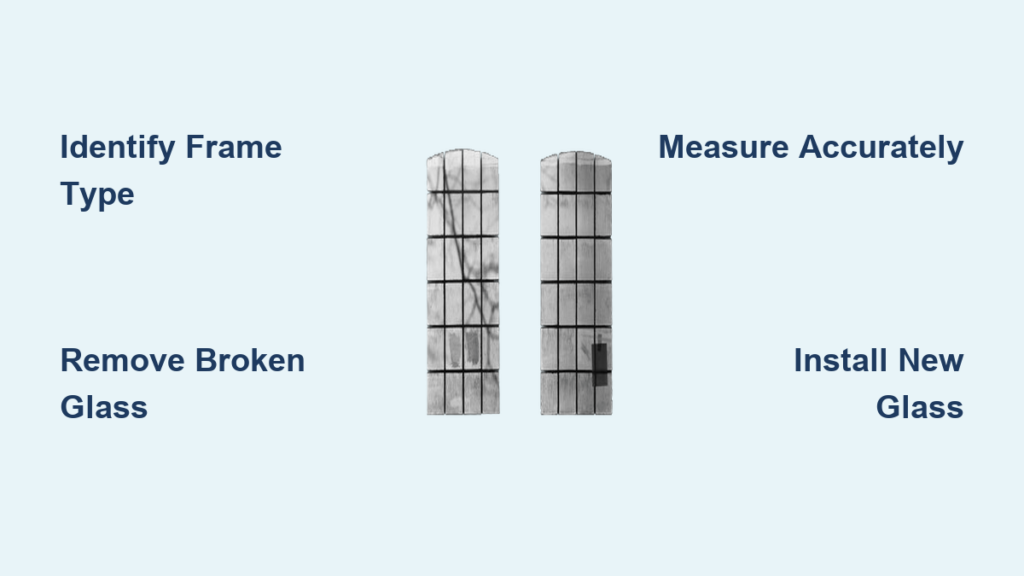
You’ll learn how to identify your window type, remove broken glass safely, measure and order replacements, and install new panes with frame-specific techniques. Whether you own a classic wood-frame window or a modern vinyl double-pane unit, this guide gives you a clear path from broken to fully restored.
Identify the Window Type First

Before picking up any tool, you need to know what you’re working with. Repair methods change dramatically based on frame material and glass configuration.
Wood vs. Aluminum vs. Vinyl Frames
- Wood frames are common in older homes and use traditional glazing putty with glazier’s points.
- Aluminum frames appear in mid-century and commercial windows, relying on silicone sealant and removable glazing beads.
- Vinyl frames are modern standards requiring careful bead removal and full IGU (Insulated Glass Unit) replacement.
Using the wrong method can damage the frame or void your window warranty.
Single-Pane vs. Double-Pane Units
- Single-pane glass consists of one layer held by glazing compound (wood) or silicone (metal or vinyl).
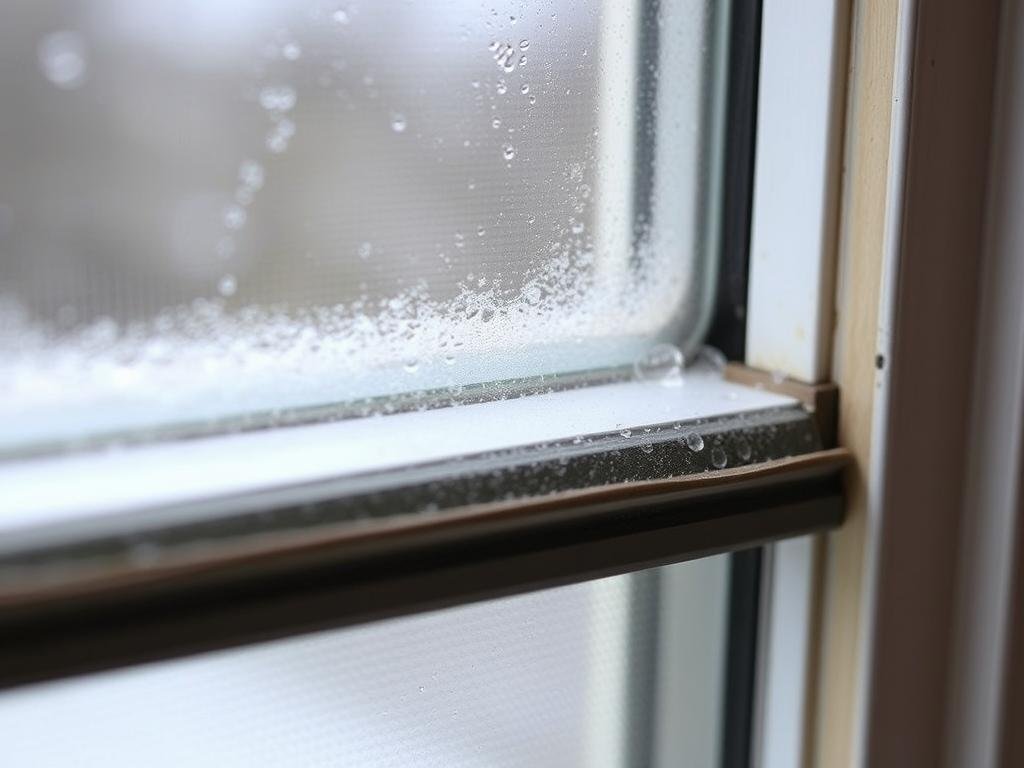
- Double-pane (IGU) units have two sealed panes with gas fills like argon or krypton, plus Low-E coatings. If one pane breaks or condensation appears between layers, you must replace the entire unit. Individual panes cannot be repaired.
🔍 Pro Tip: Fog or moisture between panes signals a failed seal. Only full IGU replacement solves this.
Prioritize Safety and Protection

Broken glass is unforgiving. A single shard can cause serious injury, so strict safety rules come first.
Wear Full Protective Gear
- Cut-resistant gloves (leather or Kevlar) for handling glass
- Safety goggles or face shield to protect your eyes
- Respirator mask when scraping old paint or compound
- Long sleeves, pants, and closed-toe shoes
Never skip PPE, even for small jobs.
Secure Broken Glass Before Removal
Apply duct tape or heavy-duty masking tape in a crisscross pattern over the broken pane. This holds shards together, prevents sudden collapse, and reduces cleanup mess. For double-pane units, tape the interior pane to stop it from falling inward during exterior work.
Test for Lead Paint (Pre-1978 Homes)
Homes built before 1978 likely contain lead-based paint. Disturbing it releases toxic dust that poses serious health risks.
- Do not dry-scrape old glazing or paint.
- Use a HEPA vacuum and wet-sanding methods.
- Consult EPA guidelines or local health departments for safe removal protocols.
Remove Old Glass and Glazing
Once protected, you can begin removing the damaged pane and old sealant. The method varies by frame type.
Wood Frames: Scrape and Pry Safely
- Soften compound: Use a heat gun on low to warm brittle putty. Avoid overheating the glass.
- Scrape thoroughly: Use a stiff putty knife or Putty Chaser tool to remove all old glazing from the rabbet (frame lip).
- Break glass carefully: Tap the broken pane gently with the knife handle to fragment it.
- Extract shards: Wear gloves and remove pieces into a sturdy cardboard box or puncture-proof container.
- Clean the frame: Vacuum dust and wipe with soapy water. Let dry completely.
⚠️ Warning: Never leave exposed wood bare. It absorbs moisture and swells, ruining the new seal.
Aluminum Frames: Remove Beads and Silicone
- Locate glazing beads: Thin vinyl strips covering the glass edge. Side beads usually overlap top and bottom.
- Pry gently: Slide a paint scraper under the side beads first. Work slowly to avoid bending.
- Cut sealant: Use a utility knife to slice through silicone around the glass perimeter.
- Remove vinyl strips: Take out any internal sealing strips between glass and frame.
- Clear residue: Heat the scraper slightly to soften old silicone and scrape clean.
💡 Trick: Use a broken glass shard as a lever to lift stubborn beads without damaging the frame.
Vinyl Frames: Handle IGUs with Care
- Remove sash: Take the entire window sash out and lay it flat on a drop cloth.
- Pry glazing beads: Remove trim or beads using a flat tool. Note the order, since some snap in place.
- Cut sealant line: Run a utility knife around the IGU edge to break the silicone bond.
- Lift out unit: Use suction cups to remove the heavy glass safely.
- Clean frame: Remove spacers, clear debris, and inspect for damage.
Prepare the Frame for New Glass
A clean, sealed frame ensures long-lasting adhesion and weather resistance.
Inspect for Rot or Damage (Wood Only)
Check exposed wood for soft spots or decay. Replace rotted sections or reinforce with epoxy filler. Unrepaired rot leads to future failure.
Prime Exposed Wood Surfaces
- Apply oil-based primer to all bare wood in the rabbet.
- Let dry overnight before installing glass.
- Unprimed wood pulls oil from glazing putty, causing cracks within months.
Clean Metal and Vinyl Frames
- Wipe with isopropyl alcohol to remove oils and dust.
- Vacuum all corners.
- Ensure no old silicone or debris remains.
Measure and Order Replacement Glass

Accuracy is critical. A misfit pane won’t seal properly and may break under stress.
Use the Correct Sizing Formula
- Measure the actual opening in the frame, not the old glass.
- Subtract 1/8 inch from both width and height.
- This clearance allows for expansion due to temperature changes.
📏 Example: If the opening is 24″ x 36″, order glass at 23⅞” x 35⅞”.
Match Glass Type and Thickness
- Thickness: Measure old glass with calipers. Common sizes include 1/8″, 3/16″, and ¼”.
- Type: Determine if it’s tempered (safety glass), annealed, or part of an IGU.
- Coatings: Look for Low-E, tint, or reflective layers that must be matched for energy efficiency.
Order from Original Source When Possible
Contact the window manufacturer (e.g., Atrium) or original retailer (e.g., McCoy’s). Benefits include:
- Lower shipping costs
- Exact glazing bead matches
- Correct orientation (interior vs. exterior side)
Third-party orders risk mismatched specs and higher prices.
Install the New Glass Pane

Now comes the core step: bedding and securing the replacement glass.
Wood Frames: Use Putty and Glazier’s Points
- Knead the putty: Soften oil-based glazing compound until pliable.
- Roll into rope: Form a 1/4″ thick snake and press into the primed rabbet.
- Set the glass: Place the pane into the putty bed. Press gently to create a seal.
- Insert glazier’s points: Use a putty knife to push metal clips into the frame every 6–8 inches.
- Apply outer putty: Cover edges and points with a second layer of putty.
✅ Pro Tip: Dip your putty knife in paint thinner for smooth, clean finishing strokes.
Aluminum Frames: Apply Silicone Bedding
- Run a bead: Apply window-grade silicone around the inner lip of the frame.
- Position glass: Use suction cups to lift and place the pane.
- Press firmly: Hold in place for 1–2 minutes to set initial adhesion.
- Reinstall spacers: Replace glazing blocks if used.
- Reattach beads: Snap vinyl glazing beads back over the edges.
🛠️ Note: Regular caulk won’t work. Use silicone specifically rated for glass bedding, which may require specialty ordering.
Vinyl Frames: Replace Full IGU Units
- Check orientation: Confirm which side faces indoors (usually marked).
- Apply silicone: Run a continuous bead in the frame channel.
- Install vinyl band: If used, place it on the new IGU edge.
- Set the unit: Press the IGU into the frame with even pressure.
- Reinstall beads and spacers: Snap all components back securely.
- Rehang sash: Put the window back in the track.
⏱️ Time Tip: An entire IGU swap takes 30–90 minutes with proper prep.
Finish and Cure the Repair
Proper finishing ensures durability and a professional appearance.
Smooth Glazing Compound (Wood Only)
- Use a flexible putty knife dipped in paint thinner.
- Angle the blade to create a clean, beveled edge from glass to frame.
- Wipe excess from the glass surface immediately.
- Let cure 24–48 hours before painting or exposing to rain.
Allow Silicone to Cure Fully
- Sets to touch in minutes but takes 24 hours to fully cure.
- Do not open or close the window during cure time.
- Avoid high humidity or extreme cold. Check product specs.
Paint and Maintain
- Once cured, prime and paint new putty to protect it.
- Use exterior-grade paint compatible with oil-based glazing.
- Inspect annually for cracks, drafts, or seal failure.
Troubleshoot Common Problems
Even careful repairs can hit snags. Here’s how to fix them fast.
Condensation Between Panes?
- Cause: Failed IGU seal.
- Fix: Replace the entire unit. No DIY patch works.
- Prevention: Ensure correct installation and drainage.
Glazing Compound Cracking?
- Cause: Unprimed wood or poor application.
- Fix: Remove, prime wood, and reapply.
- Prevention: Always prime bare wood before glazing.
Stuck or Broken Glazing Beads?
- Cause: Age, paint buildup, or improper removal.
- Fix: Order replacements from the manufacturer.
- Prevention: Label beads during removal and photograph the order.
Mismatched Tint or Coating?
- Cause: Ordered wrong glass type.
- Fix: Return and verify specs, including Low-E and argon fill.
- Prevention: Take a photo of the edge label before removal.
Save Money and Time with Smart Planning
DIY repair isn’t just satisfying. It’s cost-effective.
Typical DIY Cost Breakdown
| Item | Cost |
|---|---|
| Double-pane IGU glass | ~$48 |
| Silicone sealant | ~$10 |
| Suction cups | ~$15 |
| Glazing points or putty | ~$5–$10 |
| Total | ~$75 |
Compare that to $200–$500+ for professional service.
Speed Up Your Work
- Prep tools and materials before starting.
- Work on a dry, mild day. Sealants fail in rain or freezing temps.
- Keep replacement beads labeled during disassembly.
🧰 Toolkit Must-Haves:
– Putty knife (stiff and flexible)
– Heat gun
– Utility knife
– Suction cups
– Tape measure
– Safety gear
– Oil-based primer
– Frame-specific sealant
Know When to Call a Pro
Some situations demand expert help.
Cases for Professional Service
- Tempered or safety glass in high-risk areas like doors or bathrooms
- Large or heavy IGUs without proper lifting tools
- Warranty concerns on new windows
- Lead paint abatement requiring certified removal
- Structural frame damage beyond simple repair
Glass Doctor and similar services offer 24/7 emergency options for urgent needs.
Frequently Asked Questions About Fixing a Window Pane
Can I replace just one pane of a double-pane window?
No. Double-pane windows are sealed Insulated Glass Units (IGUs). If one pane breaks or condensation forms between layers, the entire unit must be replaced to restore the seal and energy efficiency.
How long does it take to fix a window pane?
Most DIY repairs take between 30 minutes and 2 hours, depending on the frame type and glass configuration. Allow additional time for sealants and glazing compound to cure fully, typically 24–48 hours.
What is the cheapest way to fix a broken window pane?
The most affordable DIY approach costs around $75 total, covering glass, silicone, suction cups, and glazing materials. This saves hundreds compared to professional service, which can run $200–$500 or more.
Do I need to replace the entire window or just the glass?
In most cases, you only need to replace the glass. The frame remains intact unless you discover rot, structural damage, or failed seals that compromise the whole unit. Single-pane glass can be swapped individually; double-pane IGUs require full unit replacement but not frame replacement.
Is it safe to fix a window pane in an older home?
Yes, but homes built before 1978 may have lead-based paint. You should test for lead before disturbing old glazing or paint, use a HEPA vacuum and wet-sanding methods, and wear a respirator. Consult EPA guidelines for safe removal protocols.
What tools do I need to fix a window pane?
Essential tools include a putty knife, utility knife, heat gun, suction cups, tape measure, and safety gear like cut-resistant gloves and goggles. You will also need frame-specific materials such as oil-based primer for wood or window-grade silicone for aluminum and vinyl frames.
Key Takeaways for Fixing a Window Pane
Fixing a window pane is a rewarding DIY project that restores comfort, security, and energy efficiency to your home. Start by identifying your frame material and glass type, then follow strict safety protocols to protect yourself from broken glass and potential lead paint. Accurate measurements, proper priming, and frame-specific installation techniques ensure a long-lasting repair.
Your next step: gather your tools, order the correct replacement glass, and set aside a calm afternoon. With preparation and patience, you can complete this repair in hours and save hundreds of dollars in the process.