
A loose or broken door knob can leave you frustrated and compromise your home’s security. Whether you’re replacing an old latch or installing one in a new door, knowing how to install a door knob latch correctly ensures smooth operation, proper alignment, and long-term durability. Most standard interior and exterior doorknob sets come with all the hardware you need, including the latch, spindle, strike plate, and screws, making this a manageable DIY project for beginners.
This guide walks you through every step, from removing the old hardware to final testing, while highlighting common mistakes and professional tips to get it right the first time. You’ll learn how to orient the latch properly, align the strike plate, and secure both knobs without damaging your door or hardware.
Prepare Your Work Area for Door Knob Installation
Before removing any hardware, lay down towels or rugs on both sides of the door. Components like screws, spindles, or knobs can slip and fall, potentially damaging flooring or getting lost. This simple step saves time and prevents frustration.
Protect your floors and keep small parts from getting lost by creating a contained workspace. Wear safety glasses, especially if the existing knob is stuck or corroded. Forcible removal can send small metal fragments flying, so eye protection is a smart precaution.
Clear the area around the door to give yourself room to work. Keep a small container or magnetic tray nearby to store screws and tiny parts.
Gather these essential tools before starting your door knob latch installation:
- Phillips screwdriver
- Allen wrench (hex key) that comes with your doorknob set
- Safety glasses
- Protective floor covering
Remove the Old Door Knob and Latch
Most modern interior knobs are secured with two Phillips-head screws on the interior side of the faceplate. Turn these screws counterclockwise with a screwdriver until fully loose. Hold the interior knob with one hand as you unscrew because it may detach suddenly.
Once the screws are out, gently pull the interior knob straight off the spindle. Now remove the exterior knob by pulling it outward from the other side of the door. The spindle will either come out with one of the knobs or remain in the latch, so remove it carefully.
Using the same Phillips screwdriver, remove the two screws securing the latch plate on the edge of the door. These screws hold the latch assembly in place. Gently pull the entire latch straight out of the edge bore.
Inspect the hole for splintering or wear. If the wood is damaged, consider reinforcing it with wood filler before installing the new unit.
Check New Hardware Compatibility
Standard residential doors are 1-3/8″ to 1-3/4″ thick. Check your new doorknob packaging to confirm compatibility. Some kits include spacers for thicker or thinner doors, so install them if needed.
Determine if your door opens inward or outward and whether it swings left or right. This affects latch orientation significantly.
Most modern latches are reversible, meaning you can flip the internal plunger to match your door’s swing. If the latch isn’t reversible, ensure you have the correct model for your door’s opening direction.
Review the manufacturer’s instructions because some brands mark the correct orientation with an arrow or label on the latch housing.
Verify all components are present in your kit:
- Interior and exterior door knobs
- Spindle
- Door latch assembly
- Mounting plate
- Connecting screws
- Rubber ring or spacer
- Strike plate
Install the New Latch Assembly

This is the most crucial step: the beveled (tapered) side of the latch bolt must face the door jamb. This allows the latch to retract automatically when the door closes. The flat side should face into the room. Installing it backward is the number one reason doors won’t close properly.
Slide the new latch into the edge bore of the door. Make sure the tailpiece aligns with the spindle hole in the door face. Line up the mounting holes on the latch plate with the pre-drilled holes in the door edge.
Insert the provided screws and tighten them with a Phillips screwdriver. Don’t over-tighten because this can strip the wood or compress the latch housing, causing binding.
Once secured, rotate the latch manually to ensure it moves freely. If it sticks, double-check alignment and screw tightness.
Insert the Spindle and Connect the Knobs

Take the exterior knob because many models have the spindle pre-attached. Insert the spindle through the large center hole in the door, aligning it with the tailpiece on the back of the latch.
On some models, the spindle is separate. Insert it into the latch first, then attach the knob.
Slide the rubber ring or spacer onto the spindle shaft on the interior side. It fits into a notch and reduces friction between metal parts, minimizing noise and wear over time.
This small part is easily misplaced, so set it aside in a safe spot during assembly.
Attach the Exterior and Interior Door Knobs
Position the mounting plate (rose) over the spindle on the exterior side. Align it with the lock hole, which is the center of the three holes in the door face.
Connect any brackets or fasteners from the exterior knob to the mounting plate. Use the longer screws provided to secure the plate to the door.
Tighten the screws evenly. After securing, turn the knob to test for smooth operation. If it binds or feels stiff, loosen the screws slightly and reposition the plate.
Take the interior knob and align its internal grooves or ridges with the mounting plate. Slide it over the spindle until fully seated.
Some knobs snap or rotate into place. Others require a set screw to lock them.
Locate the set screw, which is often hidden under a decorative cap on the side or top of the knob. Pop off the cap with a flathead screwdriver.
Insert the Allen wrench included in the kit and tighten the screw clockwise. Do not overtighten because this can damage the spindle or knob.
Test the locking mechanism now while the door is open. Push or turn to lock and unlock to confirm alignment before closing.
Adjust and Install the Strike Plate
Remove the old strike plate from the door jamb using a screwdriver. Install the new one in the same location.
Close the door slowly and observe how the latch meets the strike plate. Ideally, the latch should slide smoothly into the opening.
If the latch hits the plate incorrectly, loosen the screws and shift the plate slightly up, down, or sideways. For larger gaps, chisel the mortise deeper or wider using a utility knife or chisel.
Mark the correct position by closing the door and tracing the latch edge with a pencil.
Once aligned, tighten the screws securely.
Test Your Door Knob Installation
Perform these checks with the door open and closed:
- Turn the knob and verify the latch retracts fully
- Open and close the door and confirm the latch engages automatically
- Test the lock if applicable and ensure it engages and releases without resistance
- Listen for grinding or scraping, which indicates misalignment or lack of lubrication
Common troubleshooting issues include:
- Latch won’t retract: Check spindle and tailpiece connection
- Knob feels stiff: Apply dry graphite lubricant to the latch mechanism
- Door doesn’t close flush: Deepen strike plate mortise or adjust plate position
Maintain Your New Door Knob Latch
Extend the longevity of your installation with simple care routines. Clean knobs monthly with mild soap and water, and avoid abrasive cleaners that scratch finishes.
Inspect screws every six months and tighten if loose due to door movement. Re-tighten the interior set screw annually to prevent wobble.
Lubricate the latch mechanism once a year with dry graphite spray. Never use oil because it attracts dust and grime.
Most major brands offer limited lifetime warranties, so register your product online for support and replacement parts.
Frequently Asked Questions About Installing a Door Knob Latch
How long does it take to install a door knob latch?
Most first-time installers complete the job within 20 to 45 minutes using basic tools. The process is straightforward if you follow each step carefully and verify latch orientation before securing screws.
Can I reuse the old strike plate?
You can keep the old strike plate if it’s undamaged and aligns well with the new latch. Reusing it may save you from chiseling a new mortise in the door jamb.
What happens if I install the latch backward?
If the beveled side doesn’t face the door jamb, the door won’t close properly. The latch won’t retract automatically when the door closes against the strike plate. Simply remove the latch and reinstall it with the bevel facing the jamb.
Do I need special tools for a door knob latch installation?
A Phillips screwdriver and the Allen wrench included with your doorknob set are the only essential tools required. No special equipment or professional experience is needed for standard residential doors.
Why is my door knob wobbling after installation?
Wobbling typically occurs when the set screw isn’t tightened properly or comes loose over time. Remove the decorative cap, locate the set screw, and tighten it with the Allen wrench. Check the screws on the mounting plate as well.
Key Takeaways for Installing Your Door Knob Latch
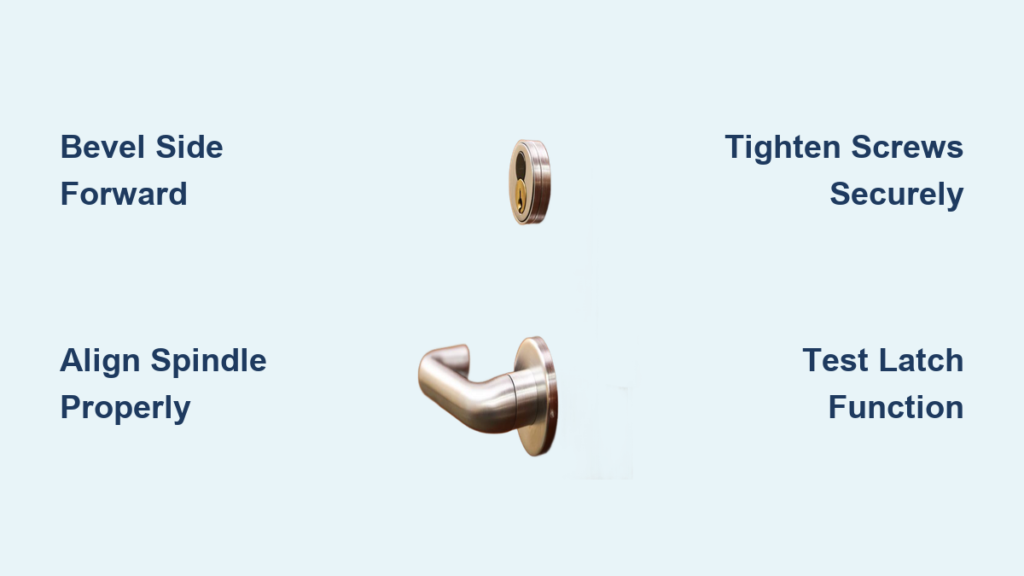
Successfully installing a door knob latch comes down to three critical factors: correct latch orientation, proper spindle alignment, and secure but not over-tightened screws. The beveled side of the latch must face the door jamb to allow automatic retraction when the door closes.
Taking time to test the mechanism with the door open before final closing prevents frustration and rework. Keep all components organized, and don’t skip the rubber spacer that reduces metal-on-metal friction.
With proper technique and attention to detail, this simple DIY task enhances both functionality and home security. Save this guide for future reference or share it with others tackling their first hardware upgrade.


